Learn how to set up software translation projects in PTC. Follow these steps to create your first project, upload your files, and get AI-powered translations in minutes.
Step 1
Sign Up for PTC
Create your account to start a free trial. You’ll be able to translate up to 20,000 words into 2 languages, no credit card required.
Step 2
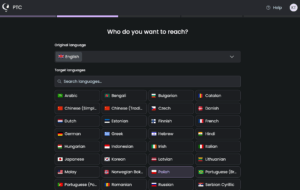
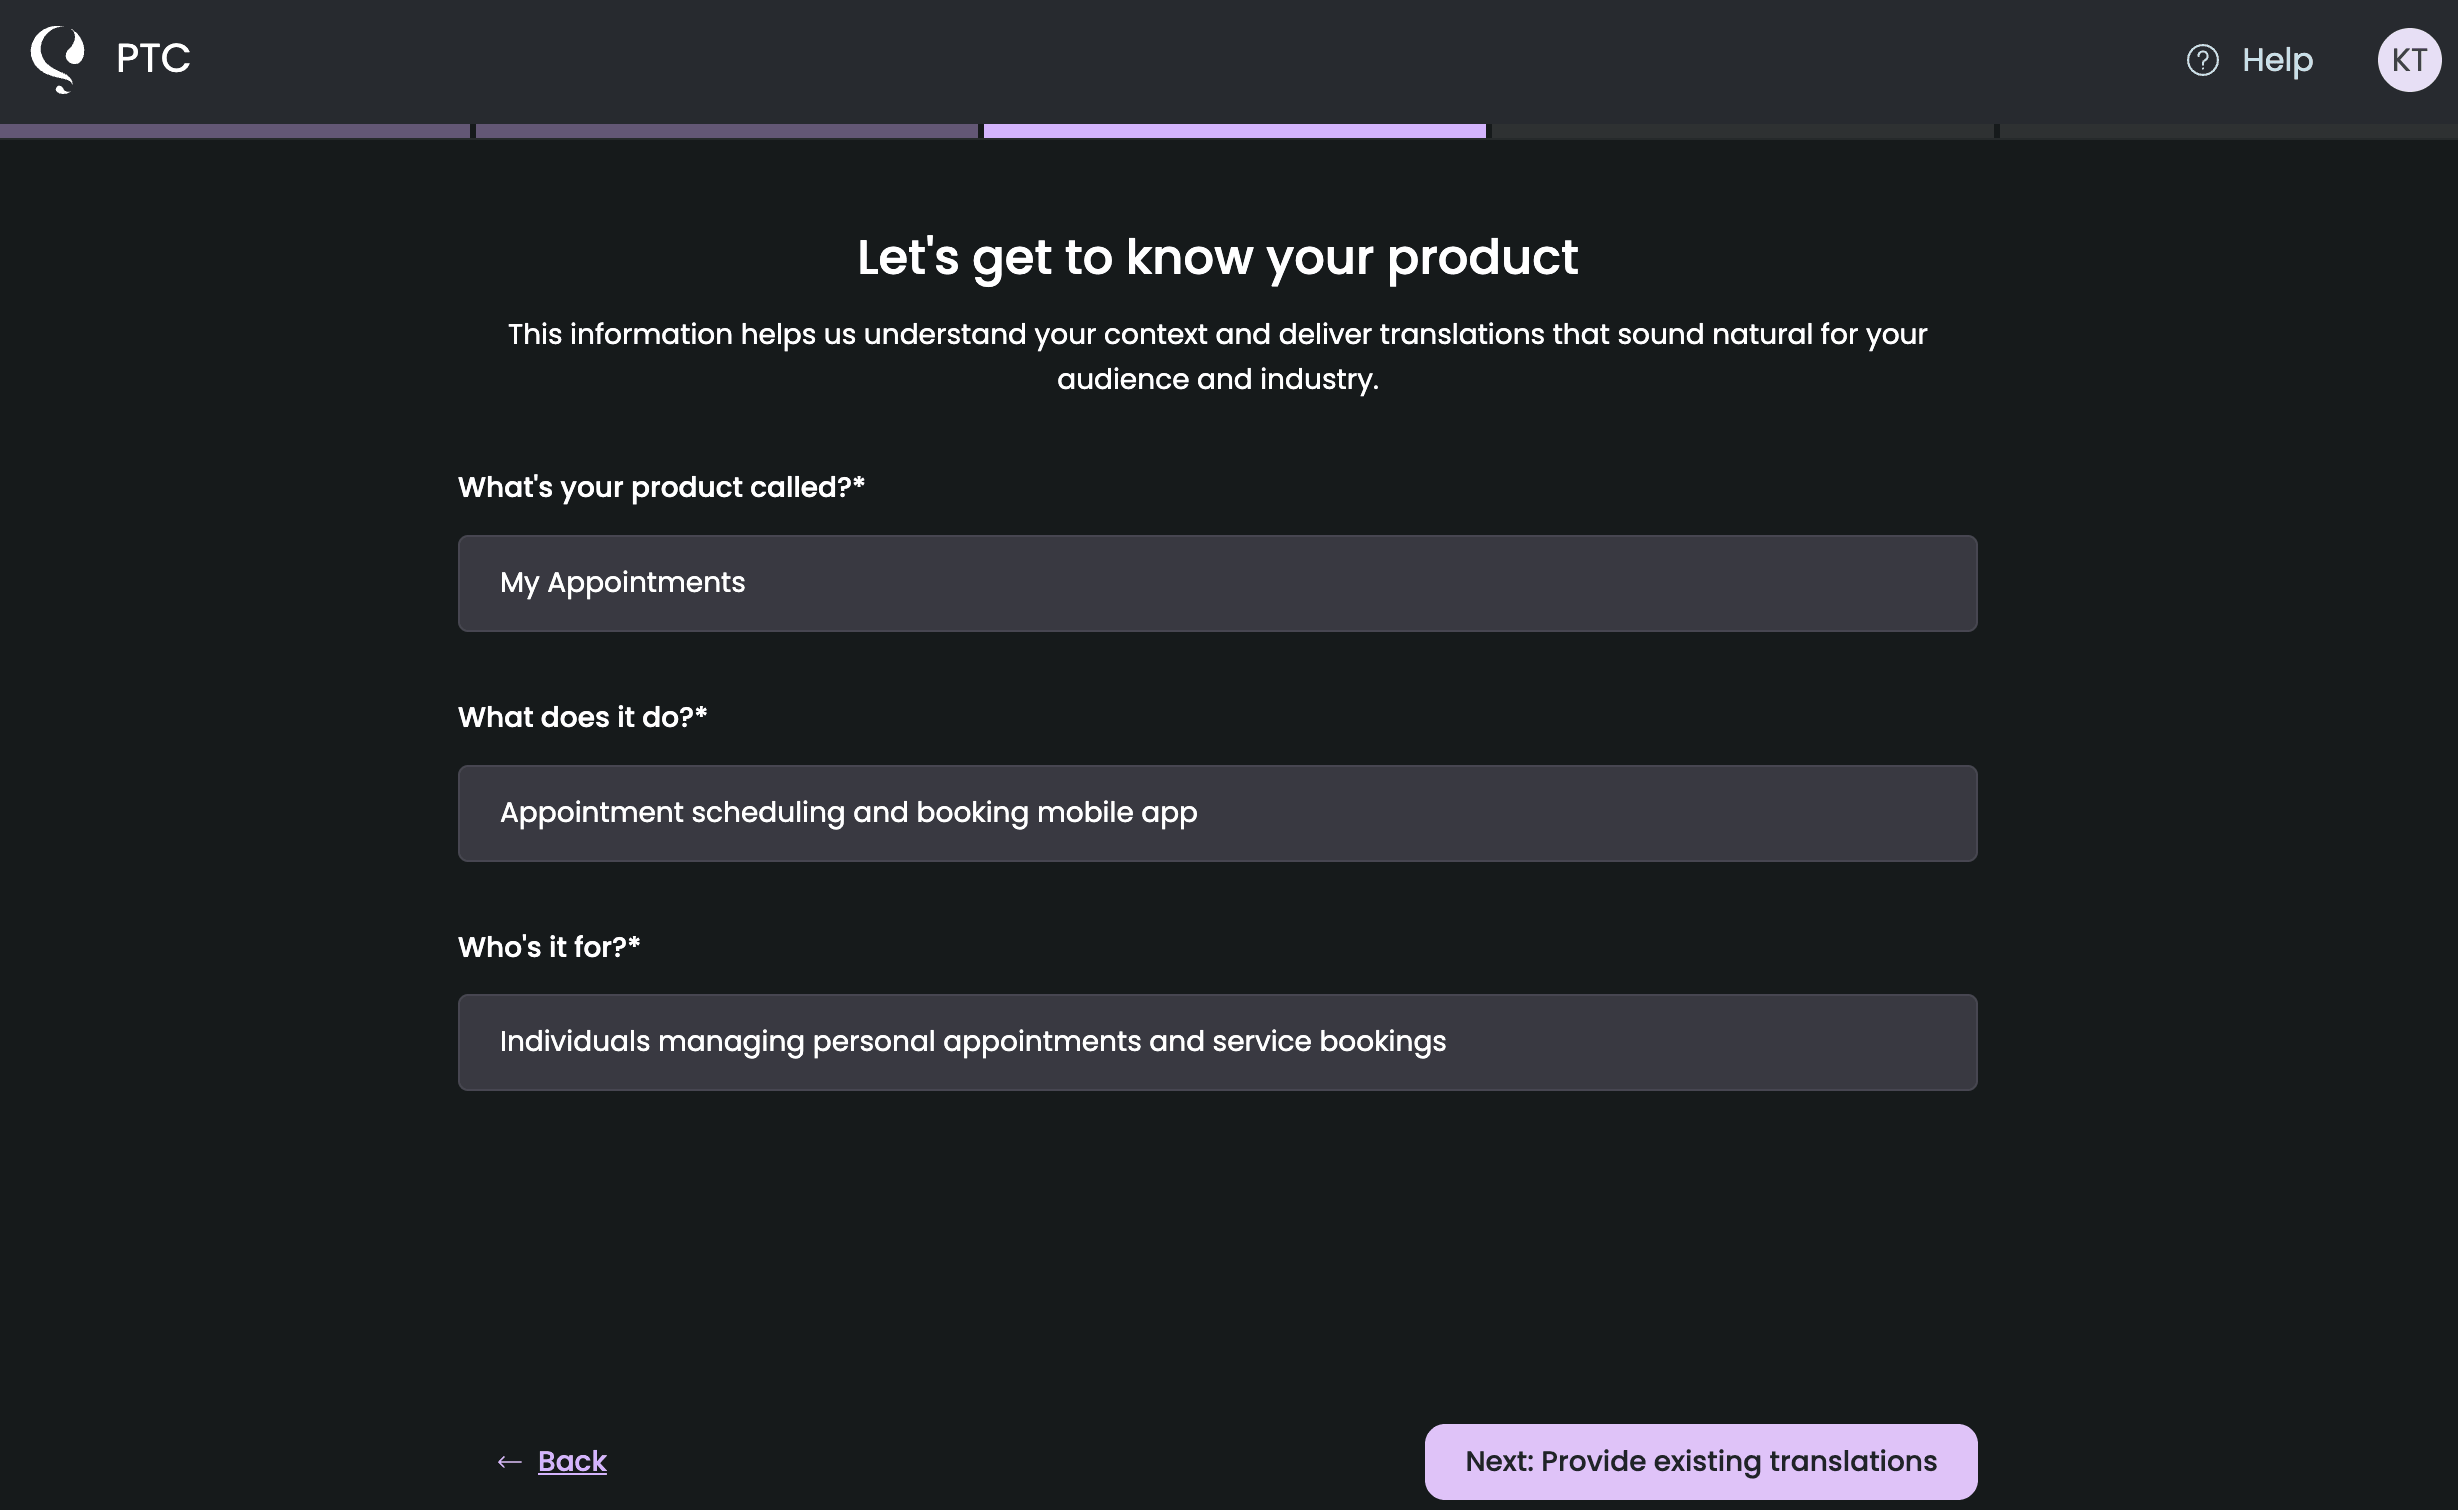
Upload Your Resource File and Select Languages
Upload the files that contain your translatable text. PTC works with a wide range of resource file formats, including:

Gettext.po

JSON

YAML

Adobe Commerce / Magento .csv

Android

Apple .strings
Apple .stringsdict
Apple .xcstrings

Java Properties
JSON Array
See all supported file formats →
Then choose which languages to translate into. PTC supports 33+ languages. During the free trial, you can select up to 2 languages.
Step 3
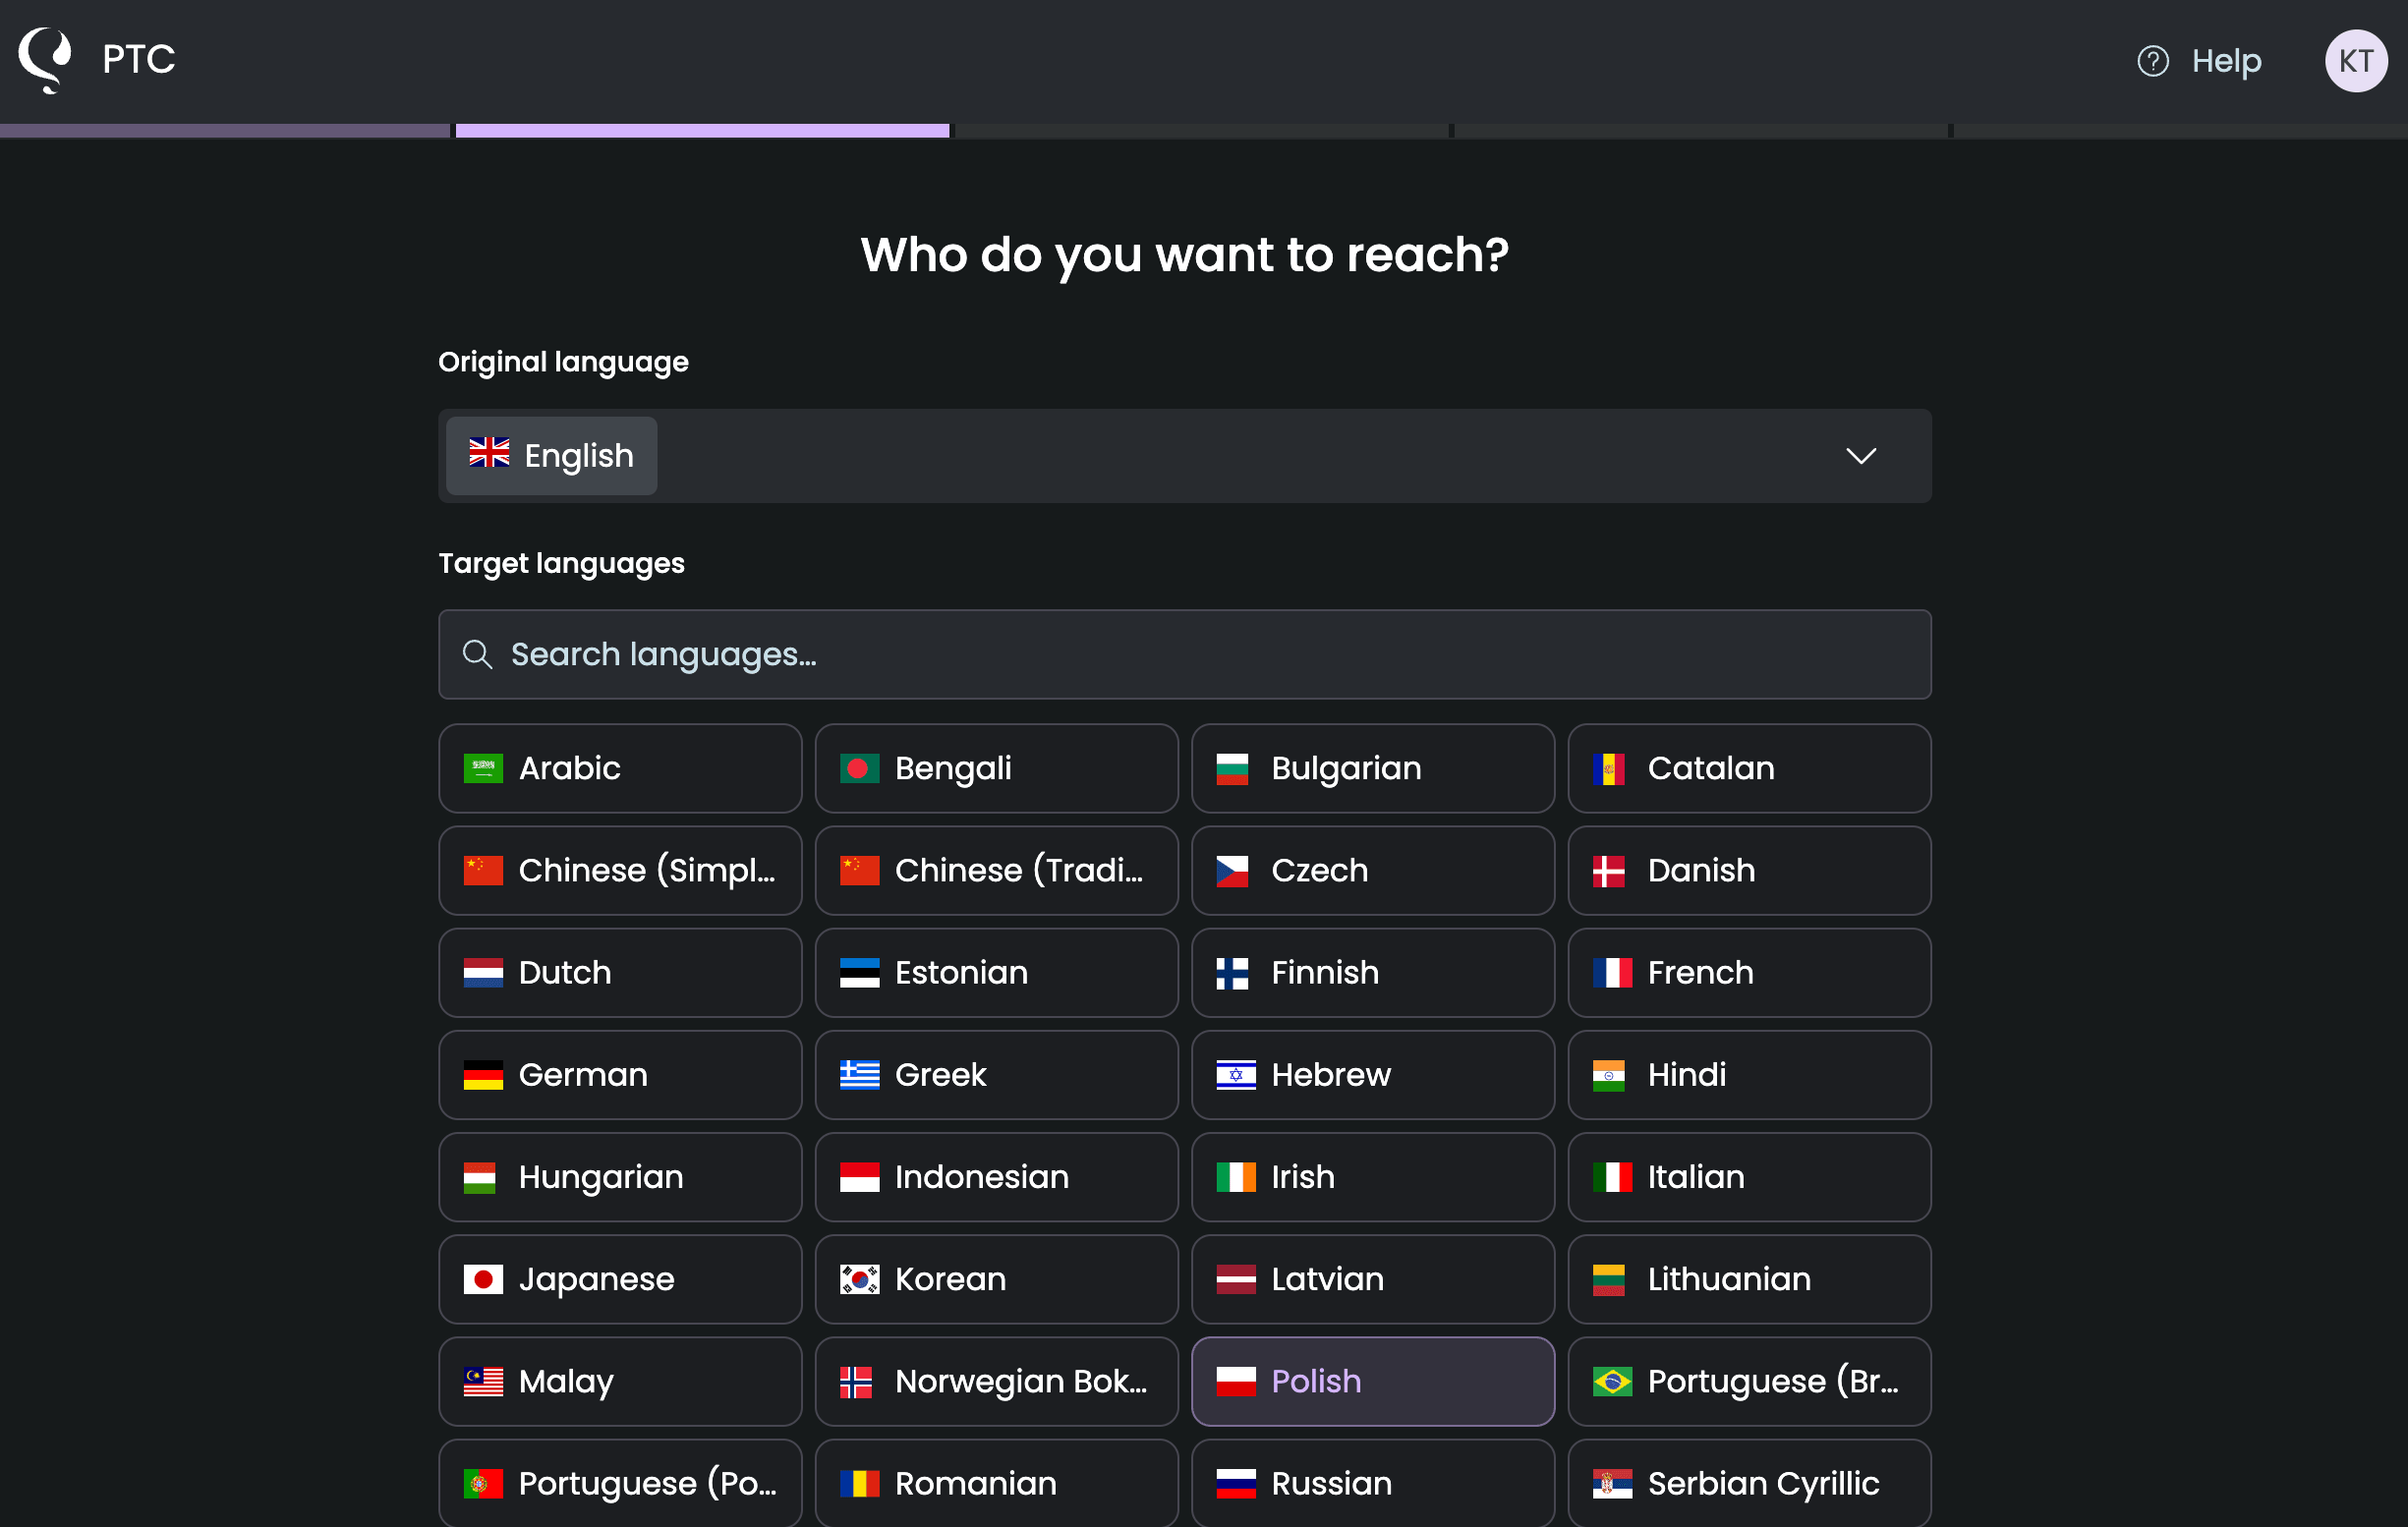
Review Your Product Description
PTC automatically generates a product description based on your uploaded source file. Review the description and keep it or edit it to better describe your product and its audience.
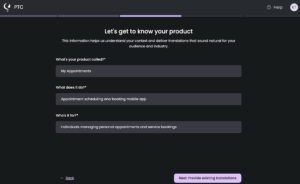
PTC uses this context to make informed decisions about tone and formality for each language you’re translating into. By understanding your product and audience upfront, PTC produces translations that actually feel like they belong in your product.
Step 4
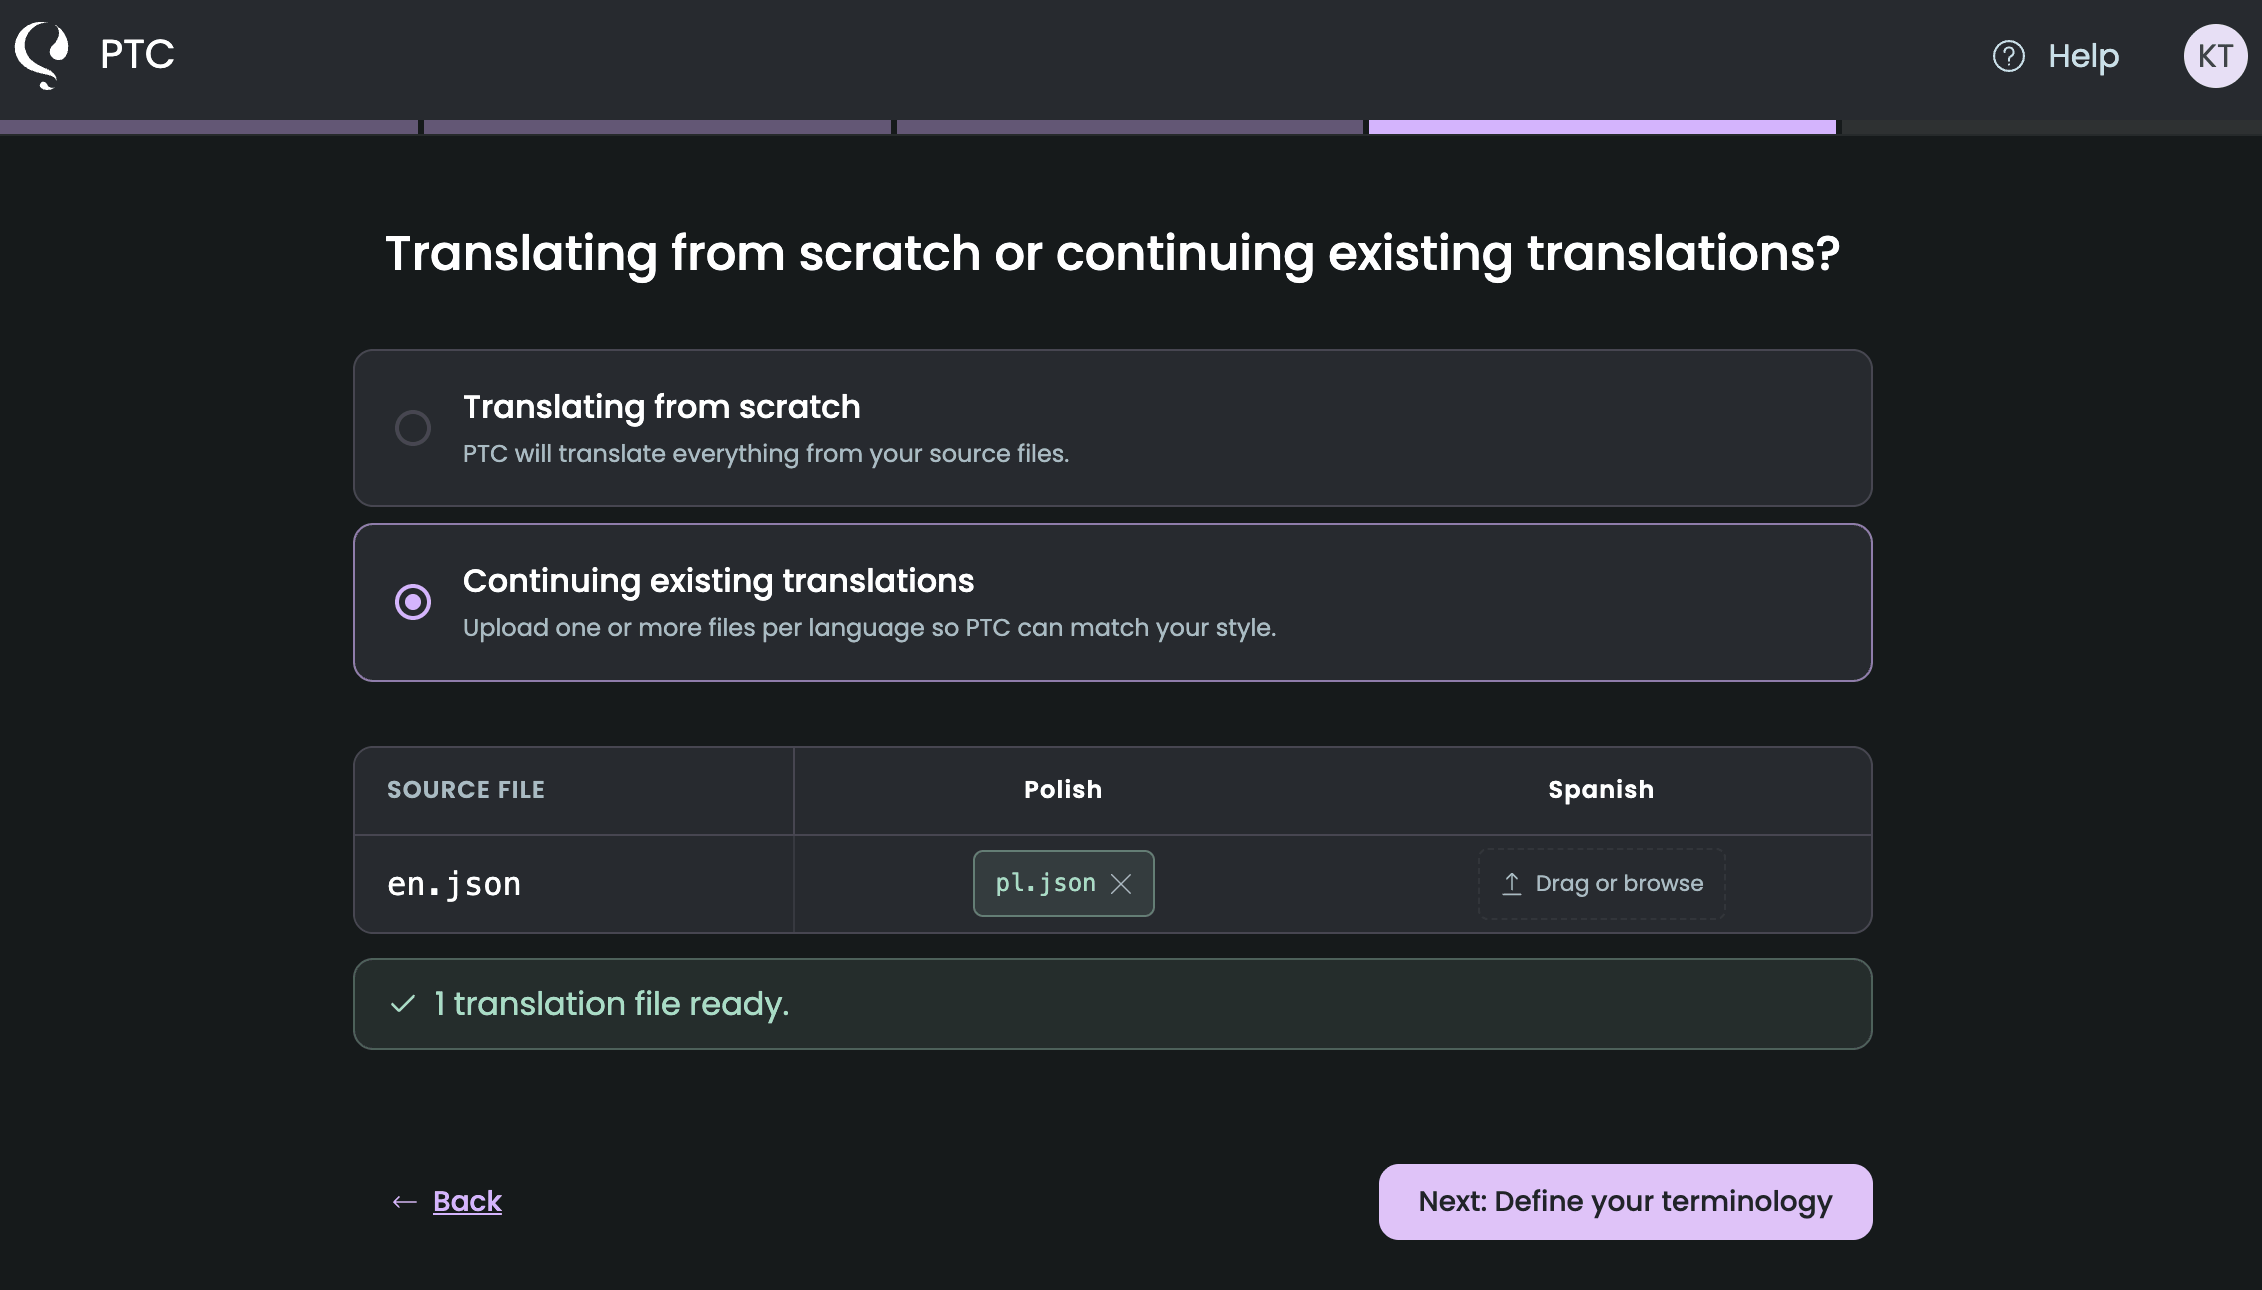
Upload Existing Translations (Optional)
If you have existing translation files, you can upload them here. PTC will match your existing translation style across all languages.
If you do not have existing translations, select the option to translate from scratch and PTC will translate your files automatically.

Step 5
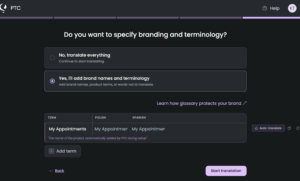
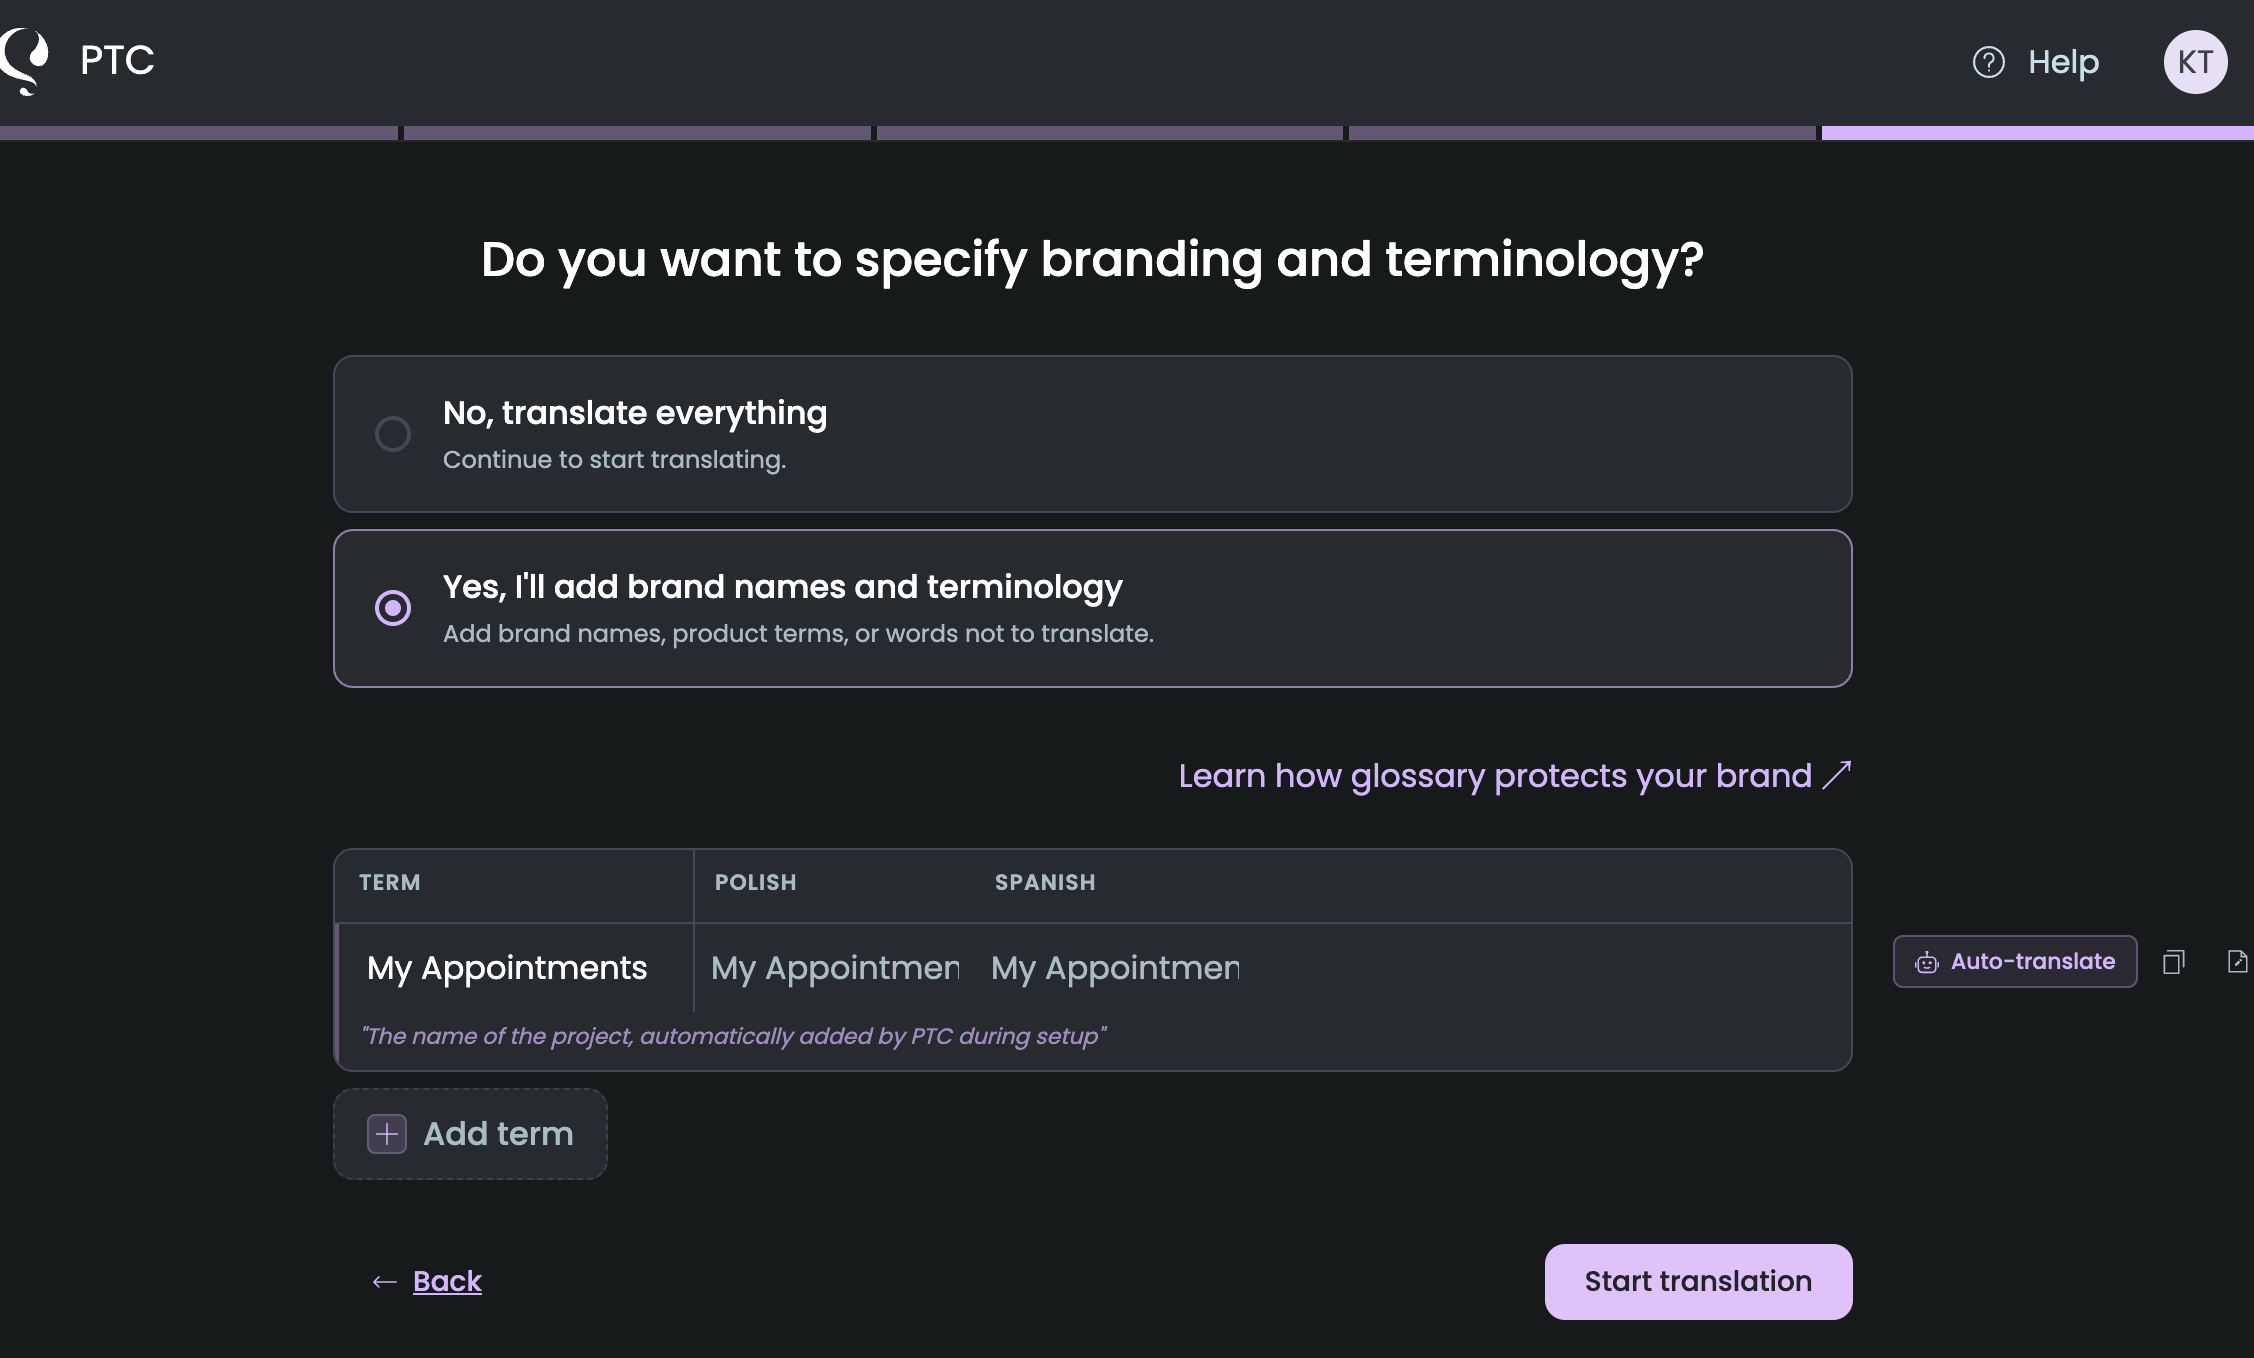
Add Terms (Optional)
PTC automatically adds your product name to the glossary to start. From there, you can add:
- Product-specific concepts or internal terminology that should stay consistent across languages
- Brand terms that need a specific translation (or no translation at all)
You can manage glossary terms at any time from the Glossary tab in your dashboard.
More about the glossary in PTC→
Step 6
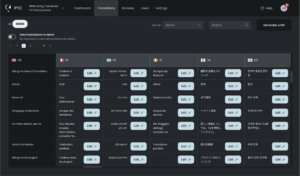
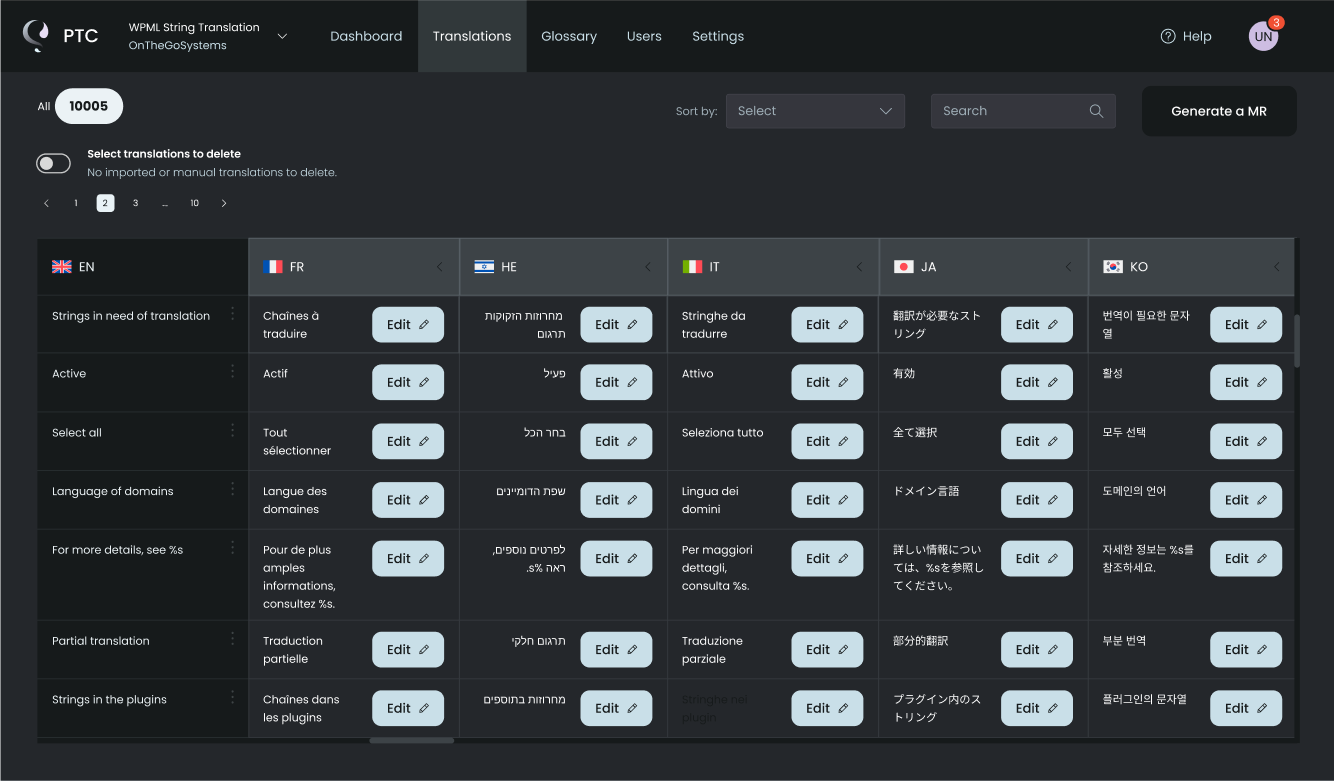
Get Your AI Translations
Once setup is complete, PTC translates your files automatically. You can download a ZIP from the Resource files tab at any time. If you’d like to review the output first, head to the Translations tab, where you can:
- Edit translations manually or request a retranslation of individual strings if you spot a problem
- Resolve translation length issues by adjusting the length limits or ask PTC to retranslate with the constraint in mind
Set Up a Continuous Localization Flow
Once you’ve translated your first project, you can move it to a continuous translation workflow. This means new or updated strings in your codebase get picked up and translated automatically, keeping your localization in sync with your development cycle.
PTC gives you two ways to do this:
Git Integration
Git integration is a Pro feature. It becomes available when you activate Pay-As-You-Go.
Connect PTC to your GitHub, GitLab, or Bitbucket repository. PTC monitors your repository for changes and delivers completed translations back via merge request.
To set this up for your existing project, go to Settings → Branch Management and click Add Git integration. You’ll be prompted to add the URL of your repository and set up access. You’ll see the project information and languages you already configured pre-filled.
For step-by-step instructions on connecting your repository, see the integration guides:
API Integration
Creating API tokens is a Pro feature. It becomes available when you activate Pay-As-You-Go.
If you’d prefer to integrate localization directly into your CI/CD pipeline, the PTC REST API gives you full control. You can add and update source files, retrieve translation status, manage translations programmatically, and more.
To get started, go to Settings → Manage API Tokens and click Add access token to generate your token. Then follow the PTC API Reference for everything you need to integrate localization into your build process.
What’s Next
Once your first project is up and running, here are a few things worth setting up to get the most out of PTC.

Create a Glossary
Add brand-specific terms, feature names, and words that should never be translated. PTC enforces them automatically across all your languages, so you never have to correct the same term twice.
Set Length Limits
Some languages produce significantly longer translations than your source text. Setting length limits tells PTC to keep translations within the space available in your UI, preventing text from getting cut off before it reaches your users.
Check Translations In Context
After your first project is translated, you still have one question to answer before each release: do the translations actually look right inside the product? PTC Visual QA answers it for you. Submit screenshots of your translated UI and PTC examines each screen visually, catching display issues in every target language and applying fixes automatically.