Learn how to localize your iOS app, translate .strings, .stringsdict, .xcstrings, and integrate translations into your projects with AI.
iOS localization helps you expand to more audiences around the world, increase sales, and grow your user base. There are two main components to localizing iOS apps:
- Translating
.strings,.stringsdict,.xcstringsfiles - iOS internationalization, or ensuring your iOS app is translatable. With string catalogs, this is much easier than before.
In this guide, we’ll go over both aspects of iOS localization and help you localize your app with highly advanced AI. If you’re ready to start translating, create a free account and upload your files.

How To Translate Your iOS App Files For iOS Localization
Getting Started: The Setup Wizard
Sign up for a free trial that lets you translate 20,000 words into two languages. The 5-minute setup wizard will guide you through the basics:
- Tell PTC about your project
- Select your target languages
- Upload your
.xcstrings,.strings, or.stringsdictfile
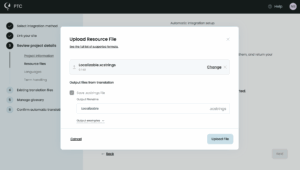
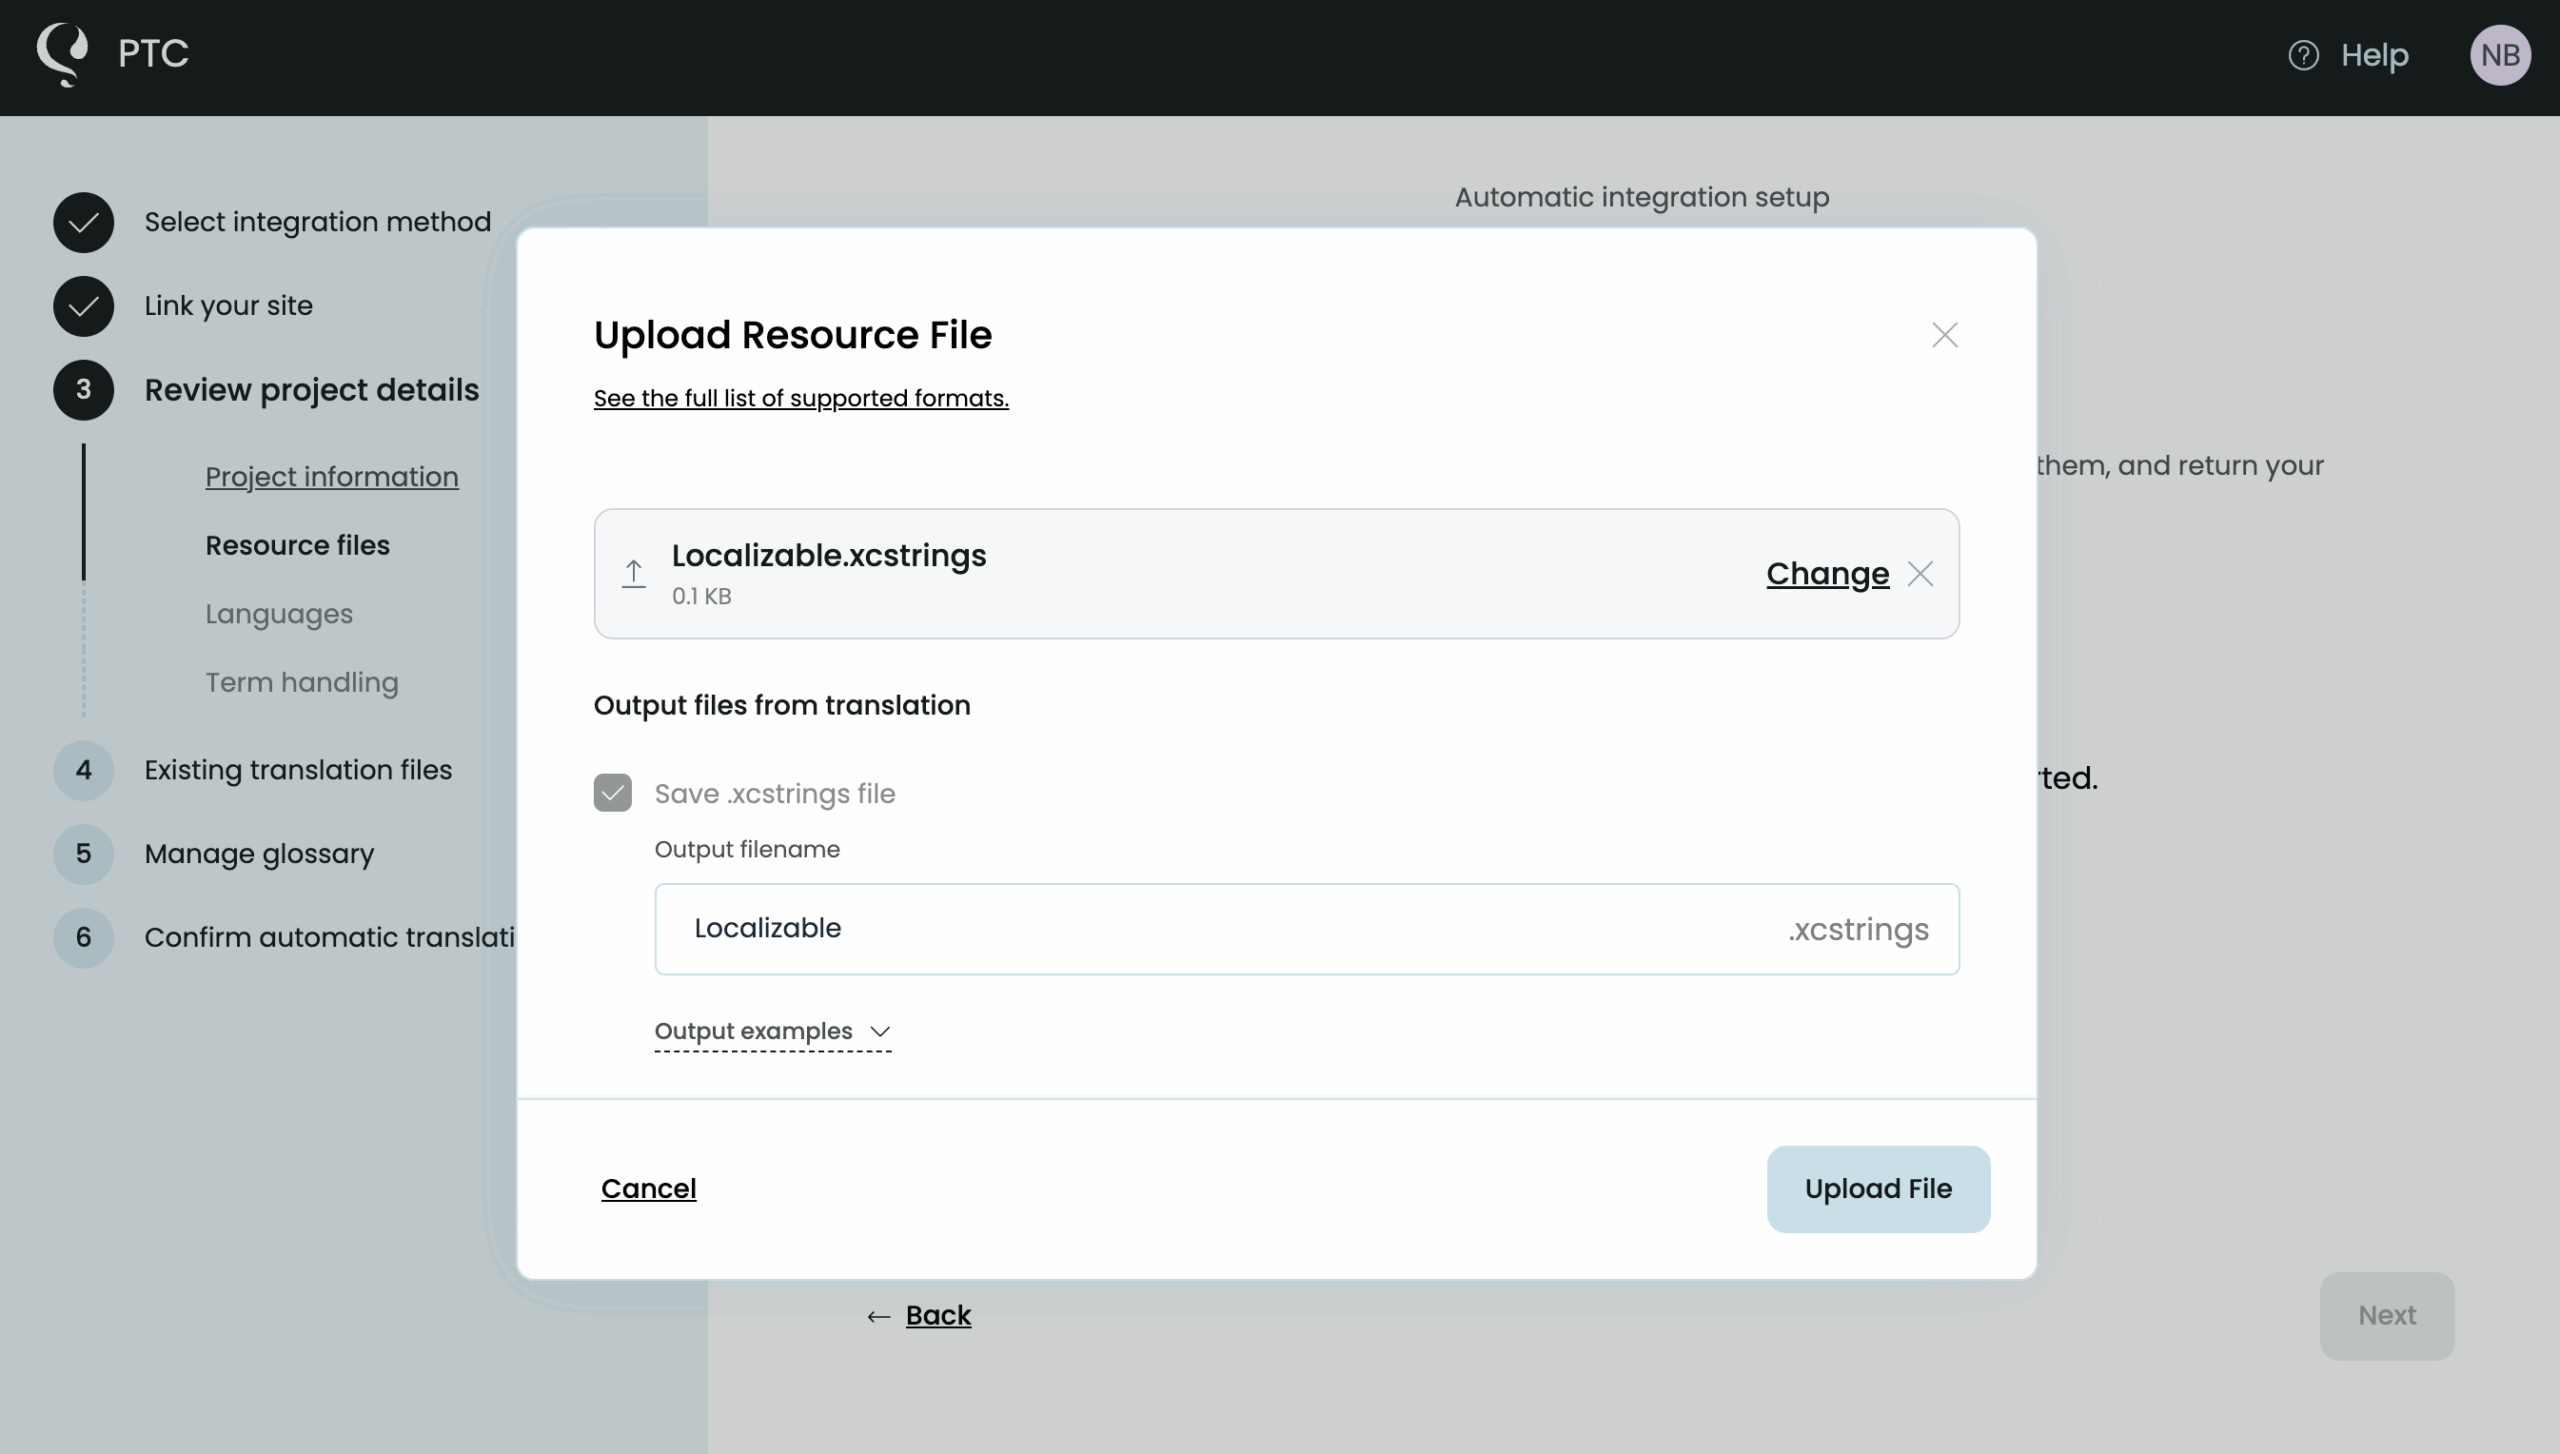
PTC translates in minutes. Download a zip with the translations or check them in PTC. PTC’s Translations view makes translated text easier to read and edit compared to the view in Xcode.
Notice that PTC preserves pluralization and other placeholders.
Moving to a Continuous Translation Workflow
Once you’ve seen PTC in action and are ready to keep your app localized with every release, you can move to a continuous localization workflow. PTC gives you two options: the API or a Git integration with your GitHub, BitBucket, or GitLab repository.
To set up continuous localization for an existing project:
- API: Go to Settings → Manage API Tokens and click Add Access Token. Then check the complete API documentation for all available endpoints.
- Git Integration: Go to Settings → Merge Requests and click Add Git Integration to connect your GitHub, GitLab, or Bitbucket repository to PTC.
For every new project you create on the same PTC account, the setup wizard will offer the API and Git Integration options from the start, so you won’t need to manually upload a file first.

iOS Localization: How To Easily Make Your iOS App Translatable
Translating your iOS app and adding multiple languages is the end goal, but the process often starts before that. Let’s take a look at iOS localization as a whole.
What is iOS localization?
iOS localization is making your iOS app available to multilingual audiences and adapting it to cultural and topical nuances.
Localization in Xcode is specifically about setting up resources for each language you support.
The iOS localization process involves three main steps:
- Preparing, or internationalizing (often abbreviated i18n), your iOS app
- Translating user-facing texts
- Importing translations and testing
iOS internationalization is an essential part of localizing iOS apps. Internationalization is adapting your code to ensure strings are translated and formatted correctly. This helps you avoid redesigning layouts or rewriting code later.
Thankfully, with string catalogs, the process is much easier than it used to be.
Step 1: Making Text Localizable
In legacy workflows, you needed to wrap your app’s strings in a way that Xcode and translation tools understood.
But with SwiftUI, you don’t need to do anything: any hard-coded string you place in a SwiftUI Text, Label, Button, etc., is automatically localizable.
You only need to manually make text localizable when:
- You have text outside of SwiftUI, like error messages, ViewModel Text, Login validation strings. In these cases, use String(localized:).
- You’re targeting devices with older versions that don’t support current localization APIs, like iOS 16 or earlier. In this case, wrap all user-facing text in NSLocalizedString().
Step 2: Adding comments for context
Comments are useful when translating strings with both manual and automatic methods. Use comment: within your Text ().
Text("Select an item", comment: “The label of a drop down menu to allow users to navigate.”)
Step 3: Creating a String Catalog
Now, let’s add a string catalog to your iOS project.
1. Right-click on your project and select New File from Template.

2. Search for String Catalog and add it. The default name will be Localizable.xcstrings. No need to change it.

3. Populate your string catalog with your text. Go to Product → Build. Xcode takes care of the rest. You can review the text later by clicking on your .xcstrings file and then go to Editor → Assistant from the menu.
Step 4: Add variants by plural or by device
Some strings need different versions depending on context, such as plural forms in different languages or text that changes by device. These variations help ensure your text feels natural and appropriate across languages, devices, and contexts.
You can manage both in the String Catalog.
Pluralization
For plurals, start by localizing a string that depends on a numeric value, such as:
Text("\(count) items")
Go to the string catalog and right-click in the key view. Choose Vary by Plural. Xcode automatically adds all required plural categories for that language. Fill in the text for each plural form, and the system will pick the right one at runtime.
Here’s an example .xcstrings file with plural variations:
Example
{
  "version": "1.0",
  "sourceLanguage": "en",
  "strings": {
    "items_count": {
      "comment": "Number of items - English only supports 'one' and 'other'",
      "extractionState": "manual",
      "localizations": {
        "en": {
          "variations": {
            "plural": {
              "one": {
                "stringUnit": {
                  "state": "translated",
                  "value": "%lld item"
                }
              },
              "other": {
                "stringUnit": {
                  "state": "translated",
                  "value": "%lld items"
                }
              }
            }
          }
        }
      }
    },
    "messages_count": {
      "comment": "Number of messages",
      "extractionState": "manual",
      "localizations": {
        "en": {
          "variations": {
            "plural": {
              "one": {
                "stringUnit": {
                  "state": "translated",
                  "value": "You have %lld new message"
                }
              },
              "other": {
                "stringUnit": {
                  "state": "translated",
                  "value": "You have %lld new messages"
                }
              }
            }
          }
        }
      }
    }
  }
}
Device variations
For device-specific text — like “Tap” on iOS versus “Click” on macOS — Control-click the same key and choose Vary by Device.
Add the devices you want to customize and enter the appropriate message for each. When the app runs, it displays the version that matches the current device.
Step 5: Add Languages
Here’s an easy way to add (and remove) languages:
- Select your project file and then see the Info tab on the right-hand panel.
- Under the Localizations section, click on the plus (+) sign at the bottom left.
- Add languages you want to display your iOS app in.
All language files and translations will be added to the same .xcstrings file.
(Optional) Step 6: Export your xcstrings File
Though an API or Git integration with a software localization tool is the fastest way to get translations, you may want to send files manually. In this case, just grab the .xcstrings file from your iOS folder.
When you re-upload it after PTC is done translating, PTC will replace the original.

Testing and Launching Your Localized iOS App
First, go to Xcode and back up your existing .xcstrings file. This is a really important practice as the new file with translations will replace the existing one.
Once you have translations, you need to add them to your iOS app. If you’re using an automatic integration method with PTC, just accept the merge request the platform sends.
If you downloaded files manually, first make sure Xcode isn’t running and then open the project in Finder. Right-click on the project and overwrite the file with the new one. Then, restart Xcode so translations can appear.
Testing your iOS app
Now that translations are in place, it’s time to test them.
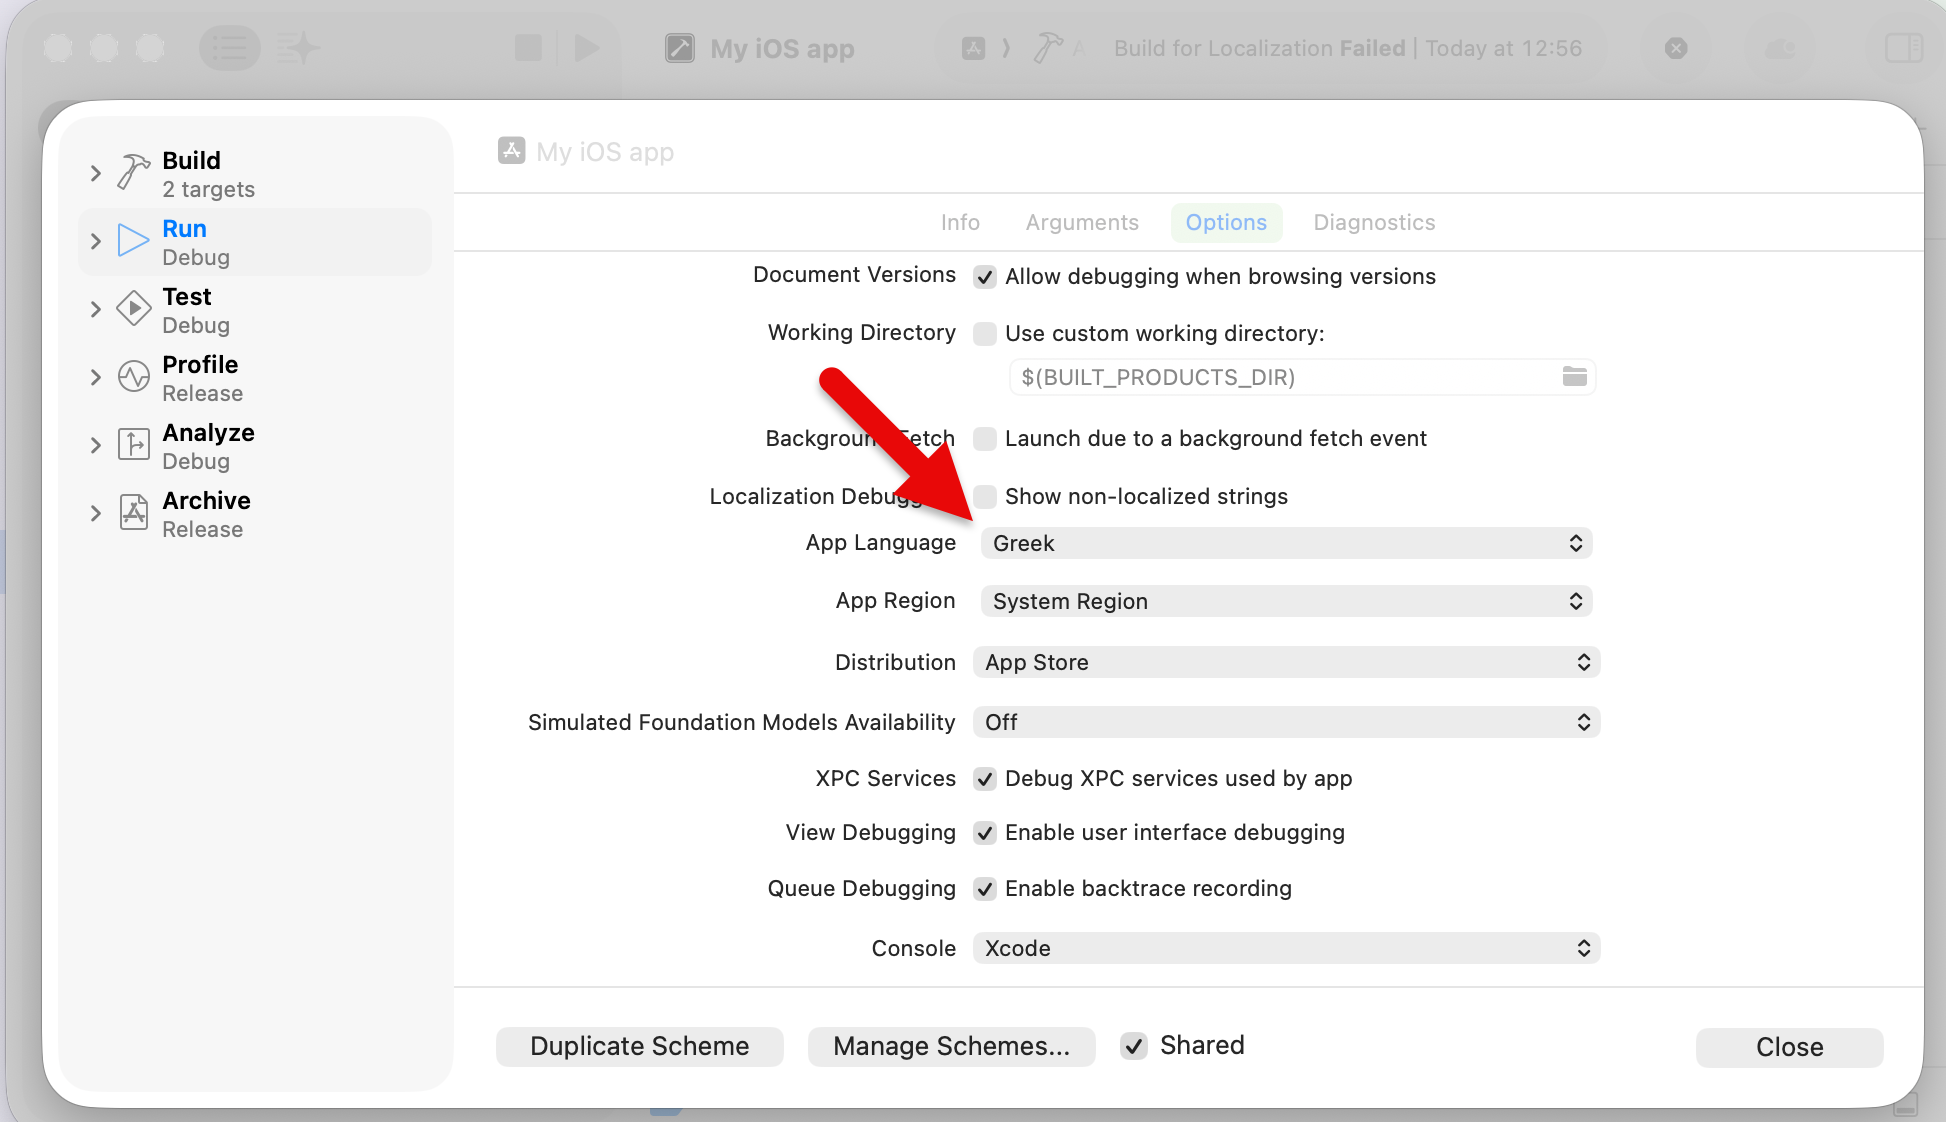
In Xcode, you can easily test different languages by changing the App Language and App Region setting in your Scheme. This is especially useful for right-to-left languages (e.g. Arabic).
- Go to Product → Scheme → Edit Scheme and switch to the Options tab
- Change App Language and App Region
- Run the app and check that layouts and UI elements mirror correctly
You should see the same layout and design of your app, just with the text translated into the selected language.
To test with a simulator, go to Product → Destination to choose a device simulator and then run it:
- Go to Settings → General → Language & Region
- Select one of your translated languages (e.g., Arabic, Spanish, French)
- Relaunch your app and confirm the UI strings appear in the selected language

iOS Localization Best Practices
Use String Catalogs
.strings is still a popular choice for building iOS apps. But when you want a properly localized iOS app, it’s better to opt for string catalogs.
With .strings, there are extra steps you need to take to internationalize your iOS app such as creating a base Localizable.strings file and then adding every language’s file in its own lproj folder.
But with string catalogs, the process is far easier.
Check your UI for varied text length
Different languages require different text length. For example, words in German are typically longer than their English counterparts, so German text has the potential to break your UI.
Make sure to:
- Use Auto Layout or SwiftUI’s flexible layout system
- Allow labels to grow and wrap naturally
- Avoid fixed-width constraints
Don’t skip pluralization variants
Languages don’t express quantities or context the same way. English might only need singular and plural, but many languages need three, four, or even six plural categories. For example:
- Russian distinguishes zero, one, few, many, and other
- Arabic has six plural forms
- Japanese doesn’t have numerical plurals
Ensuring correct pluralization practices gets you the best possible translations to engage audiences in their language.

Ready to Localize Your iOS App?
Localizing your iOS app with PTC takes minutes, not weeks. Add new languages, deliver a consistent user experience, and grow your audience across markets.

Translate .xcstrings with PTC
Get accurate translations in minutes

Upload single files, or automate via API or Git integration
1
Create an account
Translate 20000 words for free.
2
Add quick project details
Give context about your app and users.
3
Get translations
Download a ZIP, or merge in your repo.