Learn how to set up software translation projects in PTC. Step-by-step guide to creating projects, uploading files, and getting AI translations in minutes.
Step 1
Sign Up for PTC
Create your account to start a free trial. From the dashboard, click New project to begin the setup wizard.
Step 2
Choose How To Use PTC
Select how you want PTC to deliver translations:
Manual File Upload
How it works:
Upload resource files and download translated ZIP files.
What’s required:
A resource file with translatable strings in a supported file format.
Git Integration
How it works:
Connect your GitHub, GitLab, or Bitbucket repository. PTC monitors for updates and delivers translations via merge requests.
What’s required:
Grant PTC read and write access to your repository and add your access token in the PTC setup wizard.
More details:
API Integration
How it works:
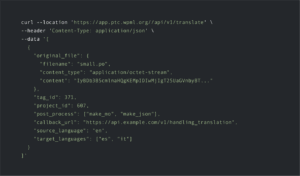
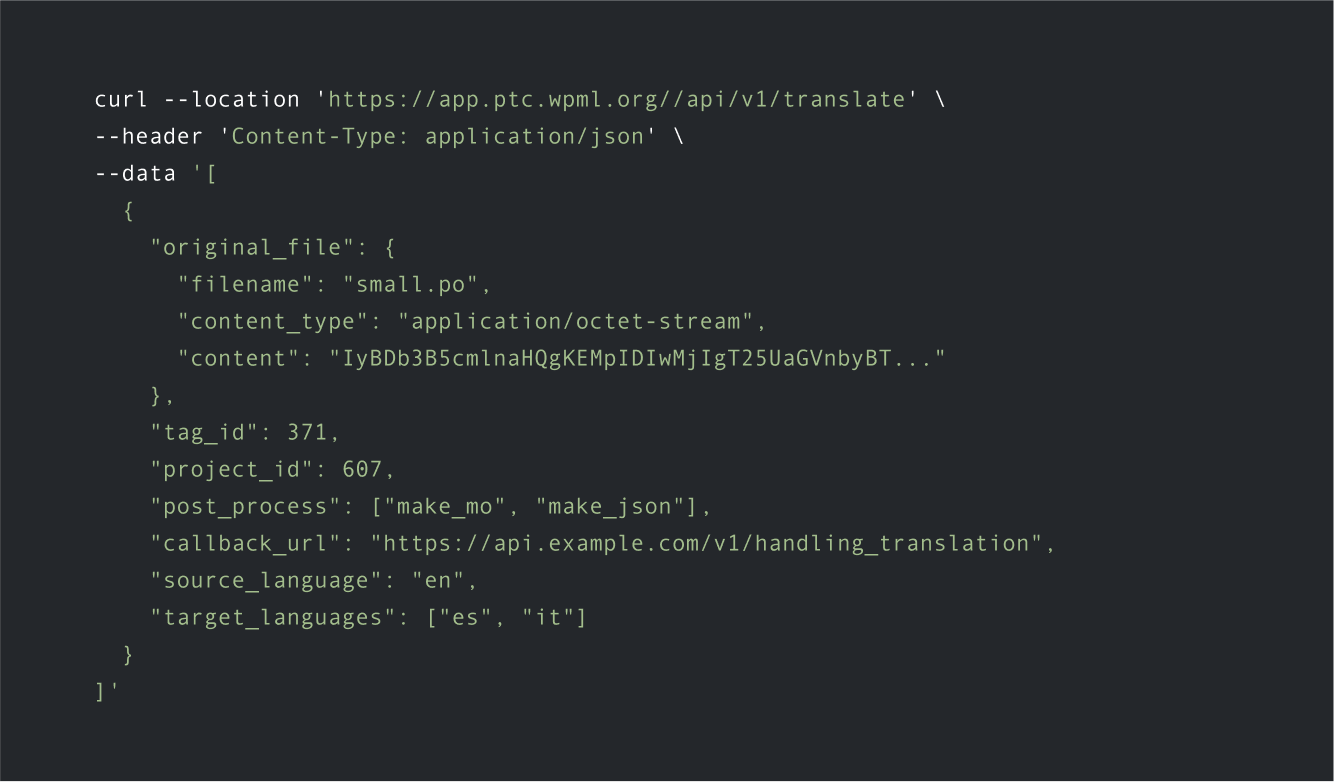
Integrate localization into your CI/CD pipeline using the PTC REST API.
What’s required:
You’ll receive your API token at the end of setup. Include this token in the Authorization header of every request.
More details:
See the PTC API Reference.
Step 3
Link Your WPML Site (Optional)
If you have a multilingual website built with WPML, connect it during setup to:
- Import and sync with your WPML glossary
- Align terminology between your website and software
- Share translation credits
Step 4
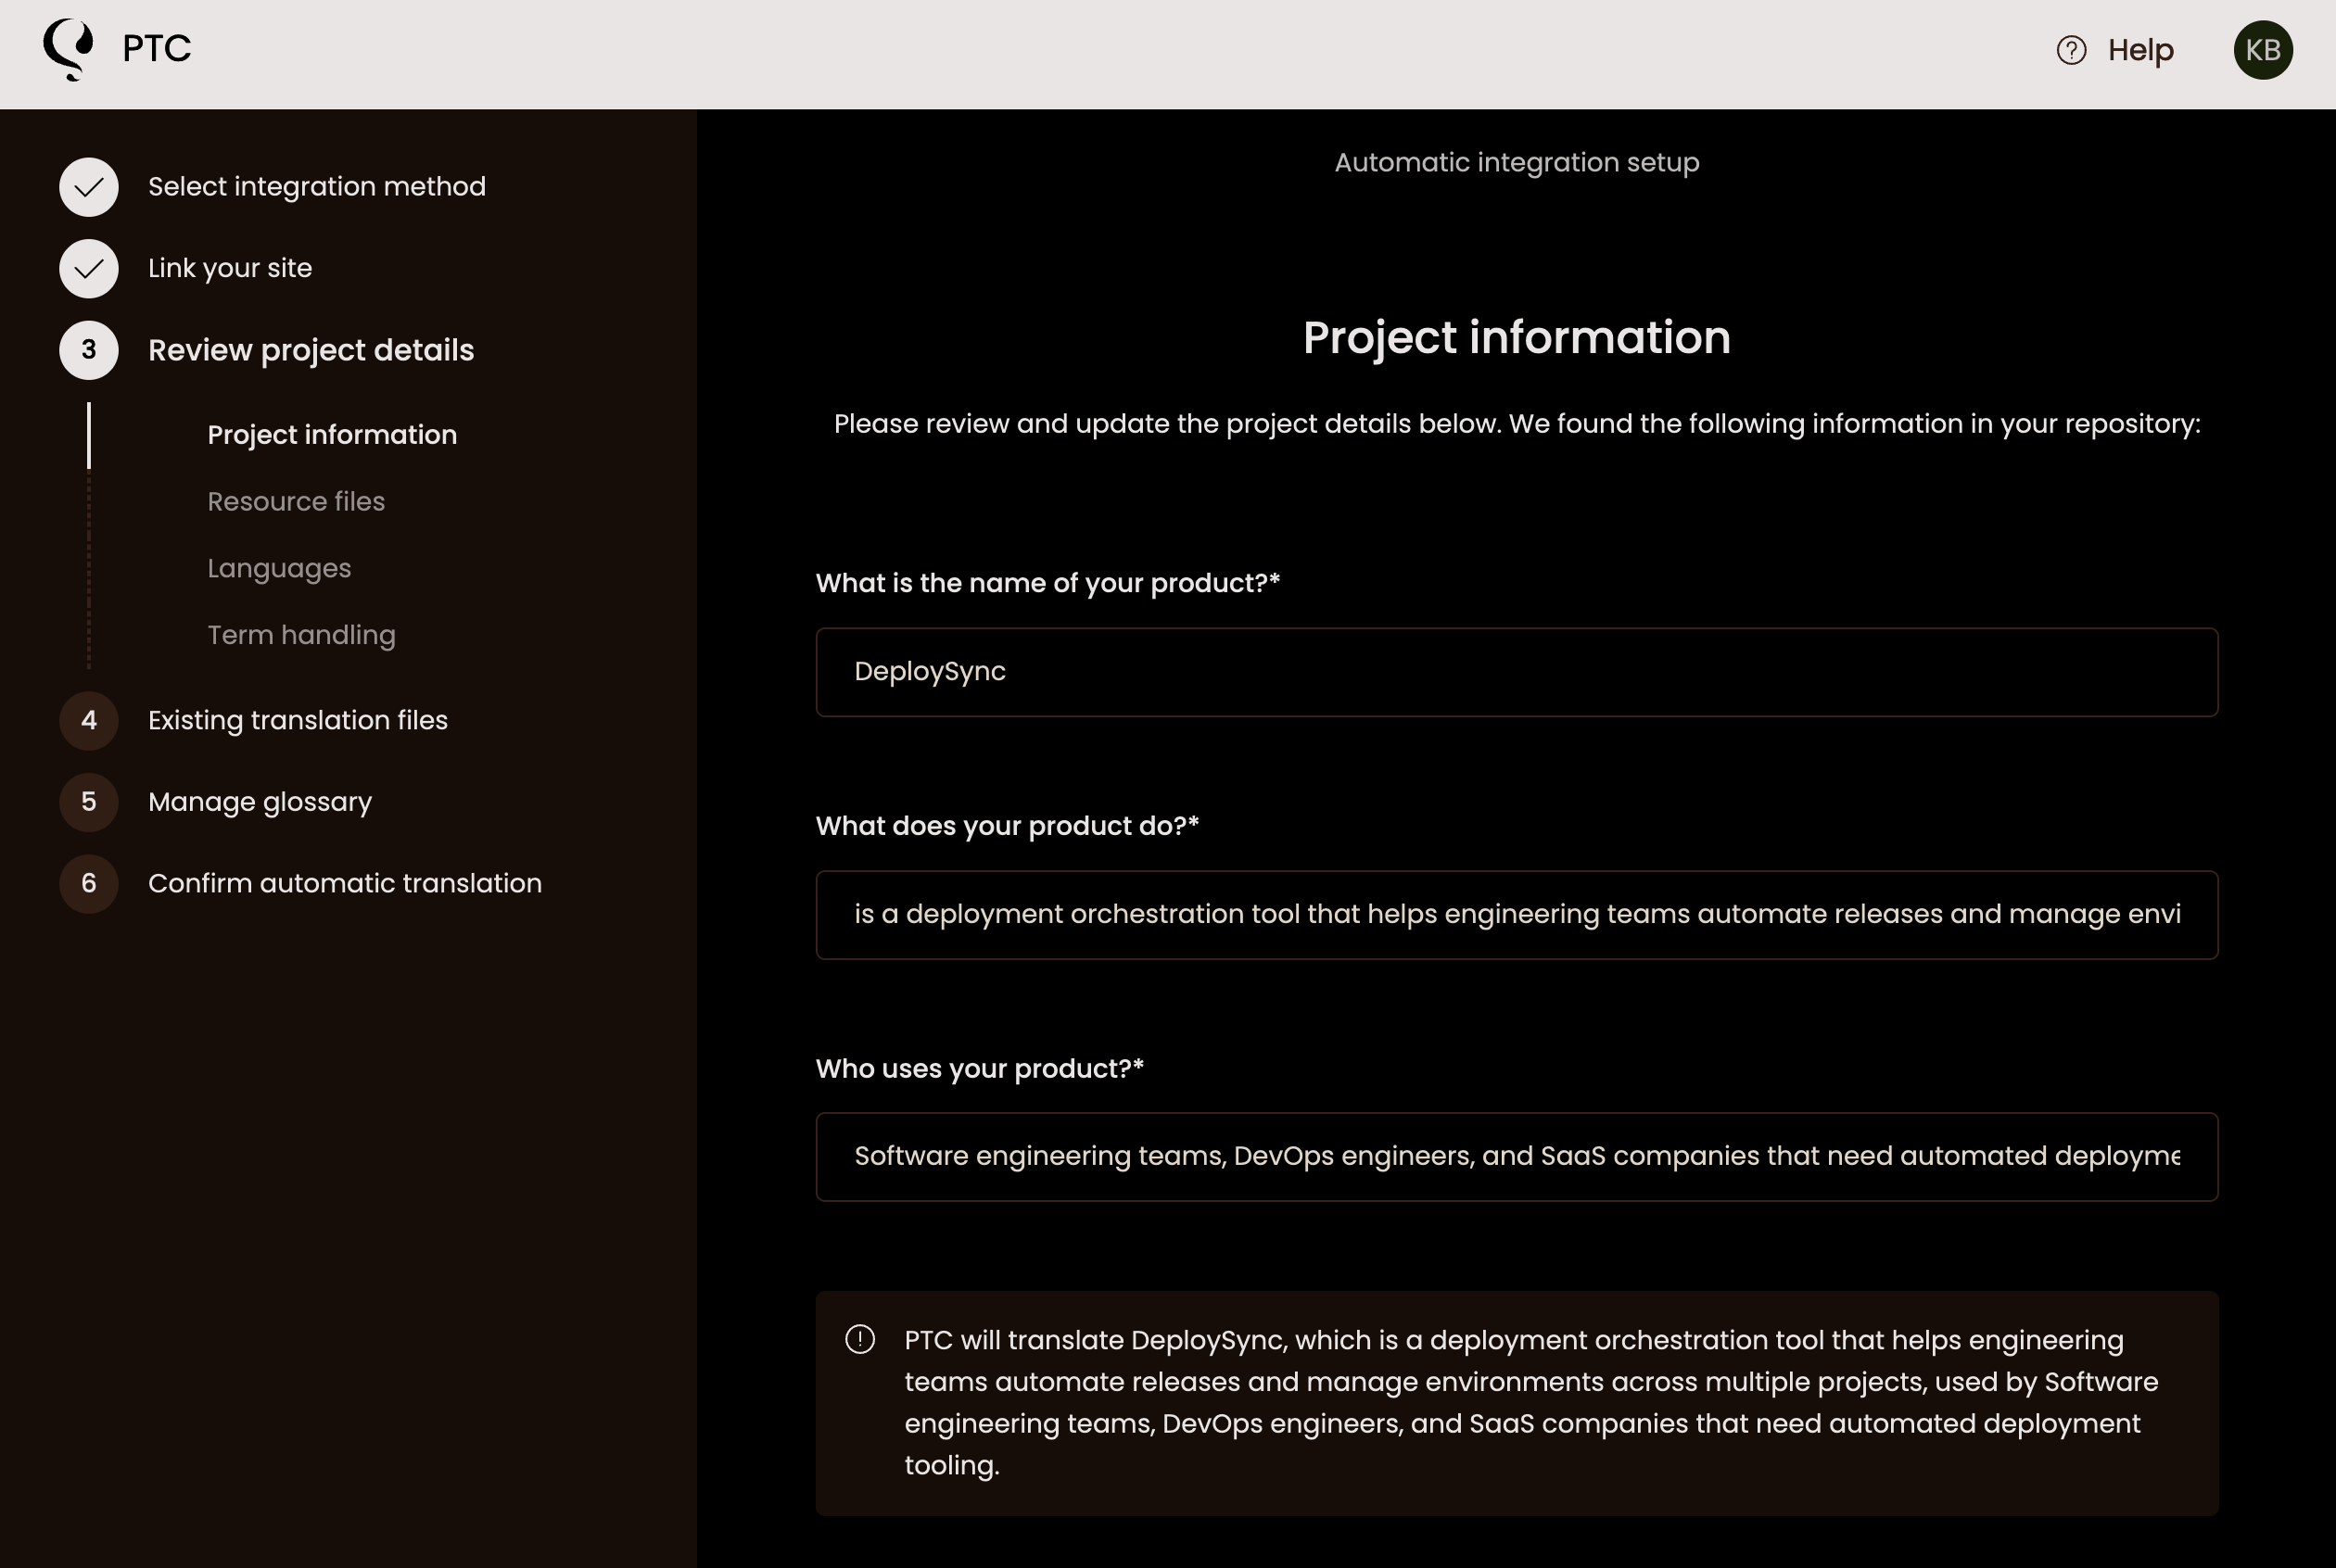
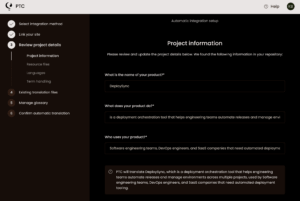
Tell PTC About Your Project
Provide your product name, target audience, and terminology preferences. This context influences the tone and formality of your translations.
Step 5
Add Your Resource Files
Upload the files containing your translatable text, then confirm output file names and save locations.
PTC can translate a wide range of resource file formats, including:
Gettext.po
JSON
YAML
Adobe Commerce / Magento .csv
Android
Apple .strings
Apple .stringsdict
Apple .xcstrings
Java Properties
JSON Array
See all supported file formats →
If you choose API integration, you’ll upload files programmatically after receiving your API key.
Step 6
Select Your Target Languages
Choose which languages to translate into. PTC supports 33+ languages.
- During the free trial, you can select up to 2 languages.
- With a paid subscription, you can select an unlimited number of languages.
You can add or remove languages later in Settings → Languages.
View all supported languages →
Step 7
Upload Existing Translations (Optional)
PTC delivers the best results translating from scratch, but you can upload existing translations during setup. It will use your translations and generate AI translations for any missing strings.
How to upload files with existing translations→
Step 8
Create a Glossary
PTC automatically adds your product name to the glossary. Add any brand terms requiring specific translations to ensure consistency.
You can manage glossary terms after setup from the Glossary tab in your PTC dashboard.
More about the glossary in PTC→
Step 9
Get Your AI Translations
Once setup is complete, PTC translates your files:
Manual File Upload:
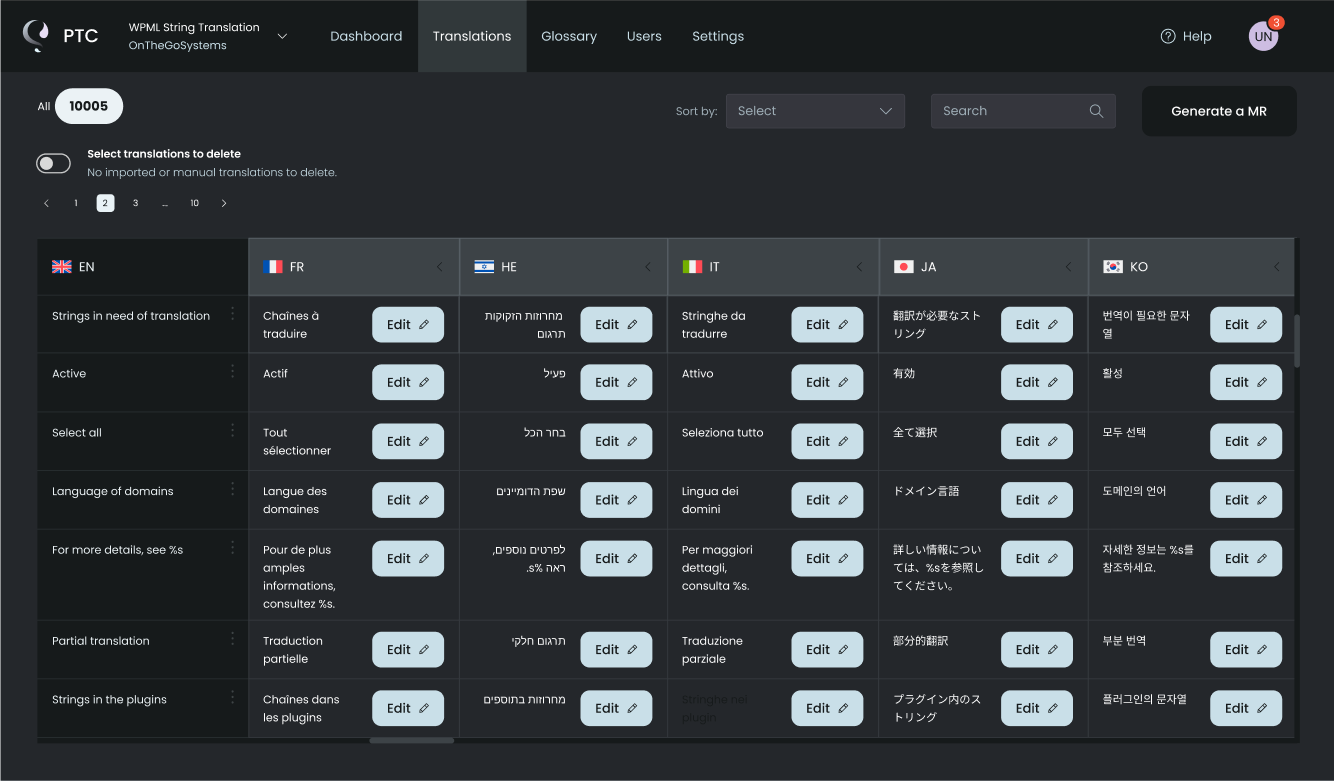
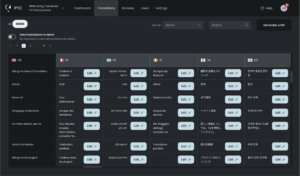
Download a ZIP from the Resource files tab, or view/edit translations in the Translations tab.
Git Integration:
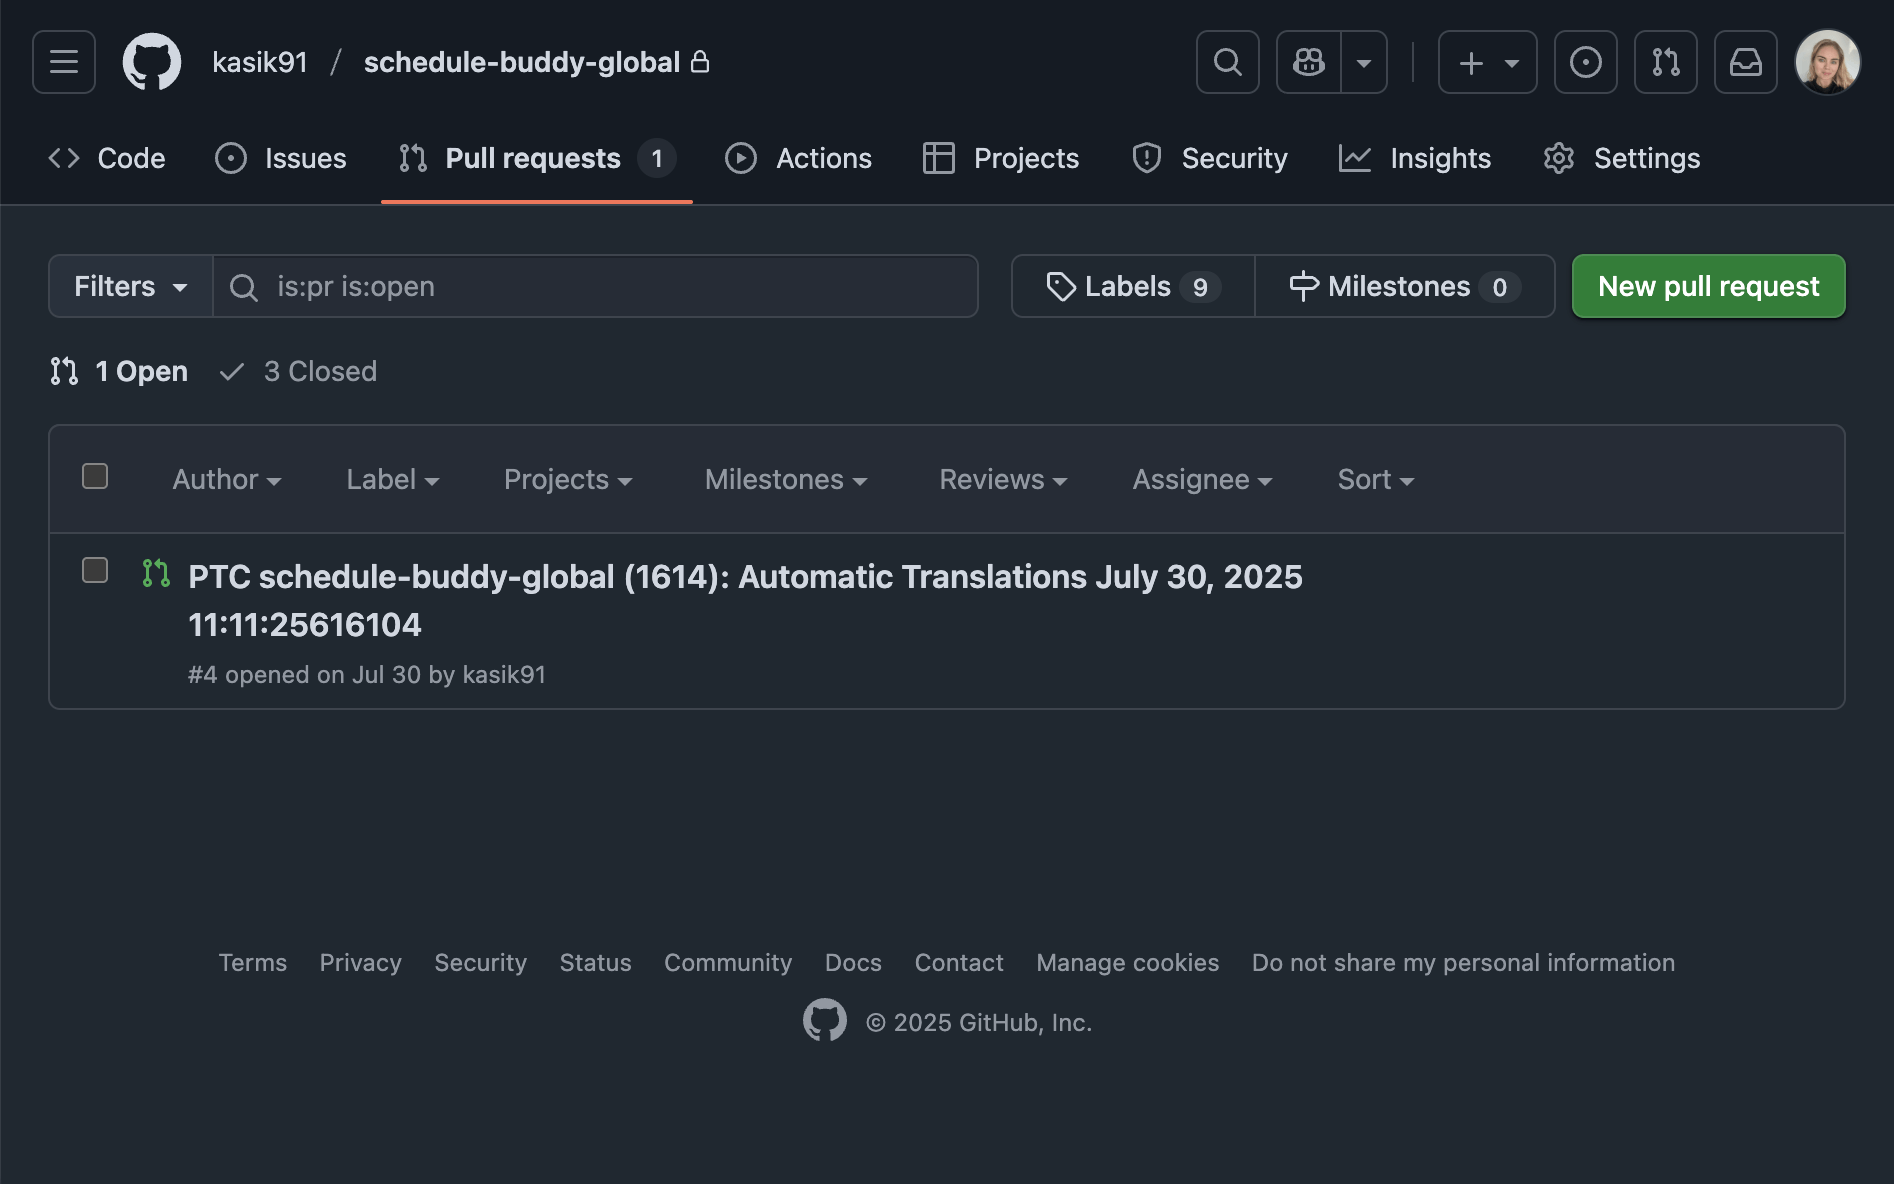
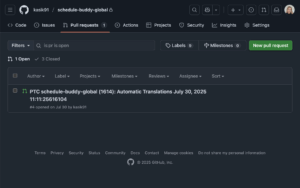
Review translations in the merge request, then merge when you’re ready.
API Integration:
Use the API endpoints to upload sources and download translations. You’ll receive a callback notification when they’re ready.
