Translate your Ruby on Rails (RoR) app with AI that delivers human-quality results. Get started with a free trial that doesn’t require a credit card.
PTC will translate for you the texts in the project’s resource files, as well as user-generated texts. With PTC, you can build fully multilingual applications, on a tiny budget, at human-translation quality.
Translate Your RoR Project with PTC for the First Time
PTC lets you automate the translation process by integrating directly into your Git repository or your CI flow. However, for this initial translation we’ll use manual file upload. This way, you can try PTC without giving it any access or spending time on integration.
Step 1
Sign Up for a Free Trial
Create your free account to start translating immediately. During the trial, you can translate 2,500 words into any two languages you choose. Once you use the trial word limit, you can move to Pay-As-You-Go and pay only for what you translate.
Step 2
Create a New Project
From the setup wizard, select the Manual File Upload option. This works perfectly for YAML files, commonly used to manage Rails translations, as well as many other supported file formats.
Step 3
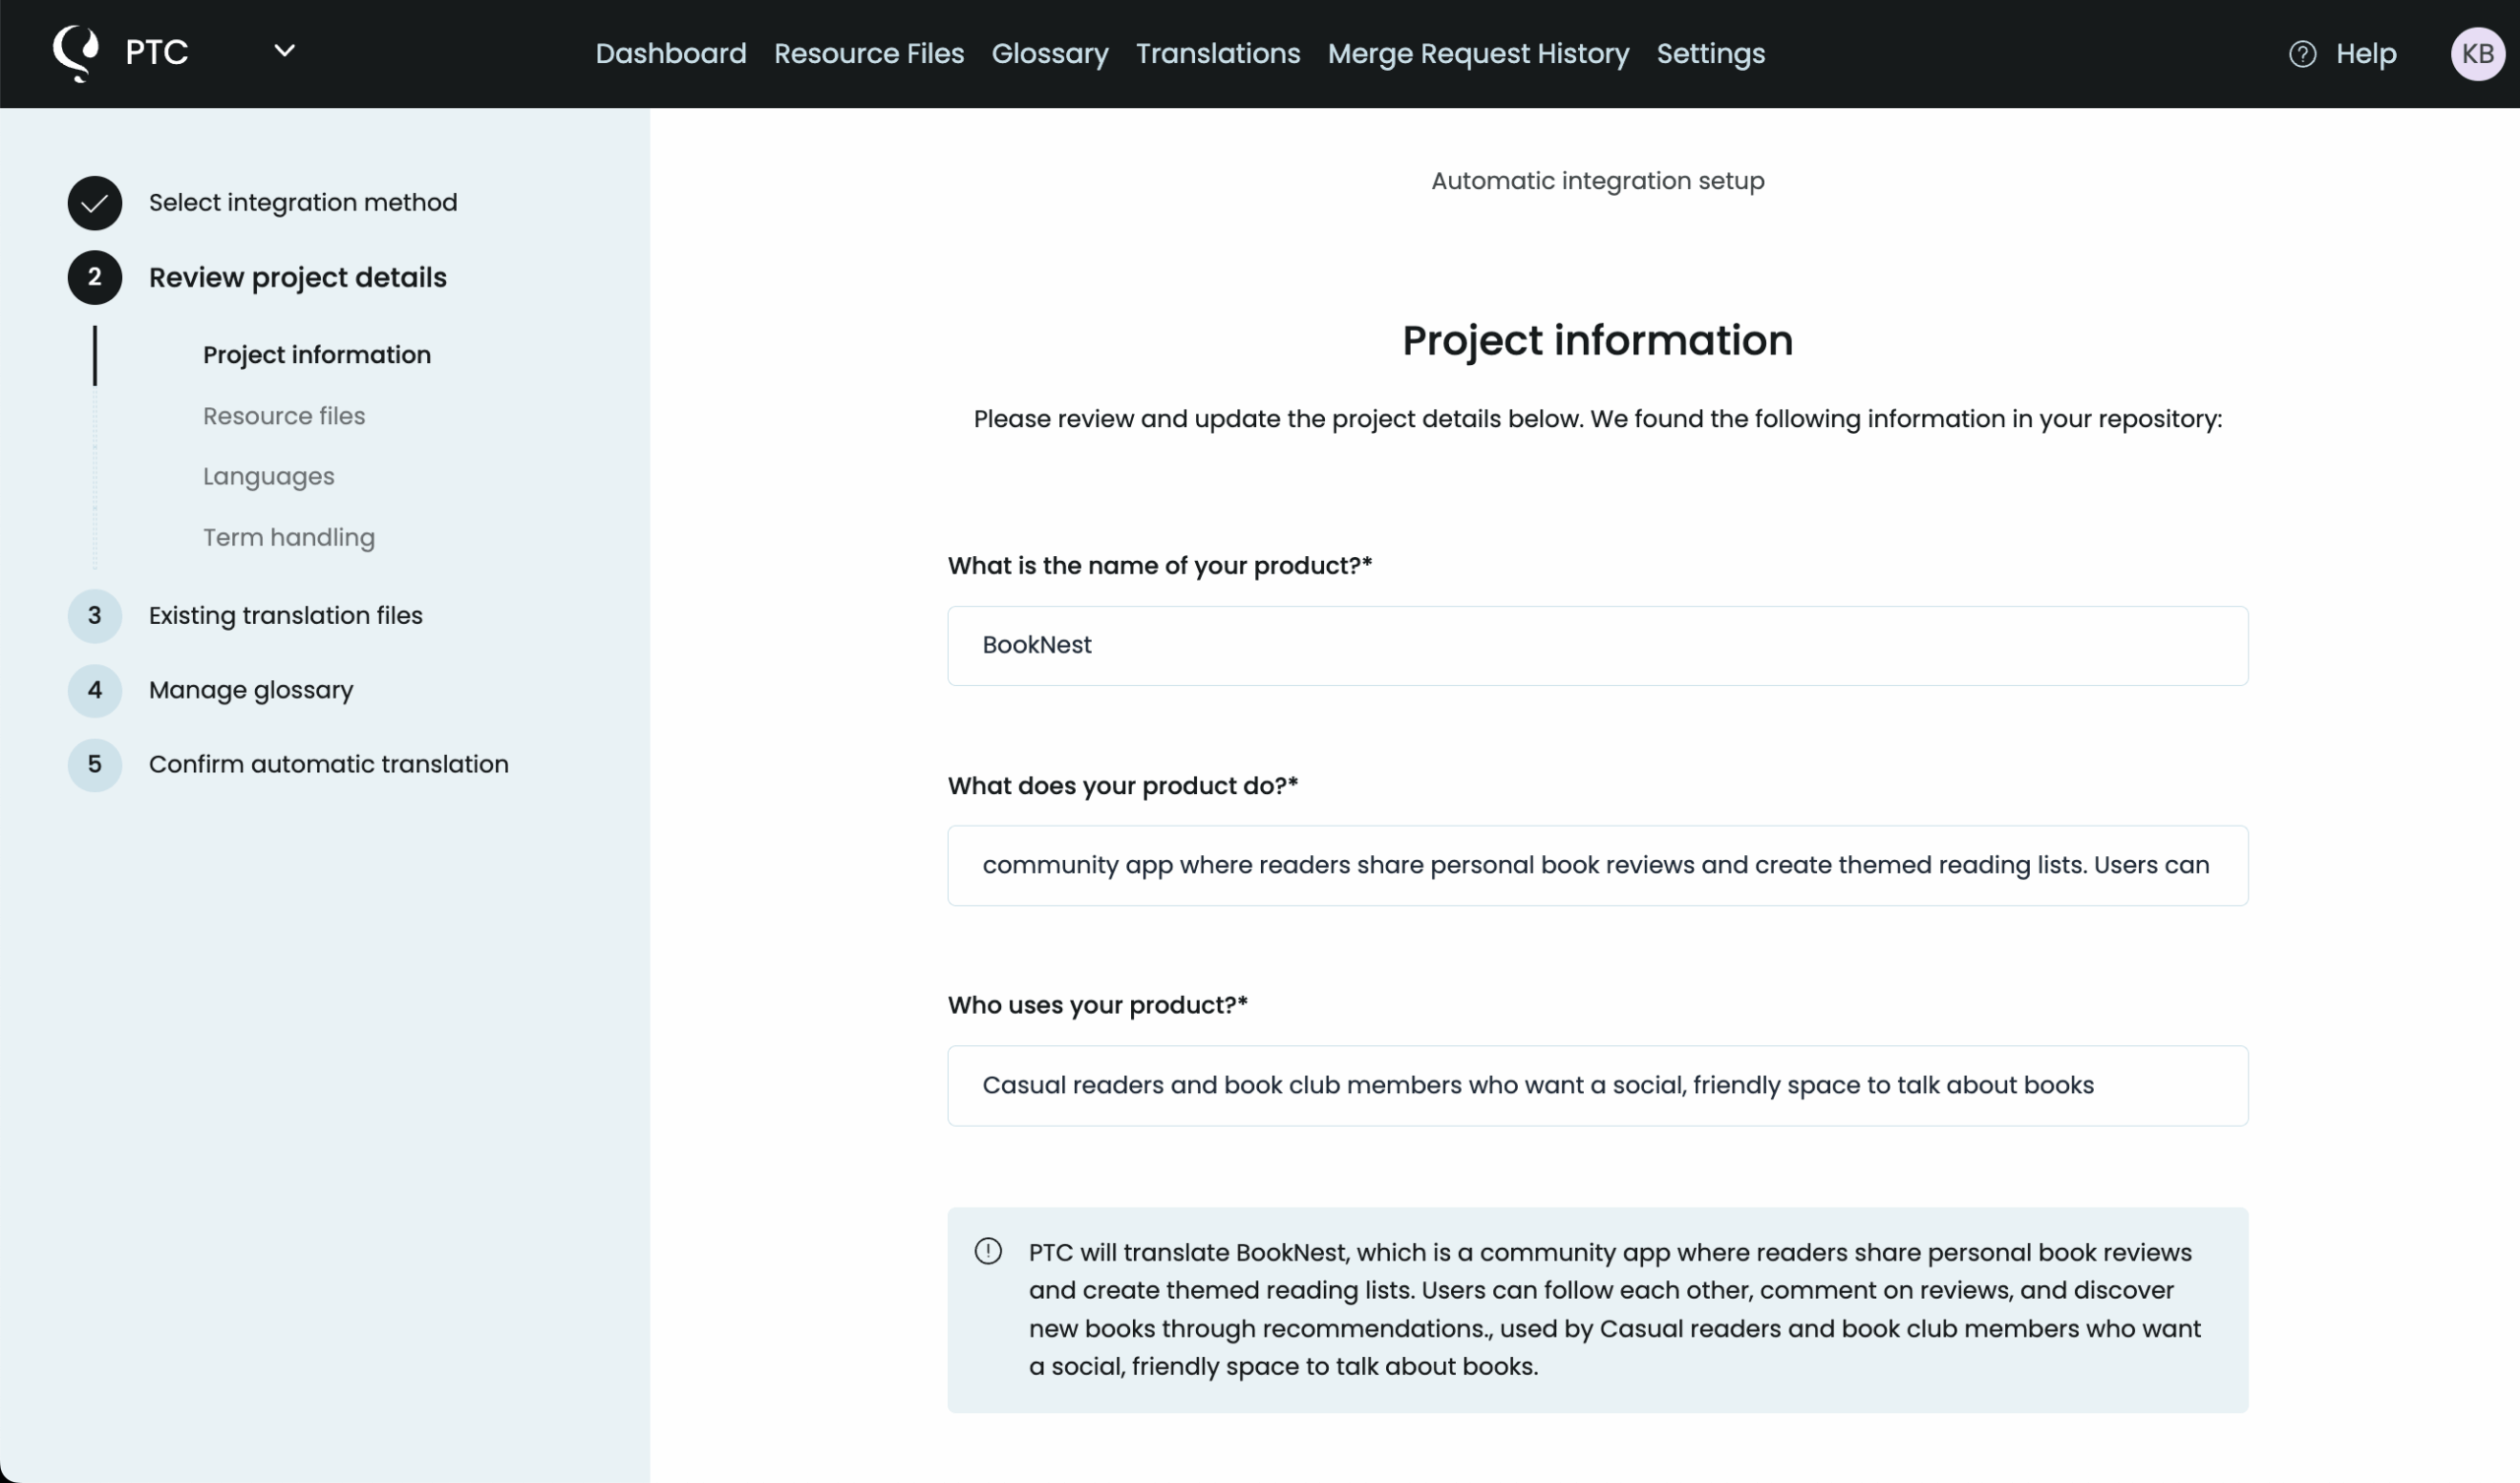
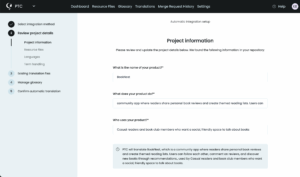
Describe Your Project
Add a short description of your Rails app and its purpose. PTC uses this context to choose the right translation style, tone, and terminology for your audience.
Step 4
Upload Your YAML File
Upload the Rails i18n file you want to translate (commonly config/locales/en.yml).
Step 5
Select Your Target Languages
Pick the languages you’d like to translate into. PTC supports 33+ languages and delivers human-quality translations for all languages spoken in major markets.
Step 6
View and Download Your Translations
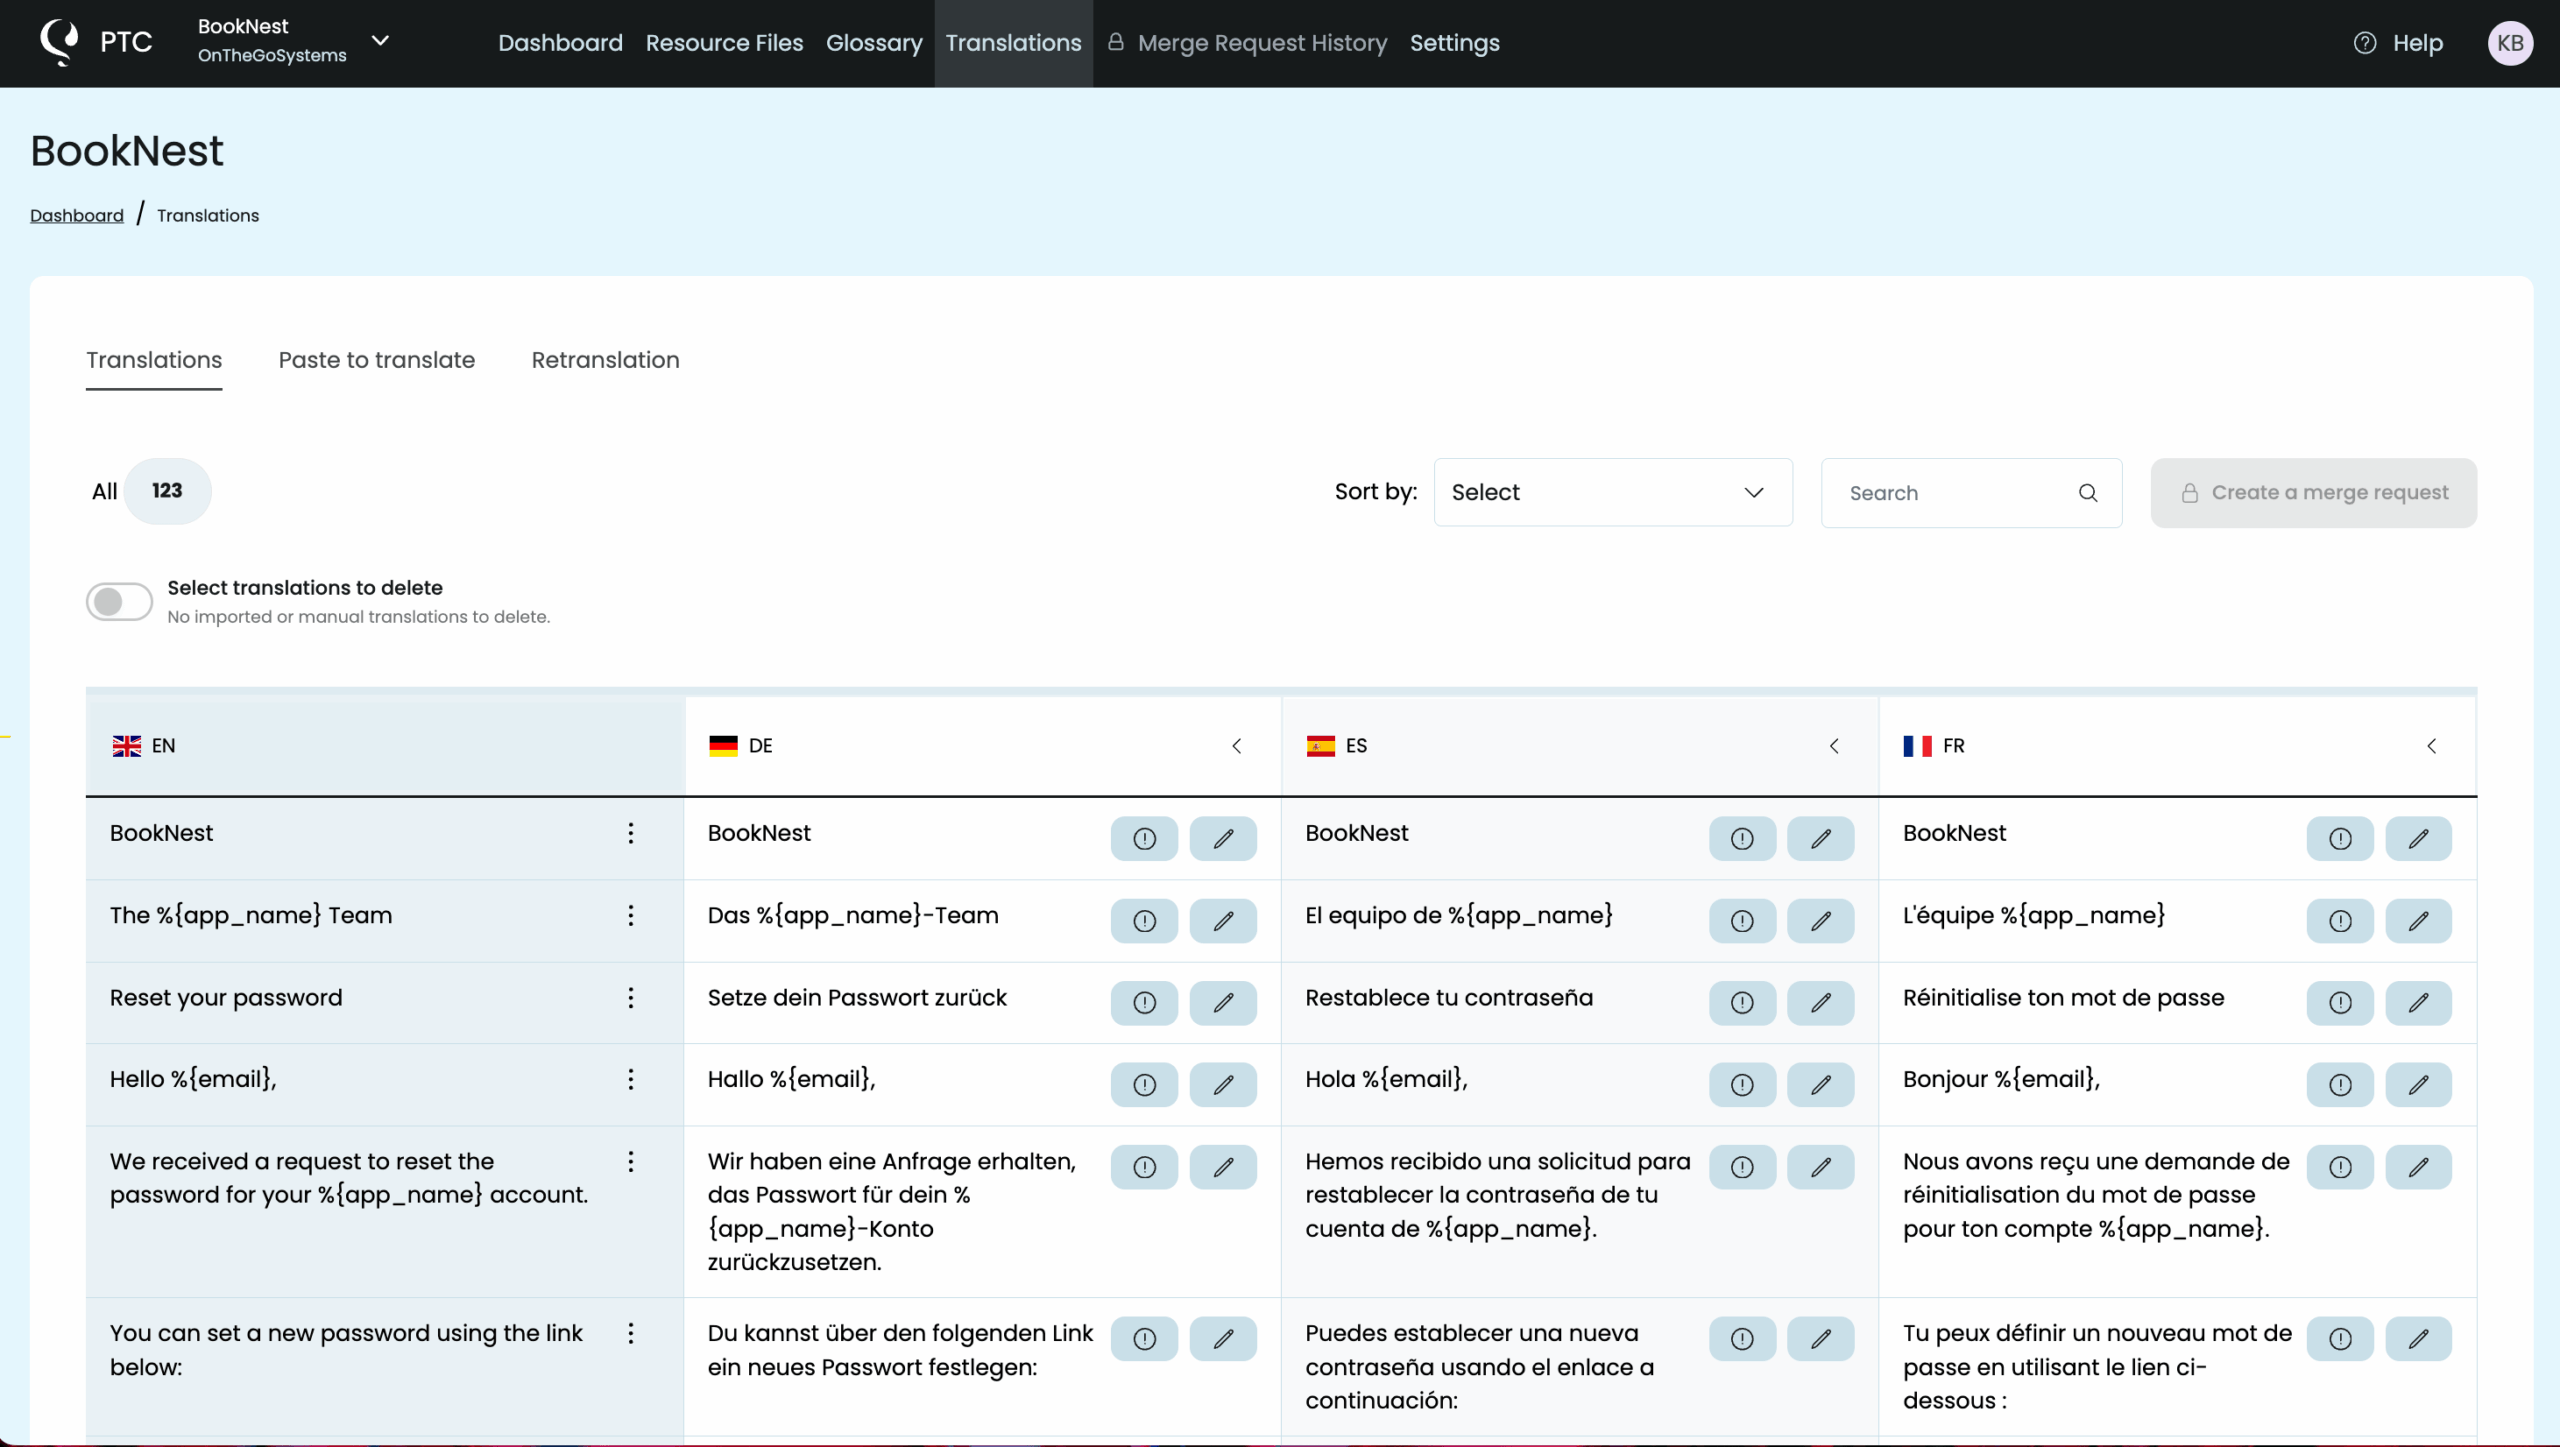
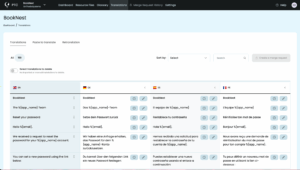
Within minutes, you’ll see your Rails translations in the Translations tab. They appear in a clear table organized by language.
Long strings are flagged in yellow so you can decide whether to keep them or ask PTC to generate a shorter version.
When you’re ready, head to the Resource Files tab to download your translations as a ZIP archive. If you translated into multiple languages, each will come as its own YAML file (e.g. fr.yml, de.yml).
Step 7
Add the Translated Files to Your Rails App
Place the downloaded files into your Rails project’s config/locales/ directory. Rails will automatically load them at runtime, so you can switch locales using I18n.locale without changing any code.
That’s it – you’ve translated a Rails app with PTC!
Translate Emails, Notifications, and Other Text for Your Rails App
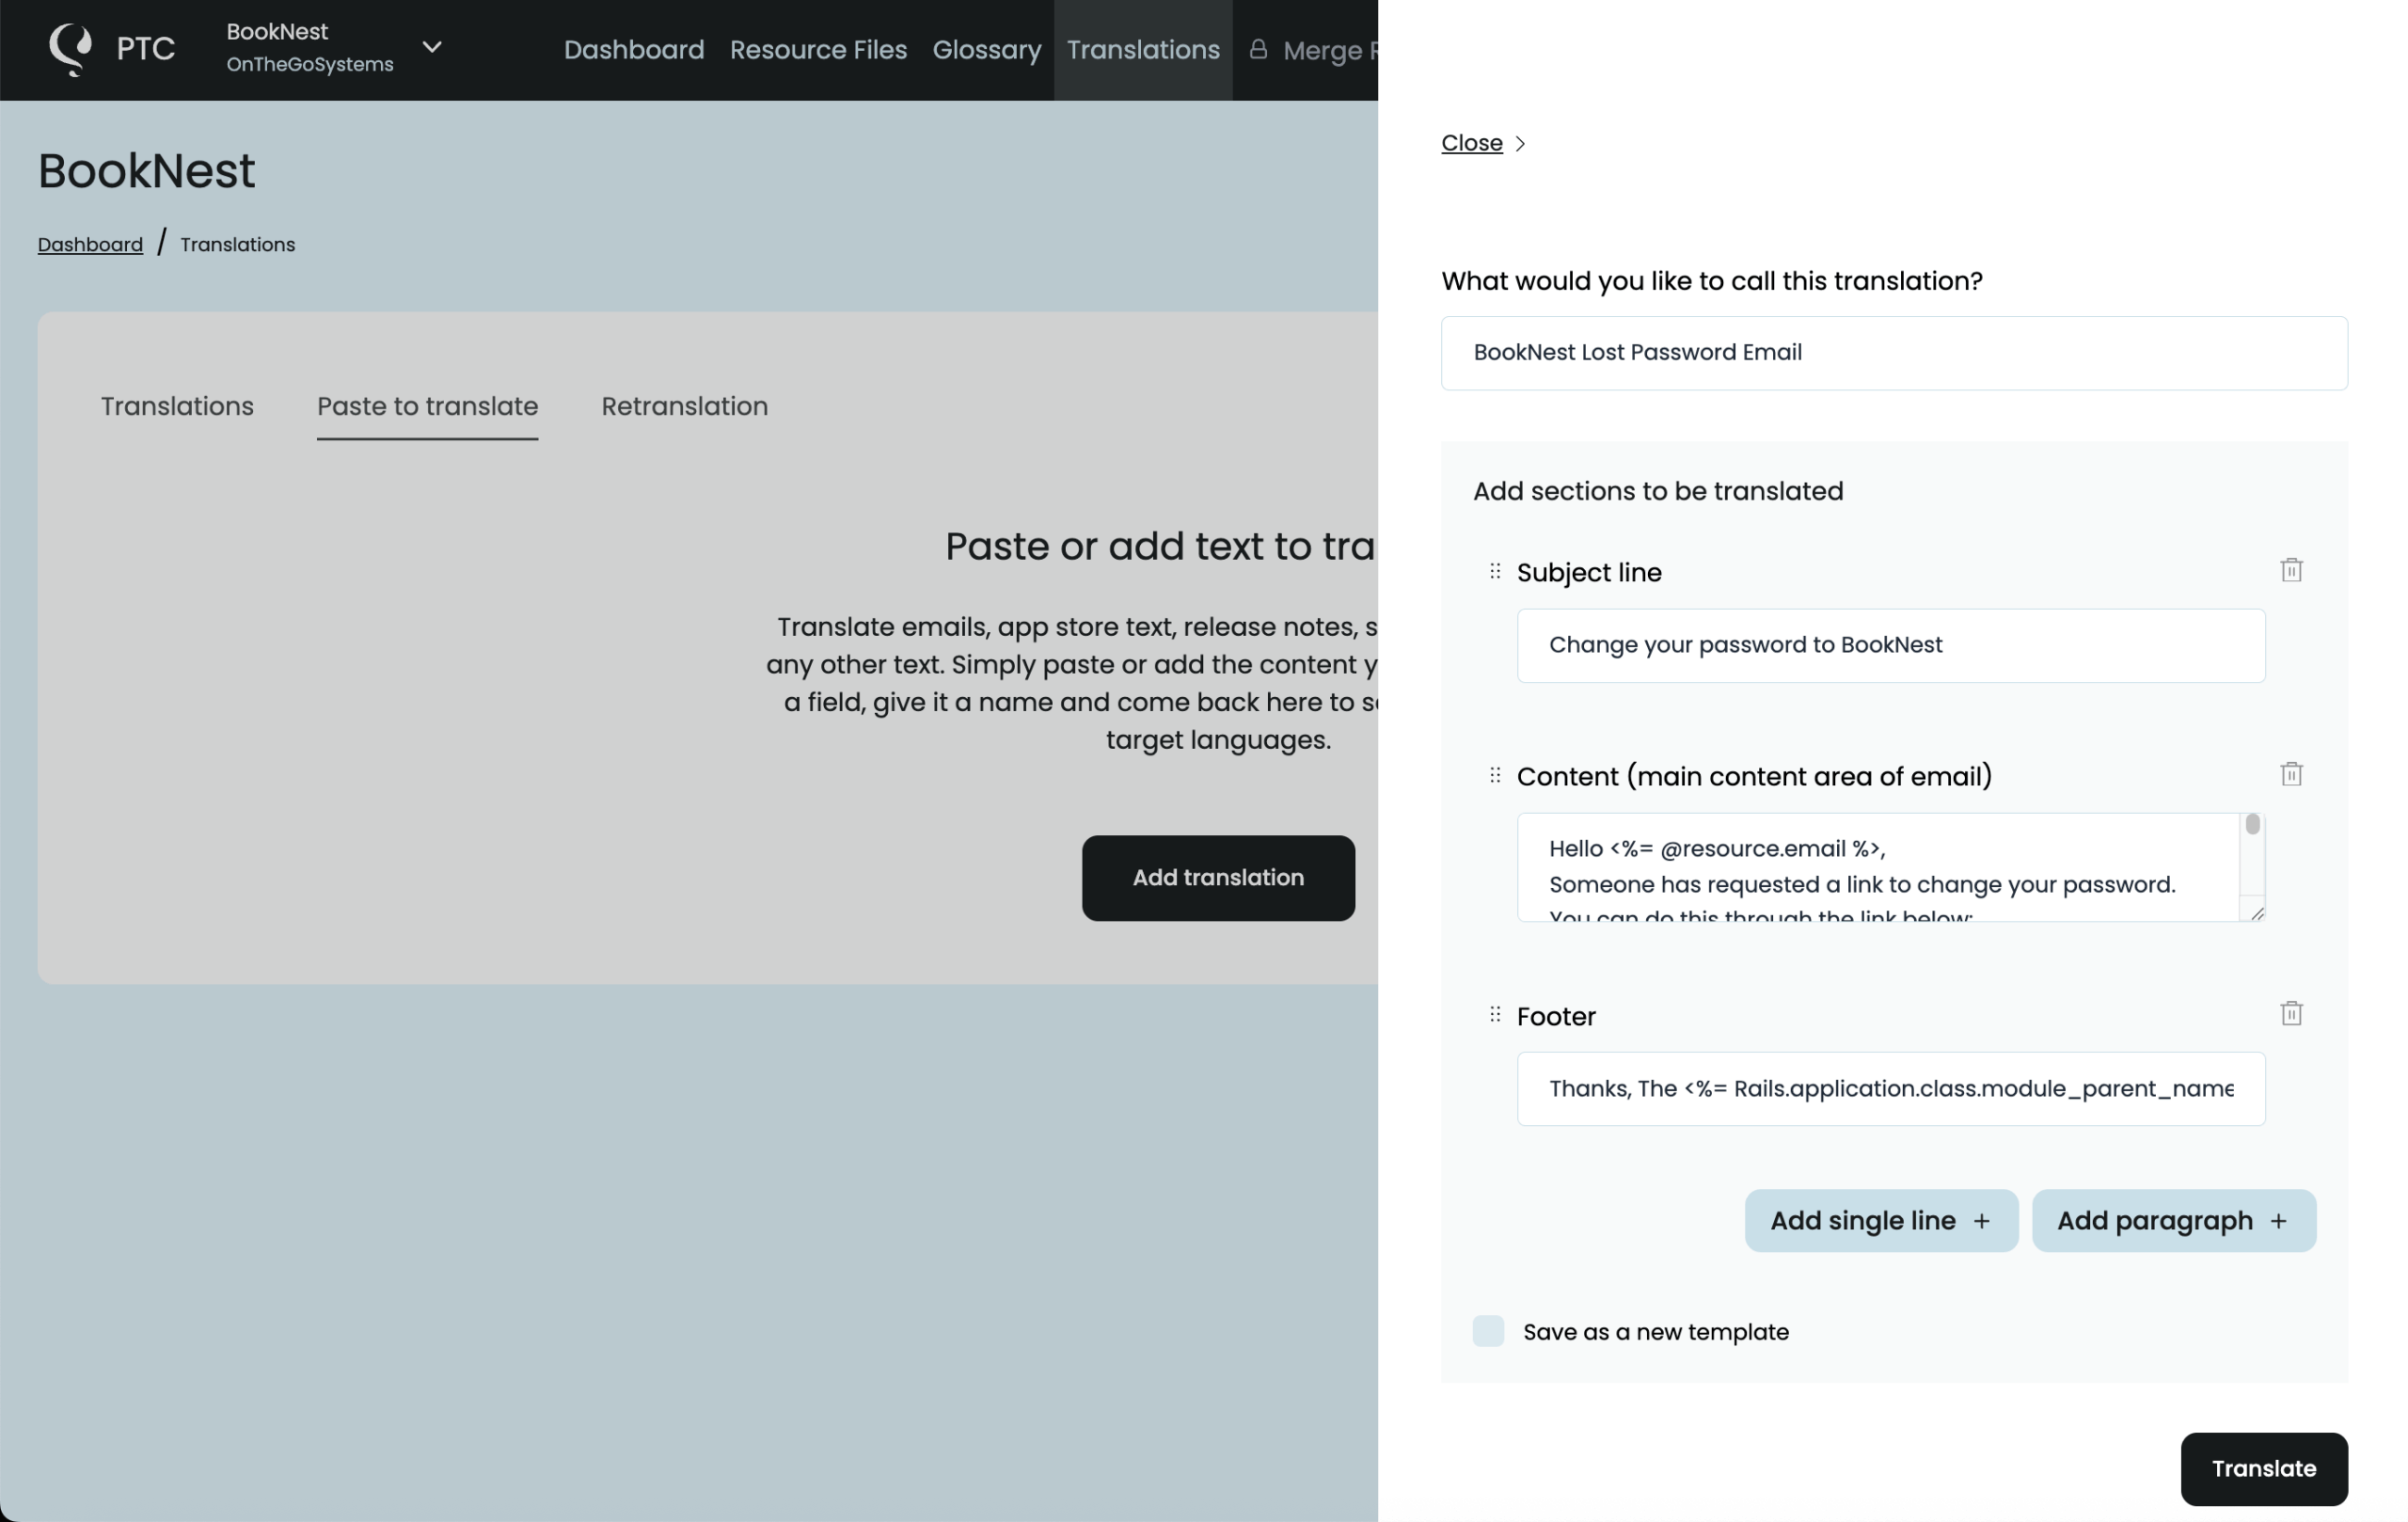
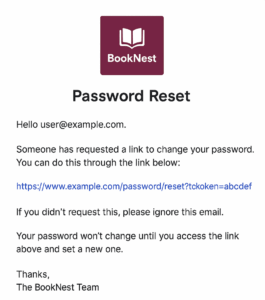
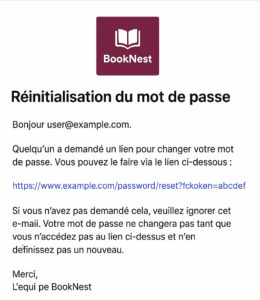
Rails projects include important text outside of config/locales/*.yml files — for example, Devise authentication emails or system notifications. Once you’ve translated your YAML files, use PTC’s Paste to translate feature to get the same context-aware translations for these texts.
- Go to Translations → Paste to translate
- Paste the text you want to translate (for example, your password reset email)
- Click Translate
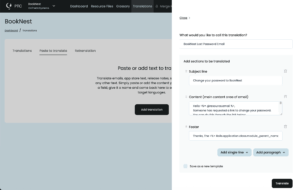
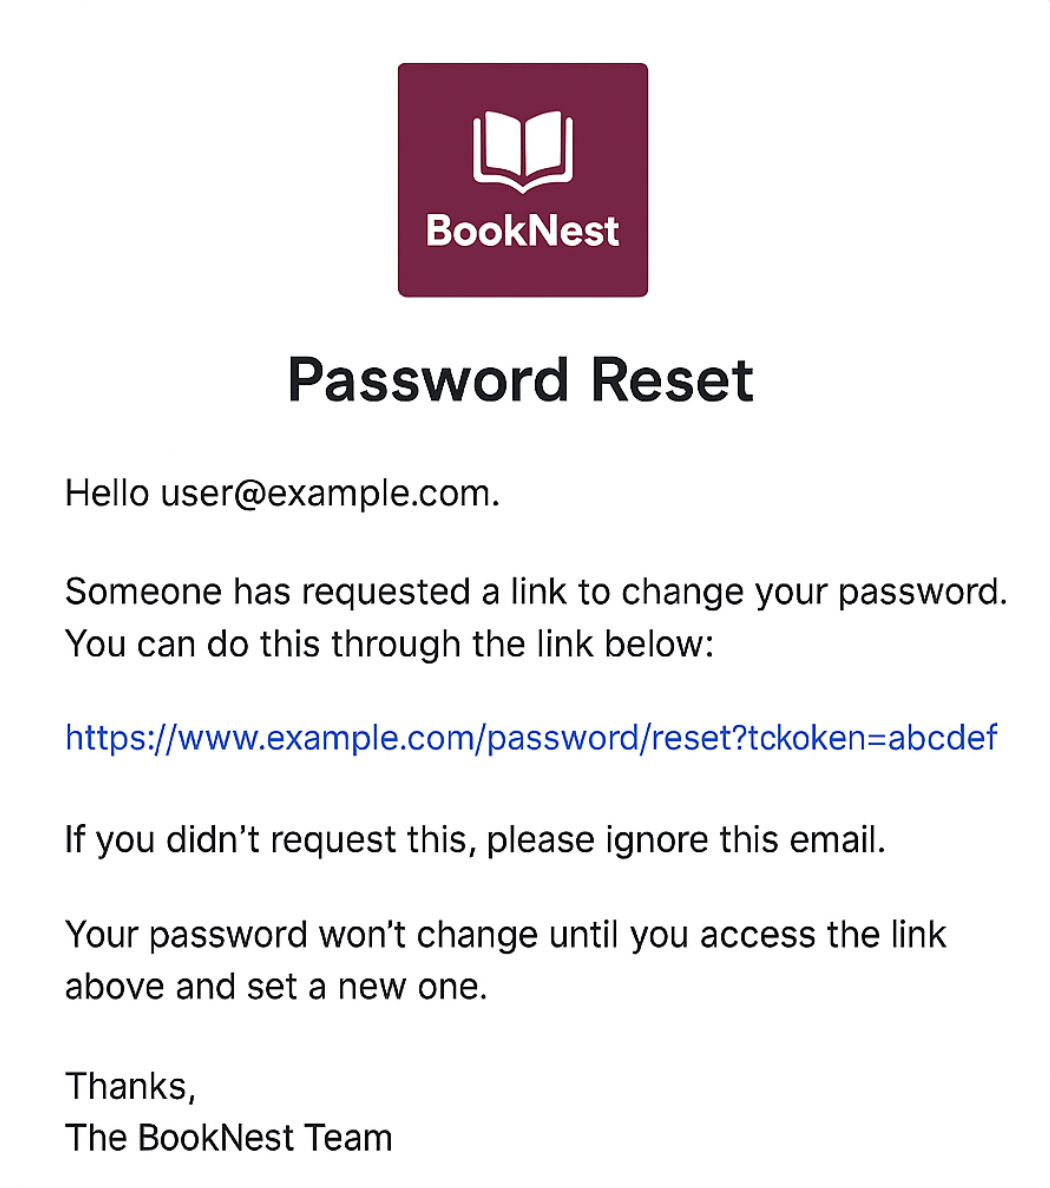
You’ll instantly get back high-quality, context-aware translations you can copy into your mailer views, Active Job notifications, or documentation.
Automate Your Rails Translations with Git or CI Integration
Once you’ve confirmed PTC’s quality with a manual upload, the next step is to automate the workflow by integrating with Git or CI. This way, every update you make is sent and translated automatically.
PTC gives you two flexible options to automate translations in a Rails app:
- Git Integration – Connect your GitHub, GitLab, or Bitbucket repository. Whenever your Rails i18n files change, PTC detects the update and opens a pull request with the new translations.
- API Integration – Use the API to tie PTC into your deployment pipeline. Your Rails project can send updated source strings automatically and fetch translated YAML files back, keeping your app multilingual with no manual effort.
Rails i18n Example: Demo of a Translatable Rails App
To show how Ruby on Rails internationalization (i18n) and translation works in practice, we built a small Rails demo application. The app displays the current server time with a refresh button and includes a simple language switcher. Each step below has a commit reference so you can follow along with the code changes.
1
Add Rails i18n Support
First, in config/application.rb, tell Rails which languages the app should support and set a default locale.
config.i18n.default_locale = :en
I18n.available_locales = [:en, :es, :de]Next, add the locale to the URL so each language has its own path, like /en/time or /es/time.
scope "/:locale" do
  get '/time', to: 'home#index', as: :time_display
endFinally, in app/controllers/application_controller.rb, make sure Rails loads the right locale from the URL and includes it in all links.
class ApplicationController < ActionController::Base
  around_action :switch_locale

  def switch_locale(&action)
    locale = params[:locale] || I18n.default_locale
    I18n.with_locale(locale, &action)
  end

  def default_url_options
    { locale: I18n.locale }
  end
end
Commit Reference: Set up i18n
2
Add a Language Switcher
Now that the app supports multiple locales, give users a way to switch between them.
Rails already includes the current locale in all generated URLs (because of the default_url_options method in ApplicationController). That means you can create a simple UI that only updates the locale parameter while keeping the user on the same page.
In our demo app, the language switcher is added in app/views/layouts/application.html.erb and styled in app/assets/stylesheets/application.css.
<nav>
  <%= link_to "English",  url_for(locale: :en) %> |
  <%= link_to "Español",  url_for(locale: :es) %> |
  <%= link_to "Deutsch",  url_for(locale: :de) %>
</nav>
Commit Reference: Add a language switcher
3
Make All Text Translatable (Ruby and JavaScript)
Before you can translate your app, all user-facing text needs to live in Rails i18n files instead of being hard-coded. This means:
- Do the same for any visible JavaScript text (like alerts or tooltips)
- Replace text in views and controllers with translation keys
- Add those keys and their default-language values to
config/locales/en.yml
Part A. Replace Text in Views and Controllers
Rails uses the built-in I18n.t (or simply t) helper to look up strings from your translation files.
Correct (using translation keys):
<h1><%= t(:hello) %></h1>
<p><%= t(:current_time, time: @time) %></p>
<button id="click-me"><%= t(:refresh) %></button>Incorrect (hard-coded text):
<h1>Hello</h1>
<p>Current time: <%= @time %></p>
<button>Refresh</button>Hard-coded text won’t appear in your YAML file, which means it can’t be translated later.
Add these keys in config/locales/en.yml:
en:
  hello: "Hello"
  current_time: "Current time: %{time}"
refresh: "Refresh"Commit Reference: Internationalize Ruby code
Part B. Add JavaScript Strings to YAML
Rails doesn’t automatically pull text out of JavaScript files. If you have any strings shown to users in the browser, like alerts, tooltips, or confirmation messages, you’ll need to put them in your source-language YAML file as well.
For example, to translate a confirmation popup in JavaScript, add the string to config/locales/en.yml:
en:
confirm: "Are you sure?"Later, this will be exported alongside your Ruby translations so both views and JavaScript use the same keys.
Commit Reference: Add strings for JavaScript
At this point, your en.yml file contains all the text that appears in your app. This file is the base version that PTC will use to create translations into other languages.
4
Translate YAML Files with PTC
Now that all your app’s text is stored in config/locales/en.yml, you can sign into your PTC account and generate translations.
- PTC connected to our repository and automatically detected the English file
- It created translated versions like
fr.ymlandde.yml - It opened a pull request with the new files in the same folder
Each translated file keeps the same keys and structure as the English version, so you can safely merge them into your project.
Commit Reference: AI translations created by PTC
5
Load Translations in JavaScript
Your translated .yml files work automatically in Rails views. But JavaScript can’t read YAML — it needs JSON.
To make your translations available in JavaScript, use the i18n-js gem to convert YAML into a JSON file that the browser can read:
- Add the gem
i18n-jsto your Gemfile and runbundle install. - After installation, run
i18n initto generate the default configuration. - Update your configuration to set the file to
public/locales.json. This prepares your app to store translations in a JSON file that JavaScript can access.
Commit Reference: Adding i18n-js
Now, run the i18n export command. This command reads your .yml files and writes the translated keys into public/locales.json.
Commit Reference: Export the translations
6
Use Translations in JavaScript
With locales.json in place, you can load translations in your JavaScript code and display the correct text based on the active language.
Rails 7 includes Importmap, which makes it easy to manage JavaScript dependencies without bundlers.
- Pin the libraries in
config/importmap.rb:
pin "i18n-js", to: "https://esm.sh/i18n-js@latest/dist/import/index.js"
pin "load_locale", to: "load_locale.js"- Create a file in
app/javascript/load_locale.jsand add a loader script to fetch the JSON file:
export async function loadLocale() {
  const response = await fetch('/locales.json');
  const data = await response.json();
  return data;
}Now your JavaScript can fetch the translations and display them just like Rails views.
Commit Reference: Add i18n-js to JS and create a function to load translations
7
Display the Right Language in JavaScript
At this point, Rails is exporting translations to locales.json and your JavaScript can load them. The last step is to make sure JavaScript uses the same locale as the Rails views.
- Pass the current locale to the frontend by adding it to the
<body>tag:
<!-- app/views/layouts/application.html.erb -->
<body data-locale="<%= I18n.locale %>">- Import
i18n-jsand the loader function in your JavaScript:
import { I18n } from "i18n-js"
import { loadLocale } from "./load_locale"
- When the page loads, fetch the translations and set the locale:
document.addEventListener('turbo:load', async () => {
  const translations = await loadLocale()
  const i18n = new I18n(translations)

  // use the current locale from the body tag
  i18n.locale = document.body.dataset['locale']

  // Example: confirmation dialog
  if (confirm(i18n.t('confirm'))) {
    // user clicked OK
  }
})
Now, your JavaScript will show messages in the selected language, just like your Rails views.
Commit Reference: Internationalize JavaScript
With this, the demo app is fully multilingual: Rails views and JavaScript both display the right language, and PTC keeps the translations up to date.

Start Translating Your Rails App Today
You’ve seen how quickly PTC turns your Rails app multilingual. Start your free trial and bring human-quality AI translations to your Rails project in minutes.

