

How To Translate PO Files with PTC
1. Upload Files
Add your .po or .pot file and select the output format. PTC returns translations as PO, MO, l10n.php, or JSON, whichever your project needs.
2. Add Context
Our AI analyzes your source file and automatically creates a product description to translate with the right tone and terminology. Review it for accuracy.
3. Download
Get fully translated, accurate PO files in minutes. Plural forms, HTML tags, and placeholders like %s and {name} are handled automatically.
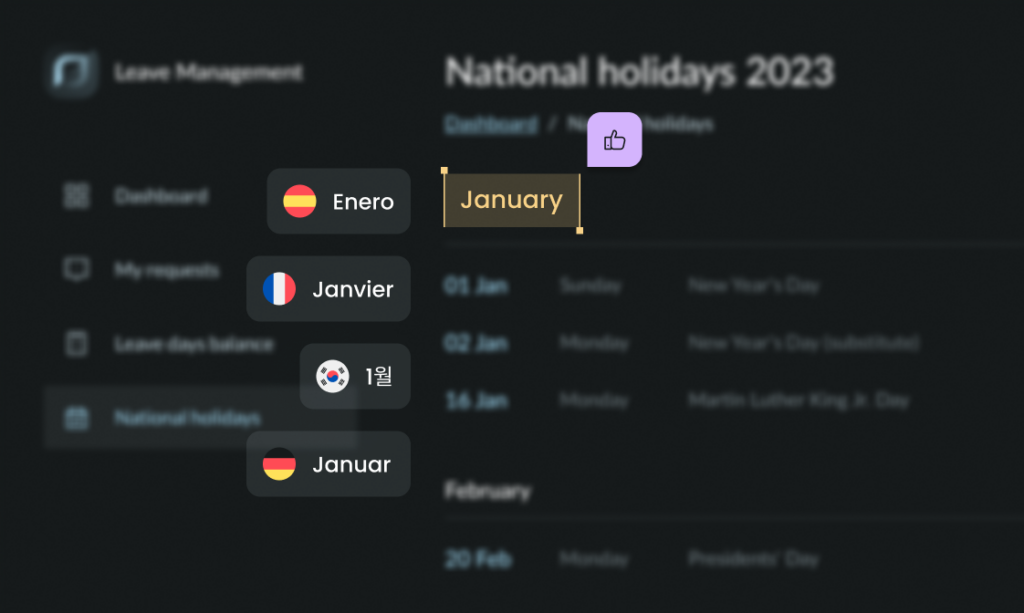
PO Files Checked In Context, Automatically
Your PO files look fine. But once you load those translations are inside your plugin or theme, problems can show up that no file-level review catches.
A label gets cut off in the WordPress admin, a button text overflows, or a translation isn’t quite right.
PTC Visual QA examines your translated WordPress UI visually and finds these issues before your users do. You release knowing every language has been reviewed, without manually testing your plugin or theme.

Fits your existing workflow
Connect PTC to GitHub, GitLab, or Bitbucket to get continuous translation updates. Or, integrate with your CI/CD pipeline.

Linguist-backed quality
Our linguists continuously refine the AI, so your translations outperform human translators and generic LLMs.

No subscription needed
Start with a 30-day trial and translate 20,000 words for free. After that, pay only for what you translate. No minimum, no commitment, no surprises.
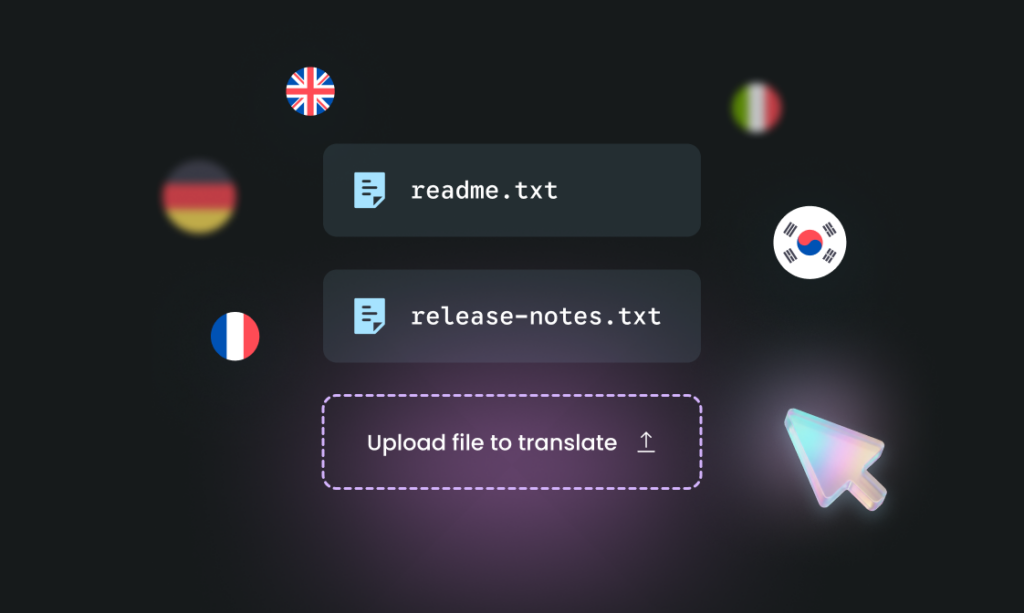
Translate More Than Just Your PO Files
Translating resource files is one thing. But what about your readme.txt, release notes, emails to users, and WordPress.org description?
PTC’s Paste to Translate feature handles all the text that lives outside your PO files. Because PTC already knows your product, every translation uses the same terminology and tone.
Frequently Asked Questions

Ready to translate PO files?
Join thousands of WordPress developers — including the team behind the WPML plugin — using PTC for fast, accurate PO file translations.