Translate XML files instantly with AI. Upload your strings.xml file to PTC and localize your Android app in minutes.

20,000 words for free
Easy, 5-minute setup
Accurate translations
Get Started with Android Strings XML Translation
Step 1
Sign Up for a Free Trial
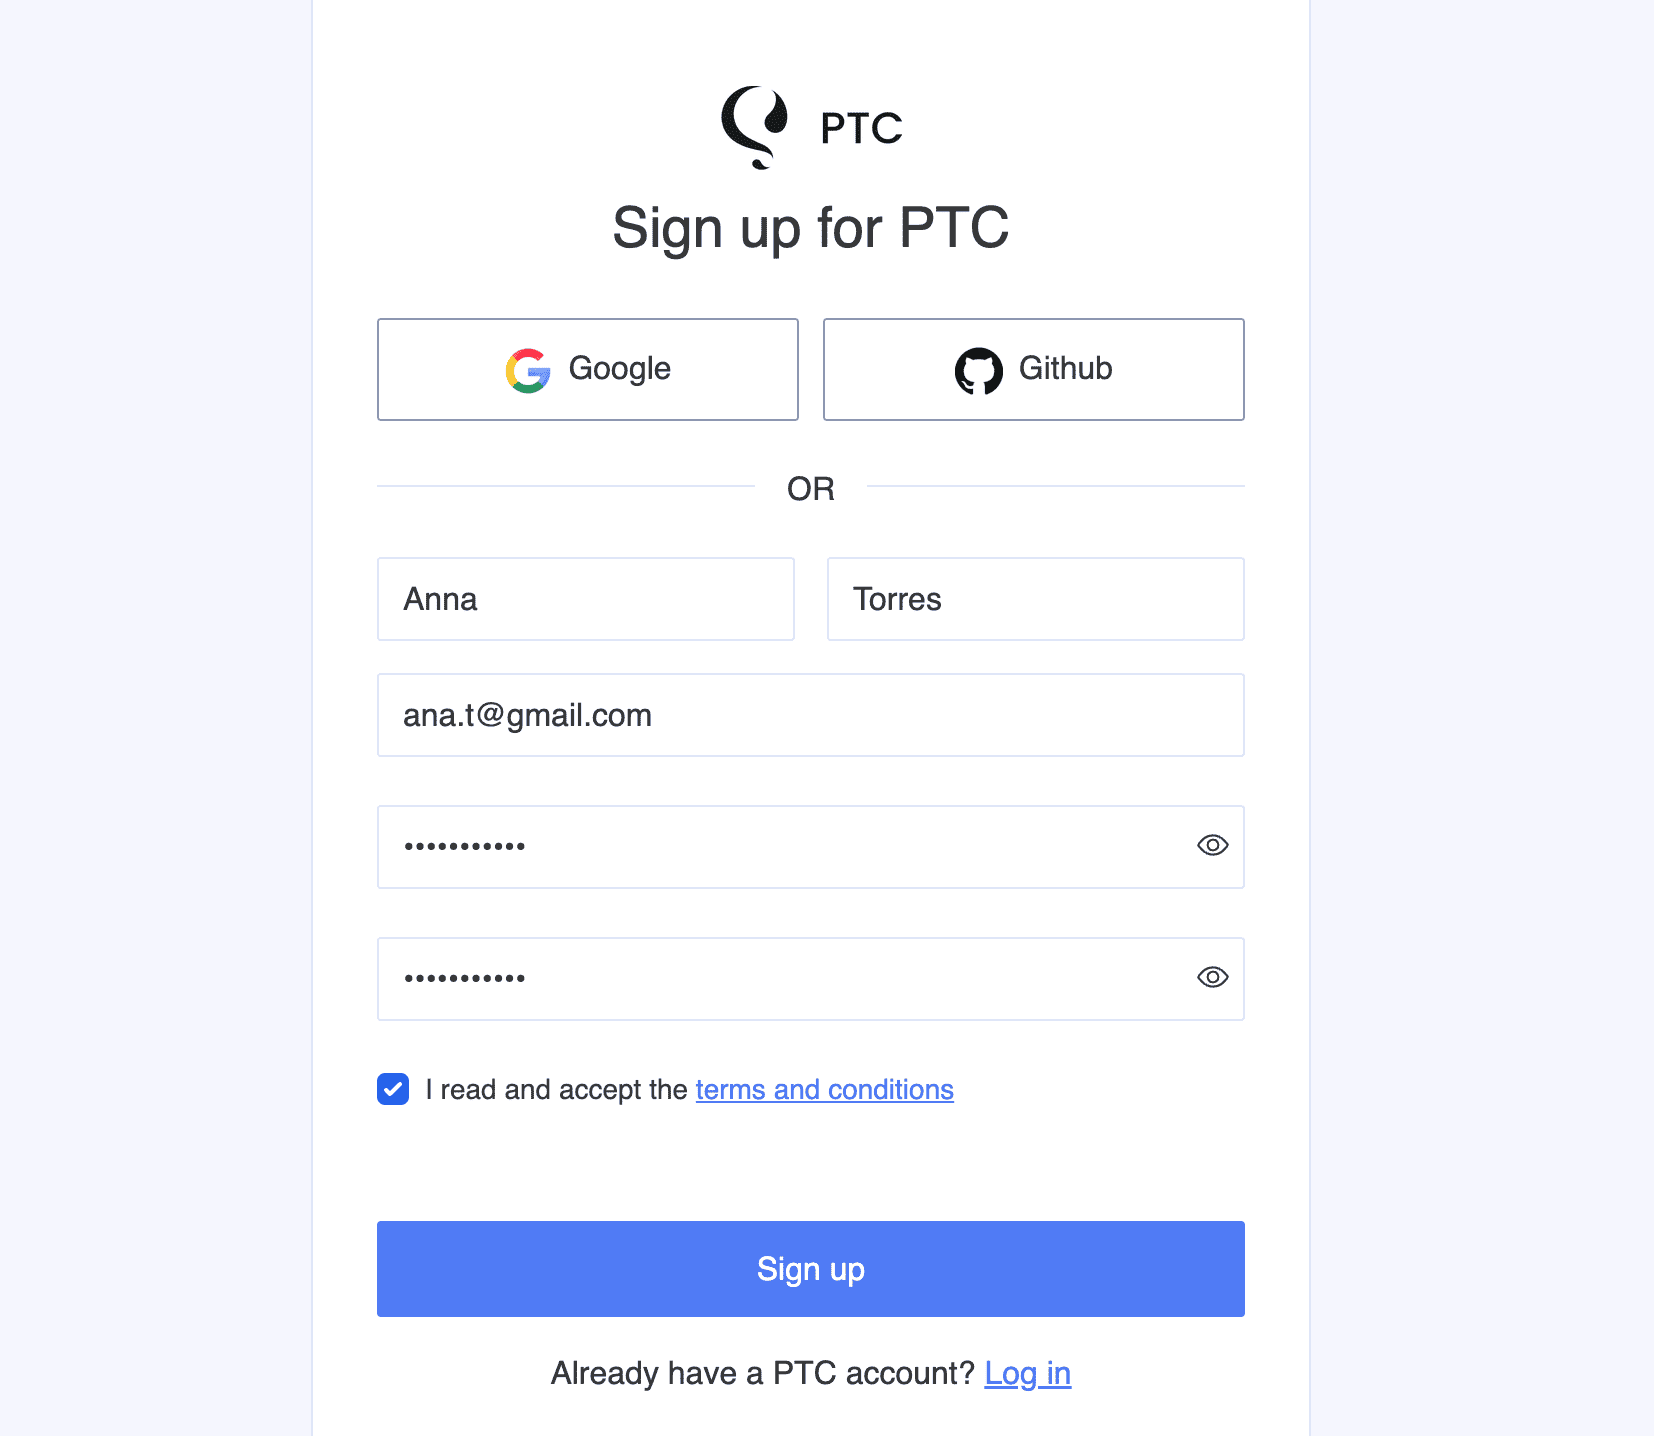
Sign up for a PTC account for a free 30-day trial to translate 20,000 words into 2 languages, no credit card needed.
Step 2
Upload Your strings.xml File and Select Languages
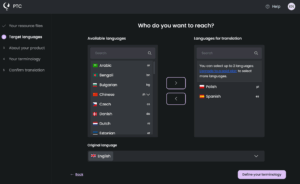

In the setup wizard, upload your strings.xml file and set your output paths, then choose which languages to translate into.
PTC supports 40+ languages — during the free trial, you can select any two.
Step 3
Review Your App Description

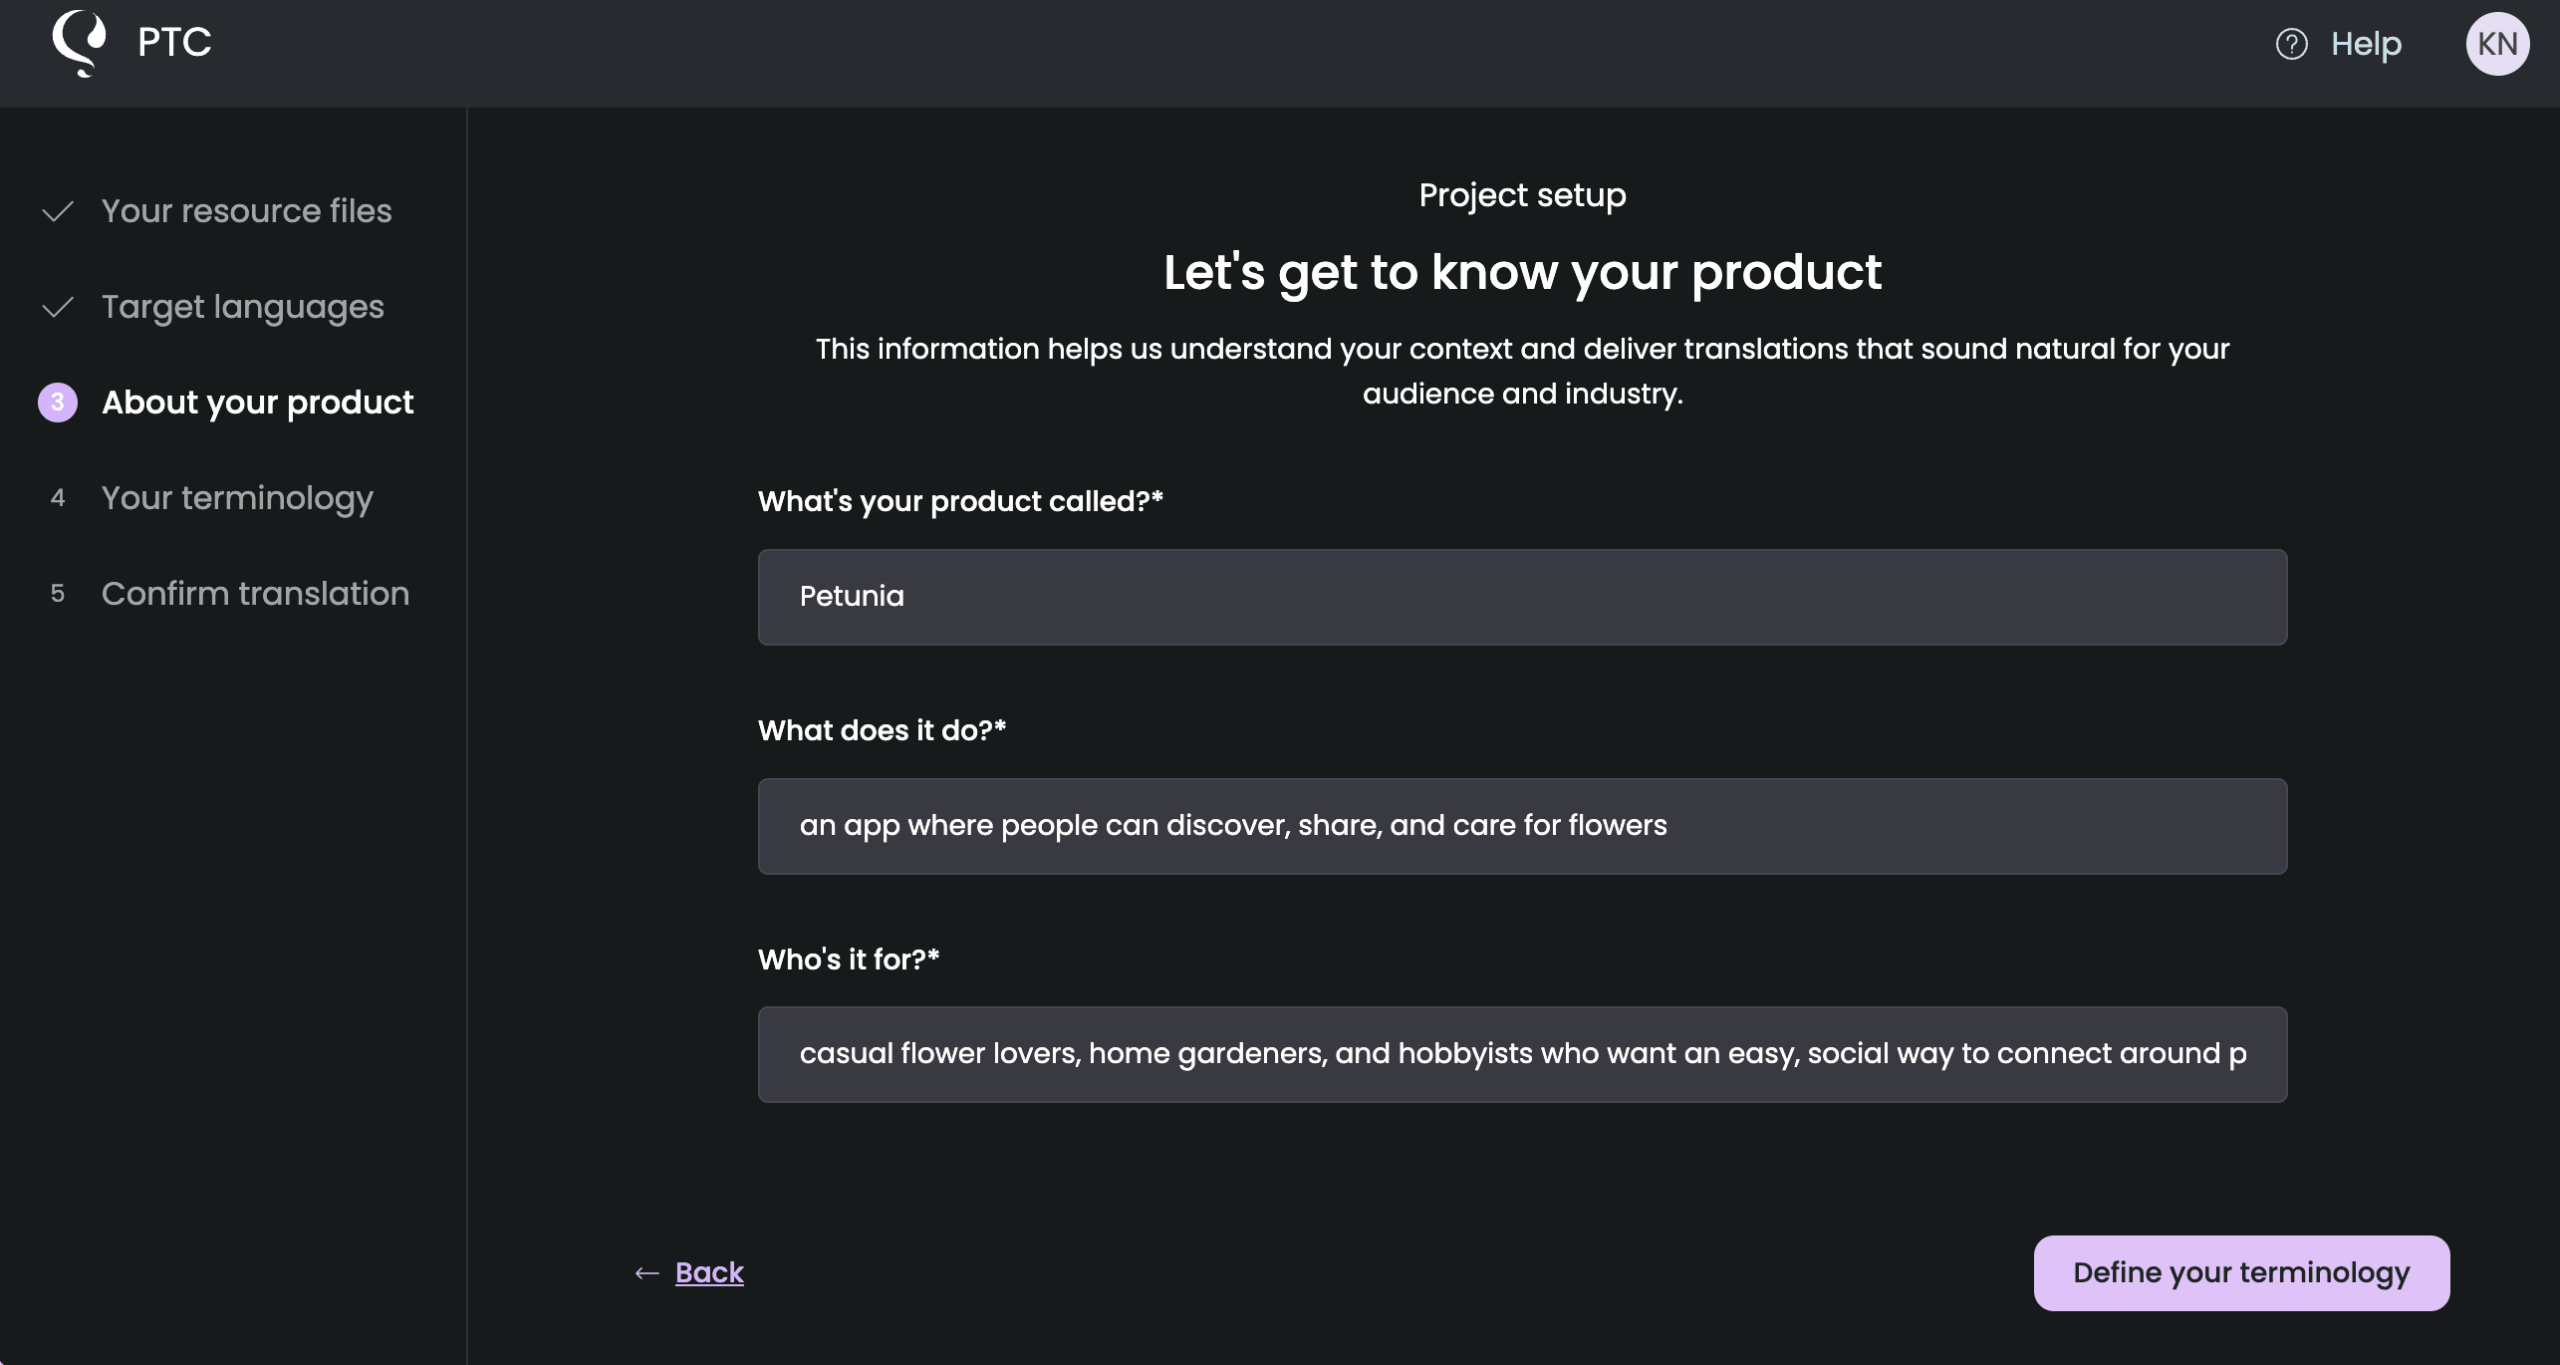
PTC automatically generates a description of your Android app based on the uploaded file. Review the description and keep it or edit it to better describe your app and its audience. PTC uses this context to match the right tone and formality for each language, so your translations feel like they belong in your product.
Step 4
Upload Existing Translations (Optional)
If you have existing translation files, you can upload them here. PTC will match your existing translation style. If you do not have existing translations, select the option to translate from scratch.
Step 5
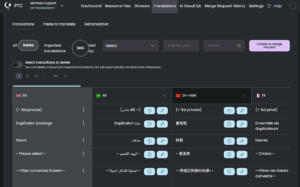
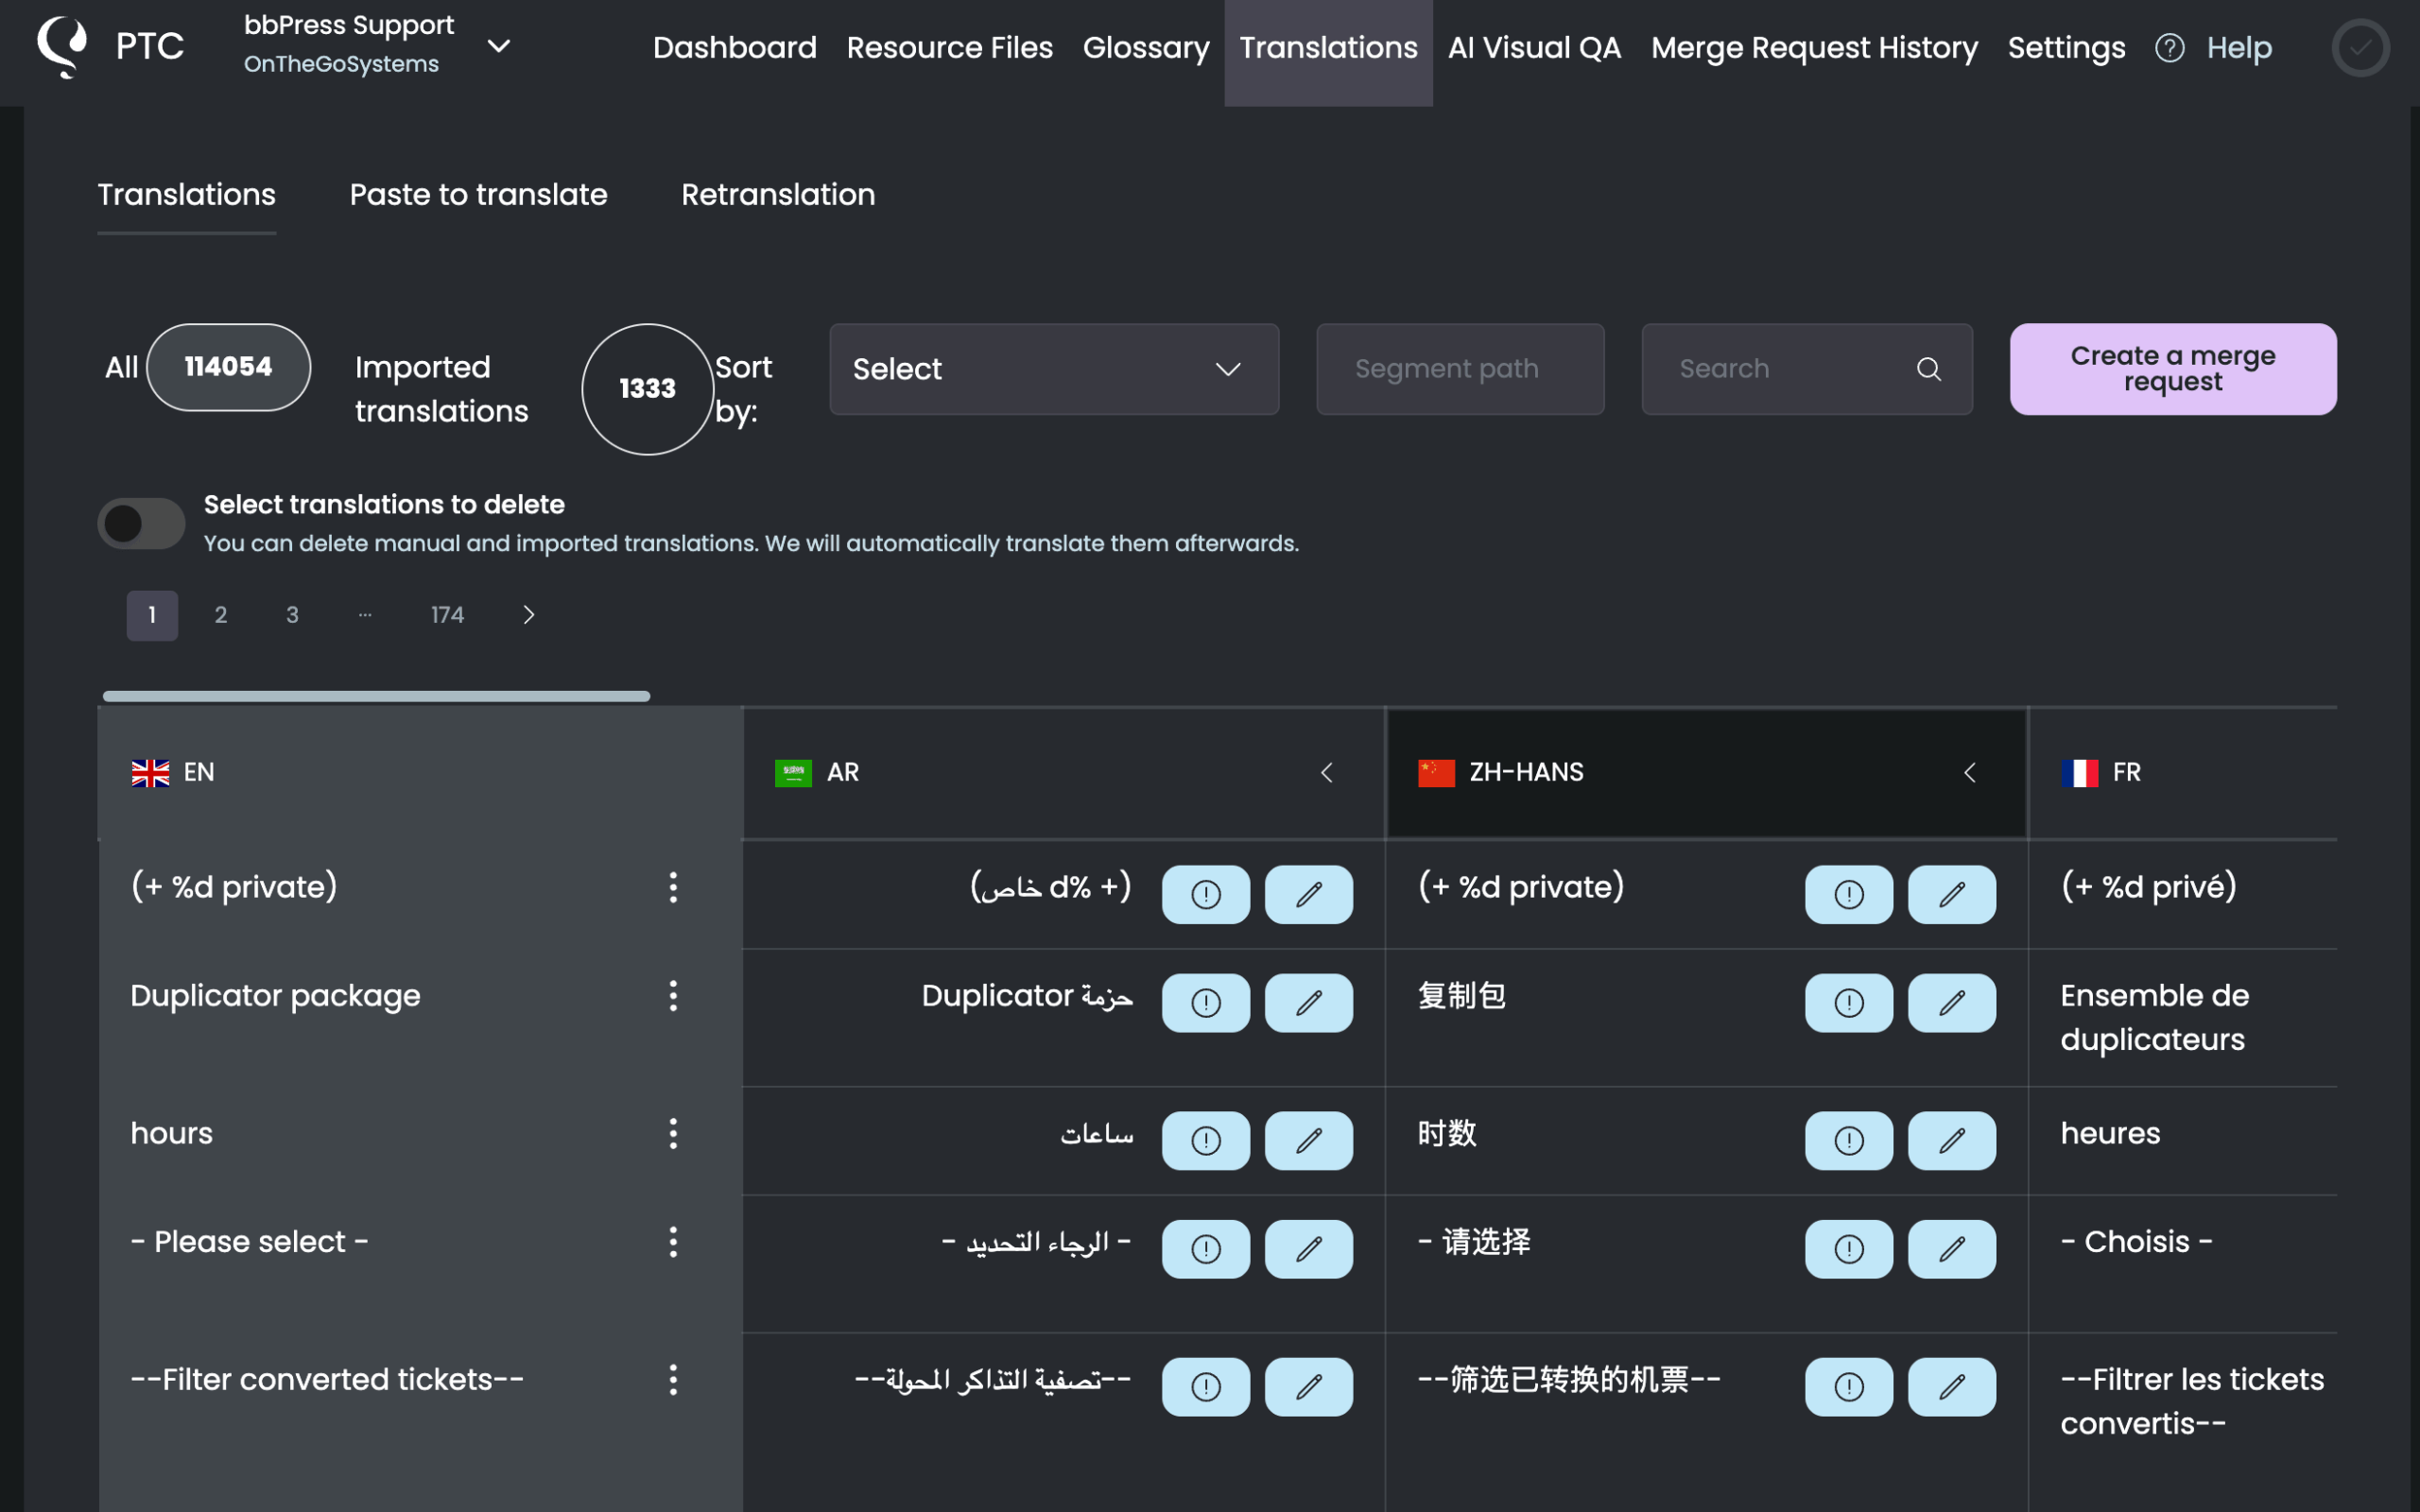
Download the Translated Files
When translation is complete, head to the Translations tab to review your strings. You’ll notice that all your technical elements — like %s, %d, %1$s, and XML tags — appear exactly as they did in your original file. PTC automatically recognizes and preserves these placeholders, so your translations won’t break your app’s formatting or functionality.
If PTC detects any translations that exceed your length limits, it’ll highlight them so nothing slips through. You can edit translations directly, or ask PTC to retranslate specific strings with the length constraint in mind.
When you’re ready, go to the Resource files tab and download a ZIP. It contains one translated strings.xml file per language, all following the same format as your original.
Adding Translations to Your Android Project
To use the translations in your project, create a localized values folder for each language using the correct ISO 639-1 language code:
/res
  /values              <!-- Default (English) - REQUIRED -->
    strings.xml
  /values-es           <!-- Spanish -->
    strings.xml
  /values-de           <!-- German -->
    strings.xml
  /values-uk           <!-- Ukrainian -->
    strings.xml
Place the corresponding translated strings.xml file from your downloaded ZIP into each folder.
Always include a default values folder (without a language code) containing your strings.xml — this is your fallback. If Android can’t find a translation for the user’s language, it uses this one.
Once your translated files are in place, rebuild your app. Android will automatically display the correct language based on the user’s device settings.
Implementing Language Switching (Optional)
If your app includes a language switcher so users can change the language independently of their device settings, you need to save their choice and apply it every time the app starts.
Here’s how to change the language when a user selects a different one:
fun setLocale(context: Context, languageCode: String) {
    // Save the user's choice
    val prefs = context.getSharedPreferences("Settings", Context.MODE_PRIVATE)
    prefs.edit().putString("app_language", languageCode).apply()

    // Apply the new locale
    val locale = Locale(languageCode)
    Locale.setDefault(locale)

    val config = Configuration()
    config.setLocale(locale)
    context.resources.updateConfiguration(config, context.resources.displayMetrics)

    // Restart the activity so changes take effect
    if (context is Activity) {
        context.recreate()
    }
}Then, in your Application class or main activity’s onCreate(), load the saved language preference:
override fun onCreate() {
    super.onCreate()

    val prefs = getSharedPreferences("Settings", Context.MODE_PRIVATE)
    val languageCode = prefs.getString("app_language", "en") ?: "en"

    val locale = Locale(languageCode)
    Locale.setDefault(locale)

    val config = Configuration()
    config.setLocale(locale)
    resources.updateConfiguration(config, resources.displayMetrics)
}This saves the user’s language choice so it persists between sessions, and works correctly after you publish your app to Google Play.
Moving to Continuous Localization for Android
Once you’ve seen PTC in action, you can move beyond manual uploads and keep translations in sync automatically as your strings.xml file changes. PTC gives you two ways to do this:
Option 1
Automate with Git Integration
Go to Settings → Merge Requests and click Add Git Integration to connect your GitHub, GitLab, or Bitbucket repository to PTC.
You’ll need to provide an access token with read and write permissions and choose the branches you want PTC to monitor. From there, PTC detects changes, translates new or updated strings, and opens a merge request for your review.
Option 2
Automate with PTC’s API
If you’d prefer to keep everything inside your existing build process, go to Settings → Manage API Tokens and click Add Access Token.
Then check the complete API documentation for all available endpoints. For new subsequent projects, you can select API integration from the very start of the setup wizard.
Both Git and API integration are Pro features that become available when you activate Pay-As-You-Go.
Frequently Asked Questions about Android Localization
What are the benefits of translating my Android app?
Localization has a measurable impact on growth. On average, for each language you add, you can see even up to 128% more downloads per week and up to 26% more revenue per week.
See a full breakdown of the benefits of translating your Android app with PTC.
How do I translate my app description for Google Play?
Use the “Paste to translate” feature from PTC. Copy your app description, paste it into PTC, select your target languages, and get translations instantly.
You can then copy the translated descriptions and add them directly to Google Play Console:
1. Go to Google Play Console → Store Presence → Main Store Listing → Translations
2. Add your translated short and long descriptions
3. Save your changes
4. Repeat for each language you want to support
Paste to translate is a Pro feature that becomes available when you activate Pay-As-You-Go.
Should I use string resources or hardcode text in my Android app?
Always use string resources stored in strings.xml files—never hardcode text directly in your code or layouts. String resources make localization possible. You can’t translate text that’s hardcoded in Kotlin or Java files.
Move hardcoded text to res/values/strings.xml:
<resources>
    <string name="welcome_text">Welcome to our app!</string>
</resources>Then reference it in your code:
val welcomeText = stringResource(R.string.welcome_text)See our demo app commit: Extracting hardcoded text to strings.xml.
How do I handle placeholders like %s and %d in strings?
Define placeholders in your strings.xml file using %1$s (for strings), %2$d (for integers), etc:
<resources>
    <string name="welcome_user">Welcome, %1$s!</string>
    <string name="points_summary">%1$s, you have %2$d points.</string>
</resources>
Use them in your Kotlin code:
val welcome = stringResource(R.string.welcome_user, userName)
val summary = stringResource(R.string.points_summary, userName, points)
PTC automatically recognizes and preserves these placeholders during translation.
See our demo app commit: Adding placeholder-based string for dynamic text.
How do I handle right-to-left (RTL) languages like Arabic or Hebrew?
Use start and end instead of left and right in your layouts:
<!-- Instead of this -->
<TextView
    android:layout_marginLeft="16dp" />

<!-- Use this -->
<TextView
android:layout_marginStart="16dp" />Android automatically flips the layout for RTL languages when you follow this convention. In Jetpack Compose, use Arrangement.Start instead of Arrangement.Left.
How do I test my localized Android app?
Change your device language in Settings, or use Android Studio’s emulator language picker. Test each language to catch:
– Text that’s too long for UI elements
– Missing translations (falls back to default language)
– Incorrect date, number, or currency formatting
– Layout issues with longer text
For RTL languages, enable “Force RTL layout direction” in Developer Options to test layout mirroring.
How much does it cost to translate my Android app after the free trial?
Once your free trial words are used up, PTC works on a pay-as-you-go basis. No subscription is required. You only pay for what you translate, and the more you translate, the less you pay per word. To estimate your costs, use the pricing calculator.
Try PTC for free
Want to see PTC’s translation quality and ease of use first-hand? Sign up for the trial and translate 20,000 words into 2 languages for free.