Translate Java .properties files with AI that delivers human-quality. Upload your file, choose languages, and download translations in minutes.
Translating Your Application for the First Time with PTC
Private Translation Cloud (PTC) was built for software translation. It understands the structure of Java .properties files and preserves your keys and placeholders. Instead of editing translations manually or worrying about broken syntax, you can focus on building your application while PTC handles the localization. And if your project grows beyond .properties files, PTC also supports many resource file formats.
Step 1
Sign Up for a Free Trial
Create a free PTC account to get started. During the trial, you can translate 10,000 words into any two languages of your choice.
After the trial, you can continue using PTC by upgrading to Pay-As-You-Go, which unlocks translation into all available languages.
Step 2
Choose How to Use PTC
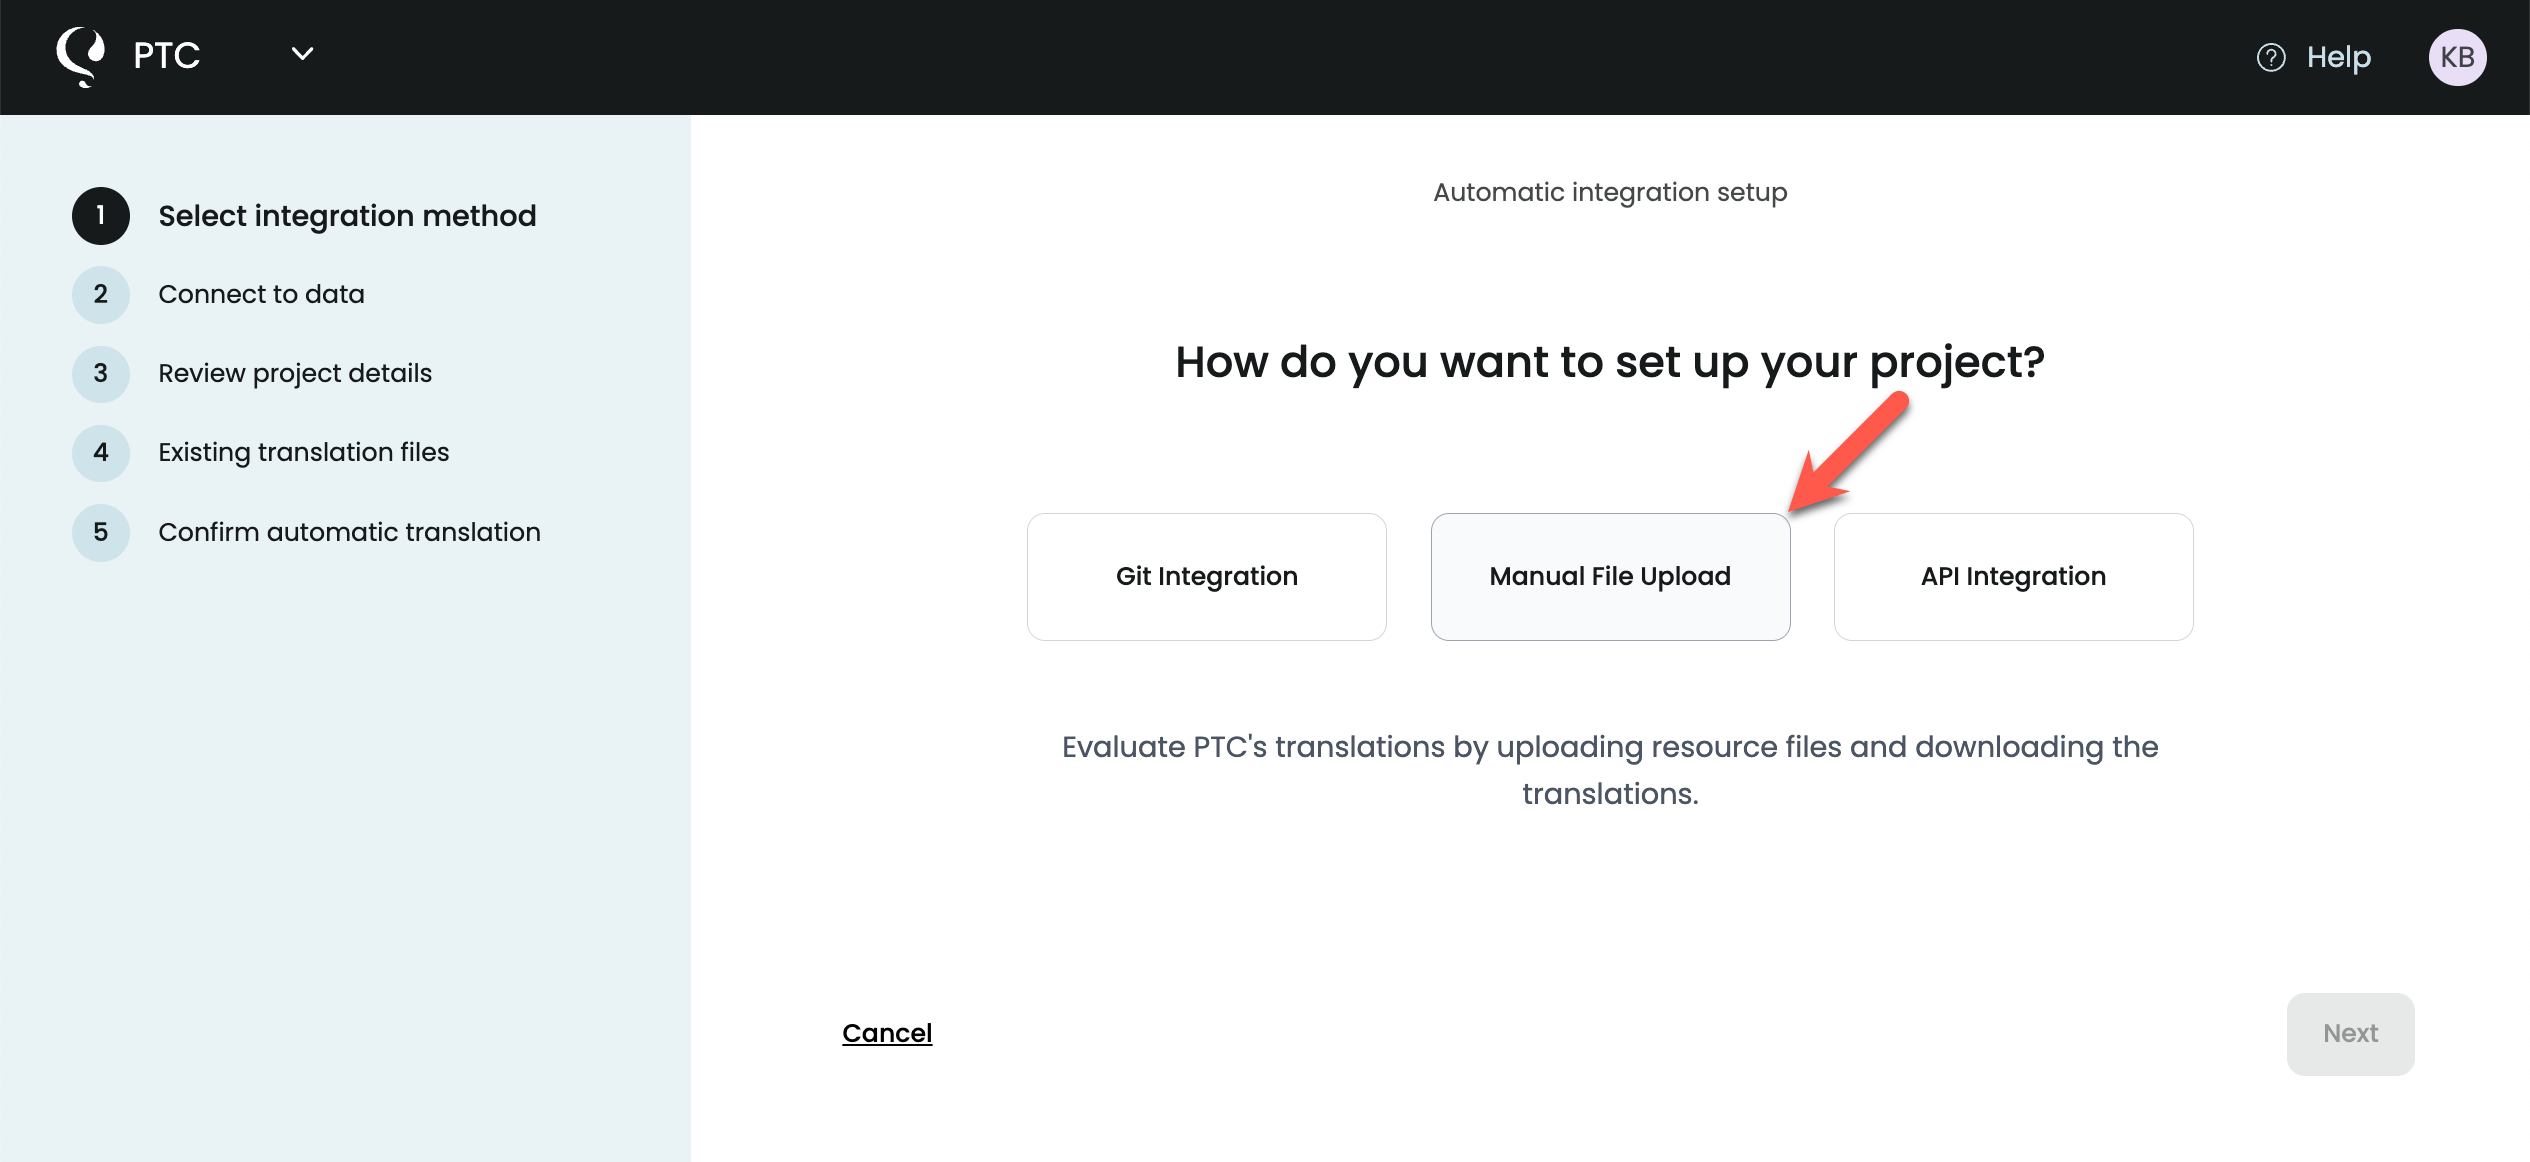
When setting up your first project, PTC will ask how you want to translate. For a first test, choose the Manual File Upload option.
This lets you upload your .properties file directly and quickly see how PTC translates your content. Later, you can connect your code repository or use the API.

Step 3
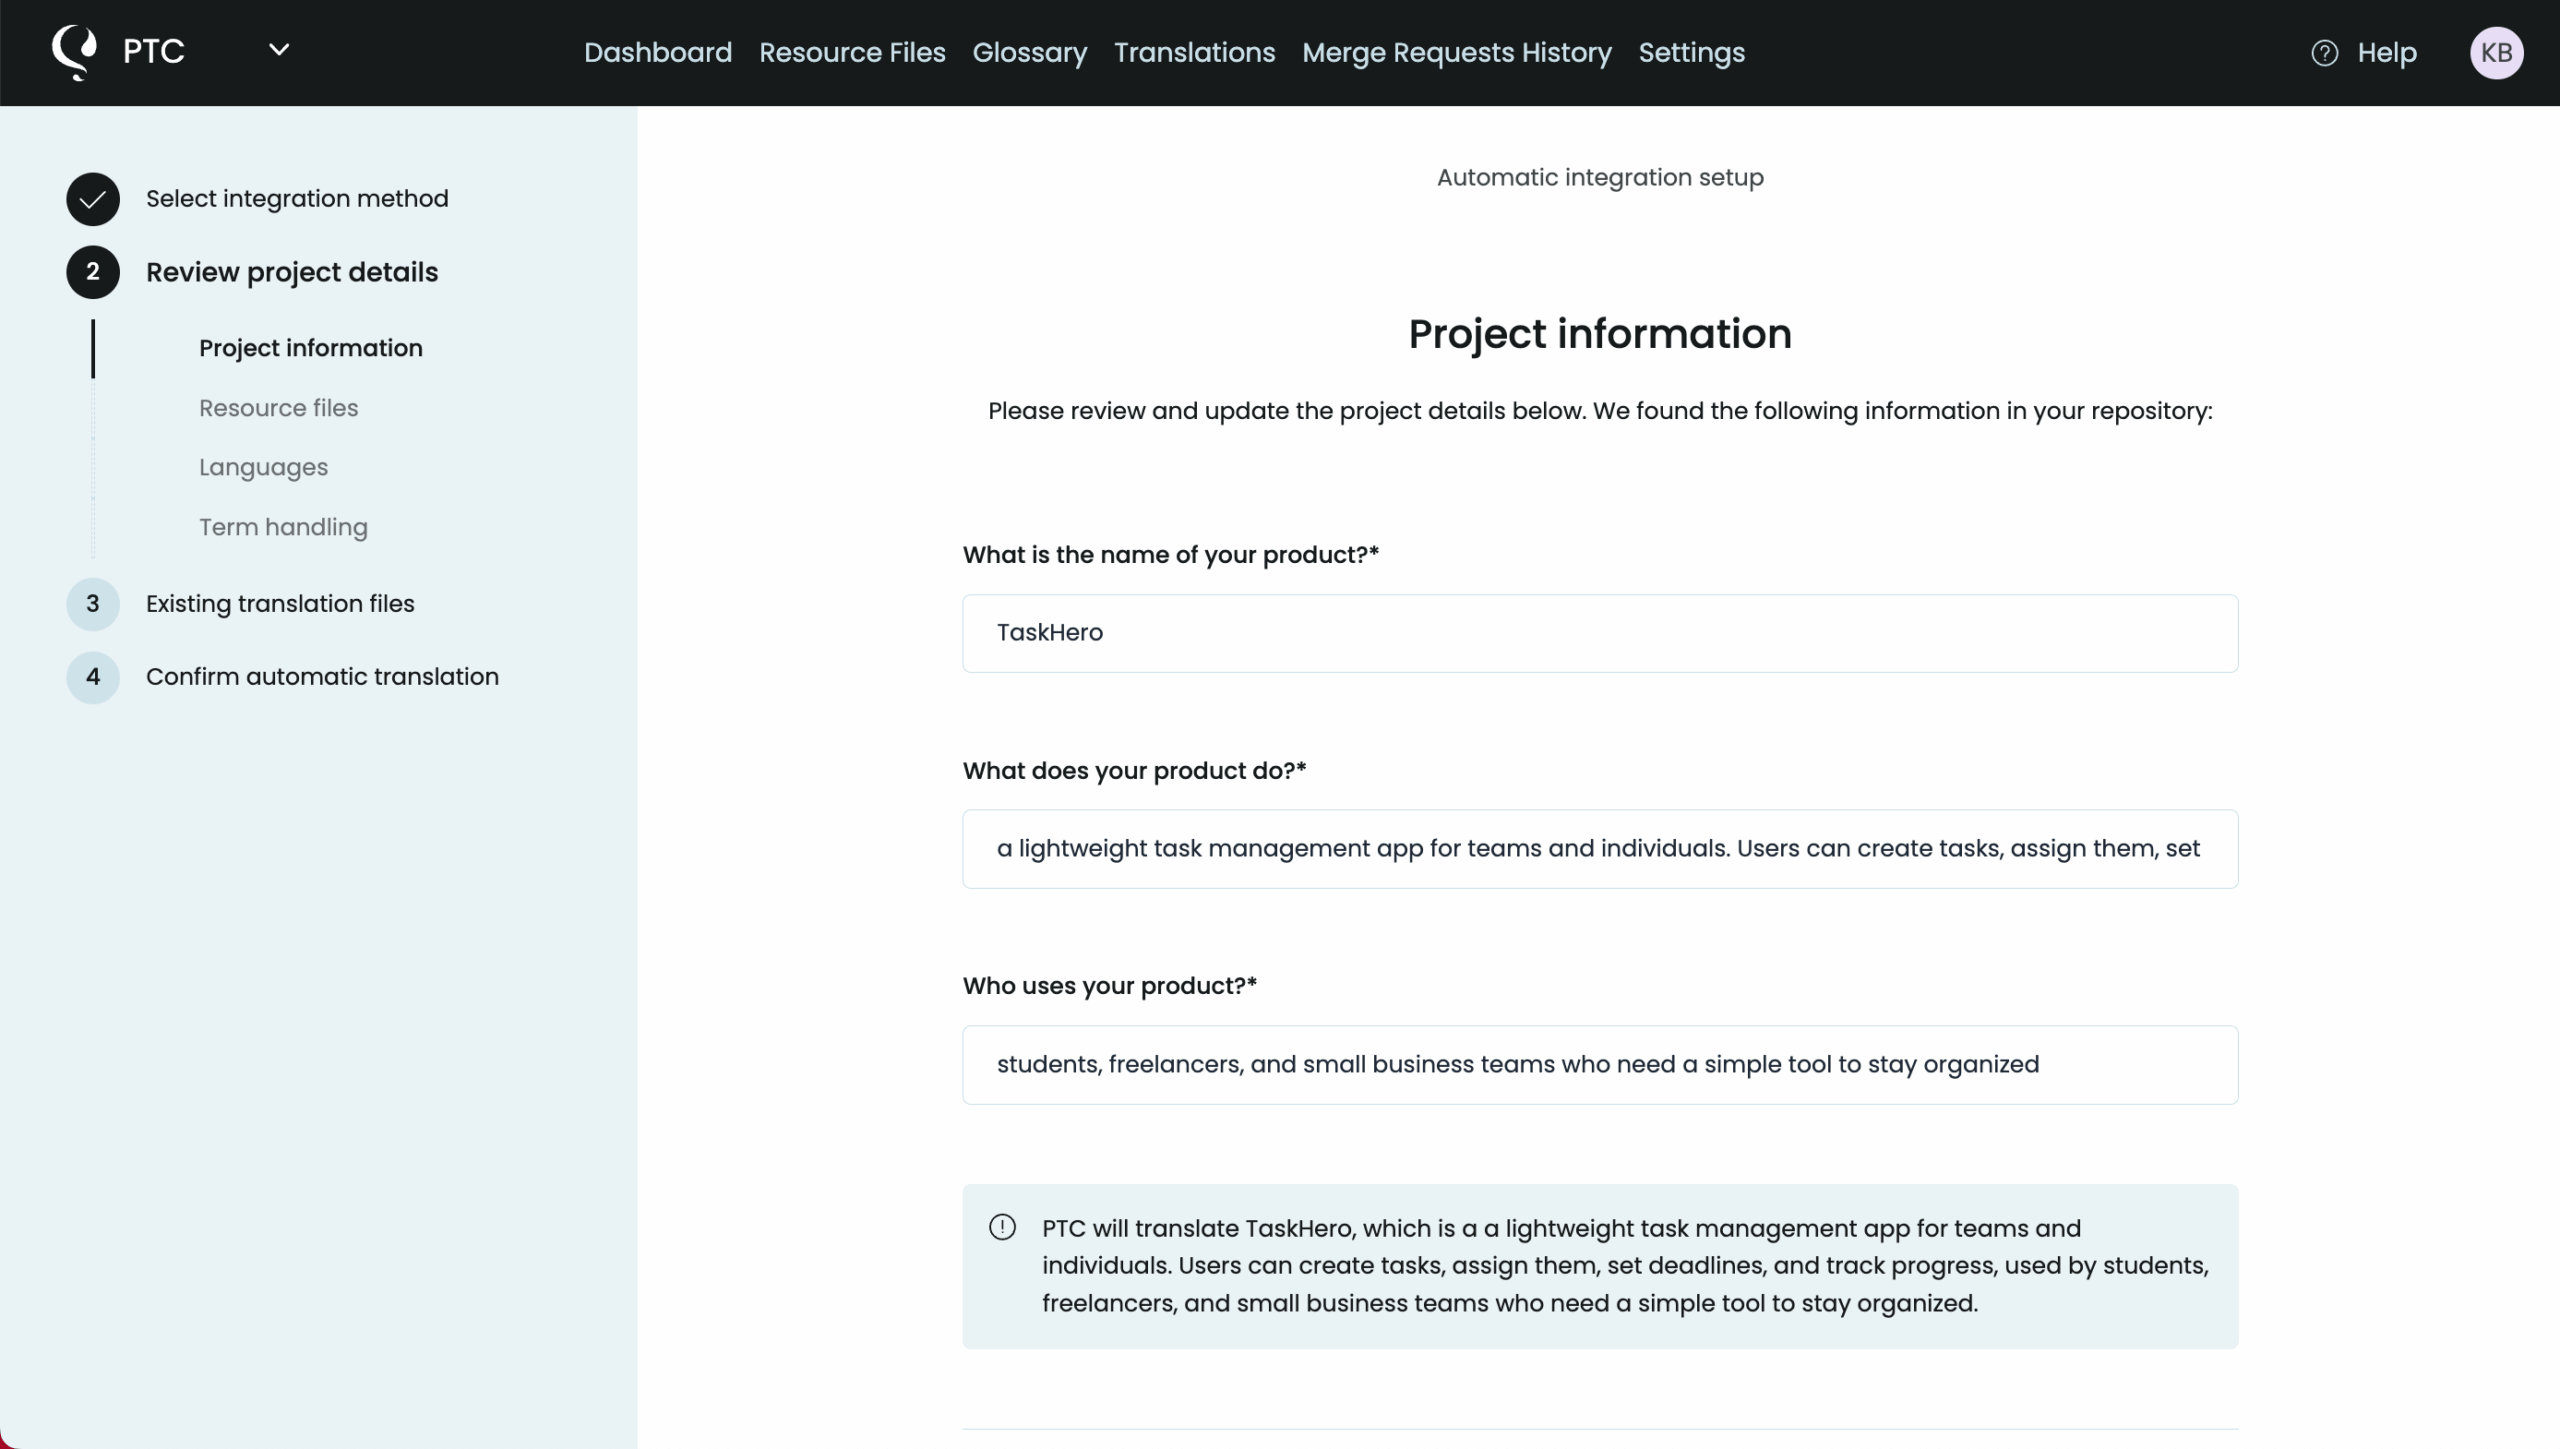
Tell PTC About Your Project
Next, give PTC a short description of your application. This doesn’t need to be long. Just a few sentences are enough. Include:
- The app’s name
- What it does (such as, “a project management tool for small teams” or “an e-commerce app for handmade crafts”)
- Who your users are (for example, students, business professionals, young adults)
This context is important because it helps PTC choose the right tone and terminology. It’s what allows PTC to deliver translations that feel natural in every language, rather than generic or out of place.

Step 4
Upload Your .properties File
Find the .properties file in your project (commonly in src/main/resources) and upload it.
If your app already includes translations, you can upload those too. However, it’s recommended that you let PTC create all the translations. This way, it can take the context into account and provide accurate translations throughout your project.
Step 5
Choose Your Target Languages
Pick the languages you want to support. PTC provides context-aware translations into 33+ languages, covering languages spoken in all major markets.
Step 6
View and Download the Translations
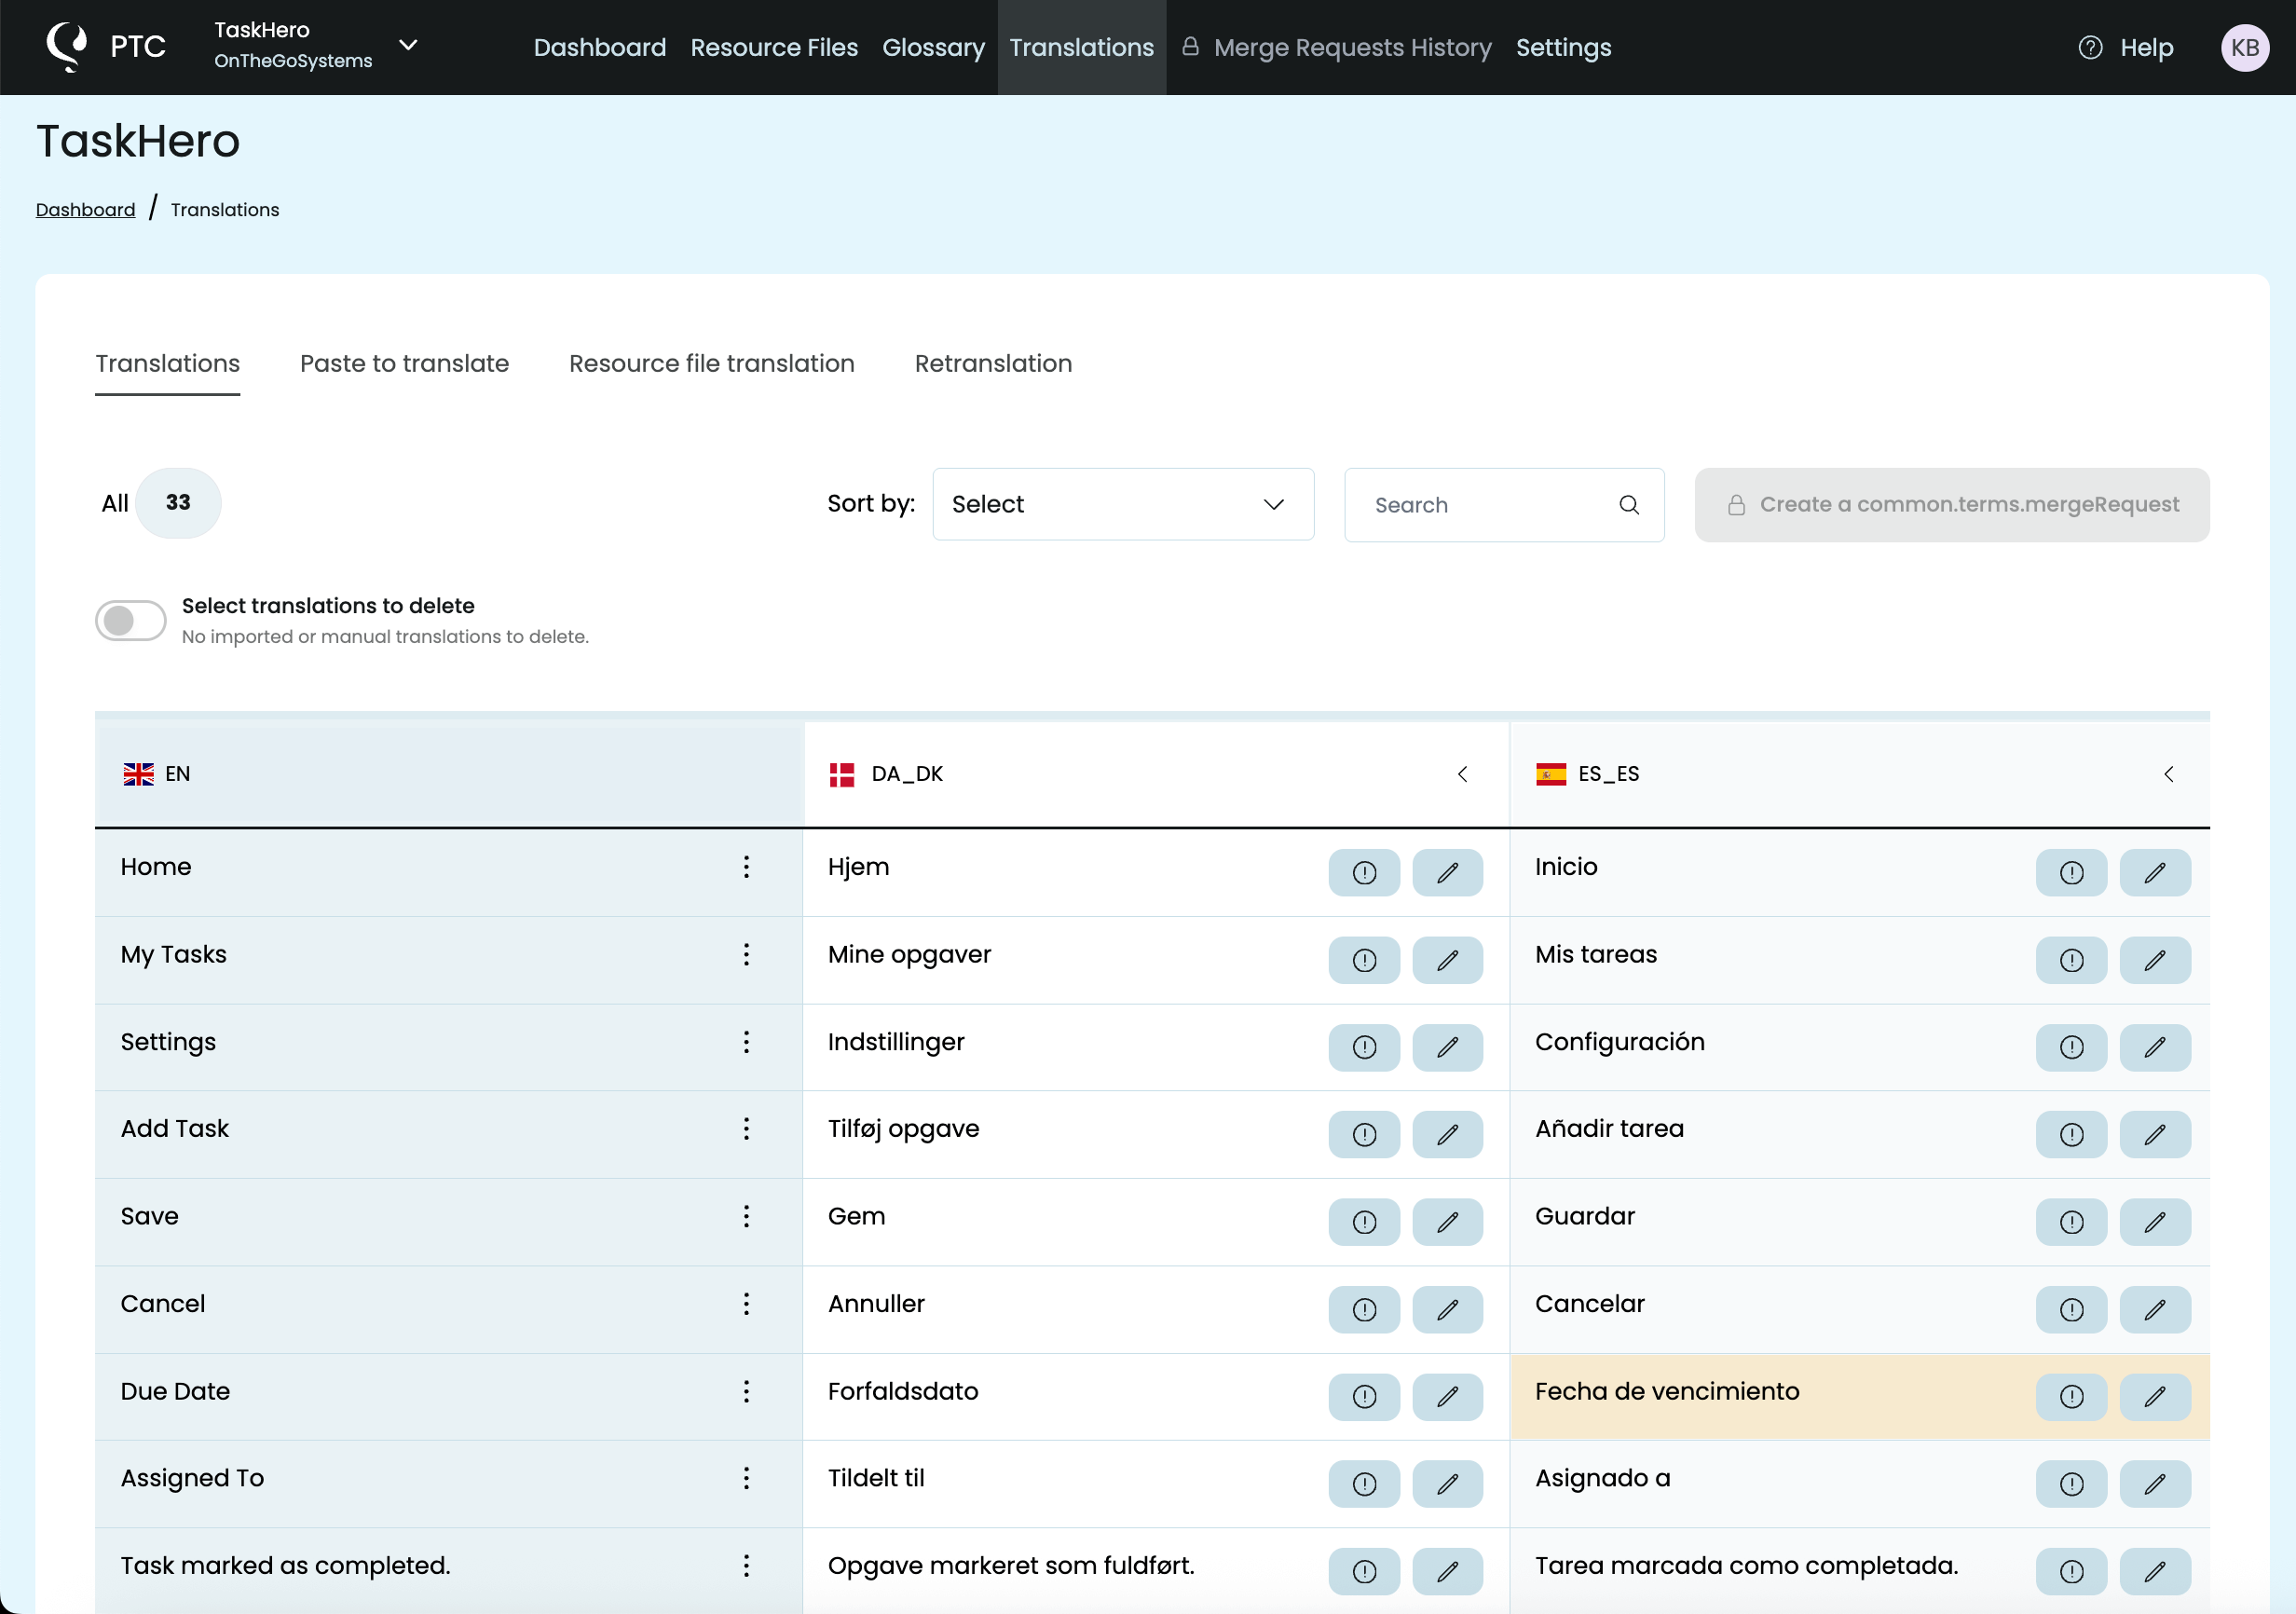
PTC takes a few minutes to translate your file. Once the translations are ready, you can review them in the Translations tab.
Translations are displayed in a clear, table-style view. Any translations that exceed the set length are highlighted in yellow. This makes it easy to spot potential issues early. You can either:
- Keep the longer translation and adjust your UI to fit it, or
- Ask PTC to shorten the translation while preserving its meaning
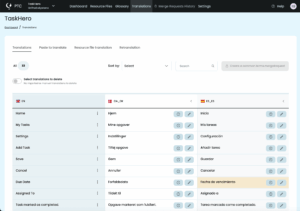
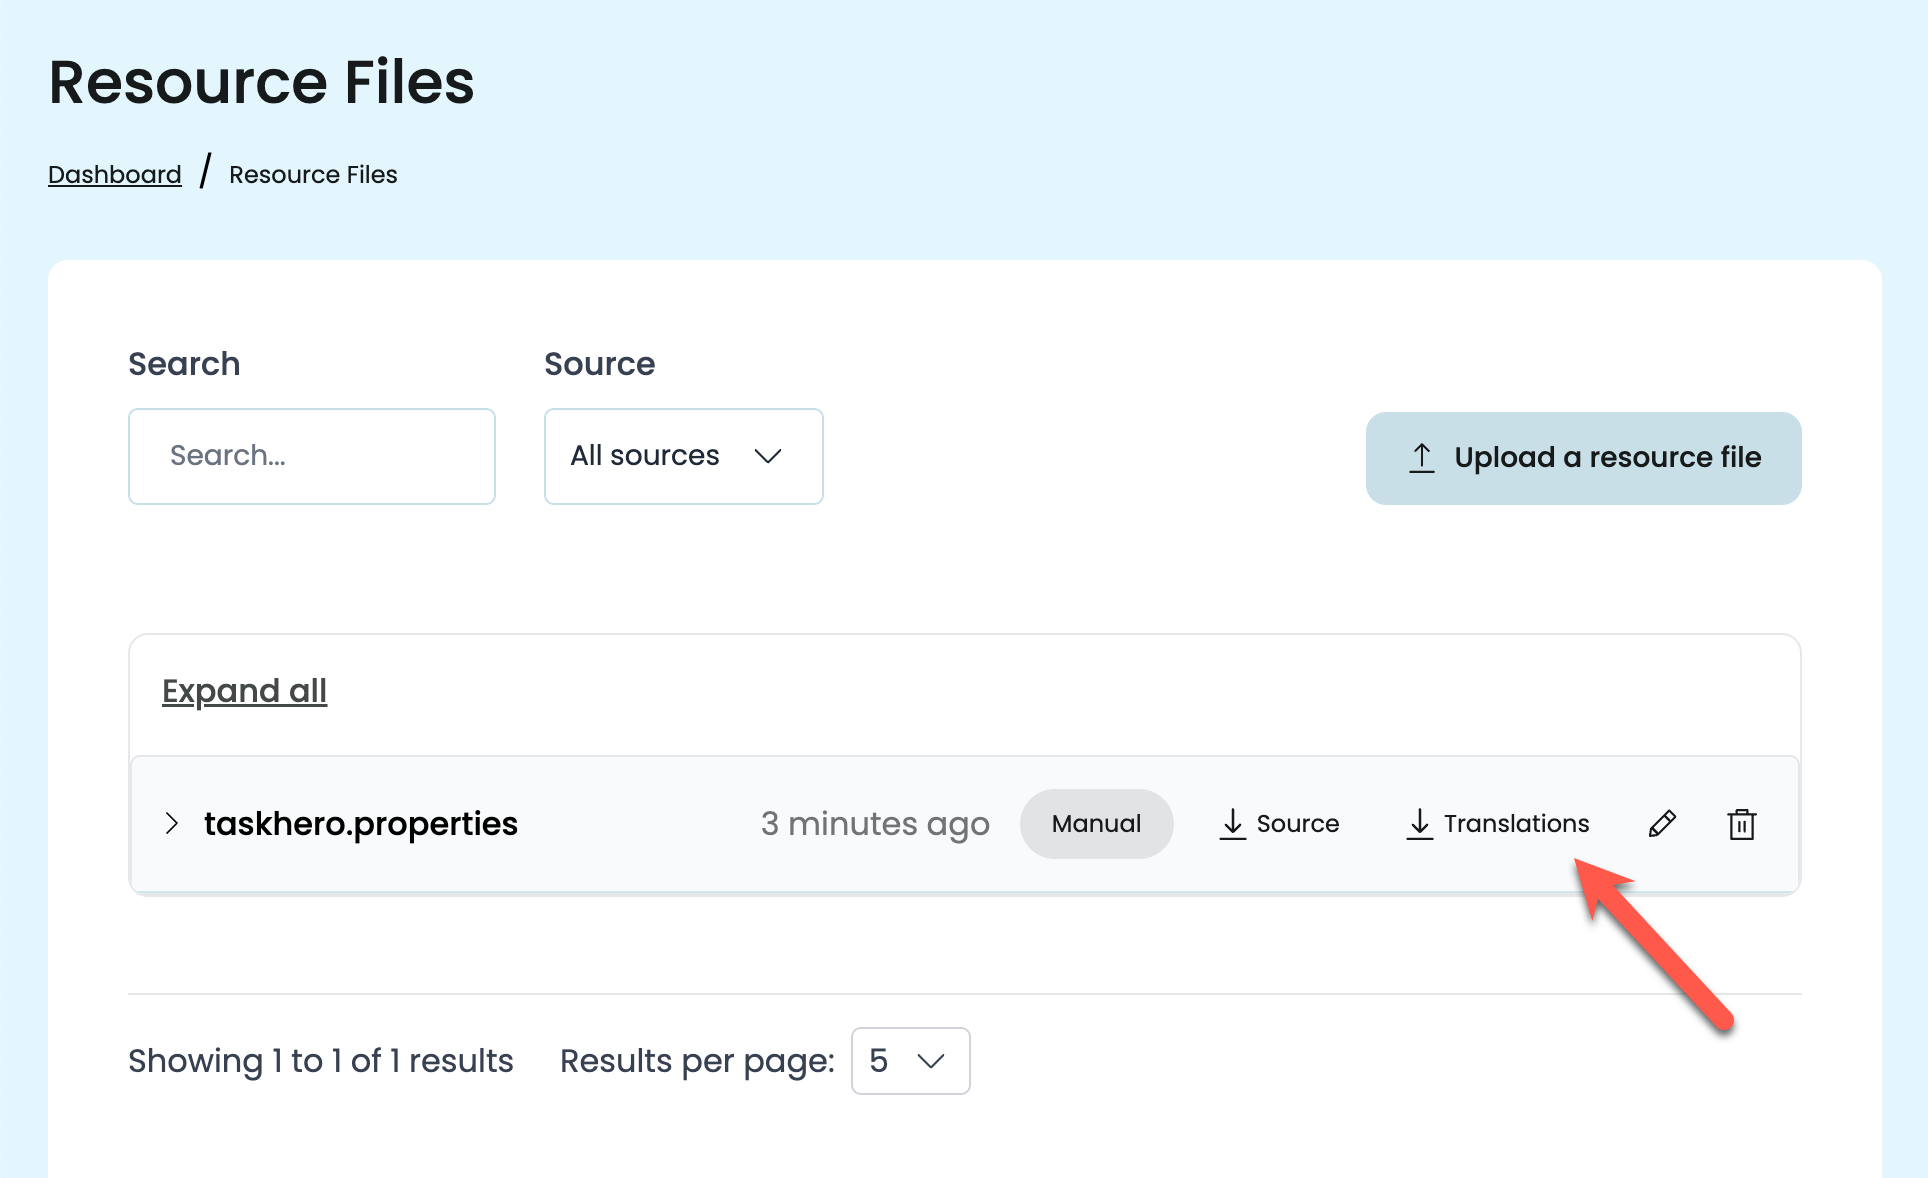
Once you’re satisfied, go to the Resource Files tab and download a ZIP file with the translated .properties files.
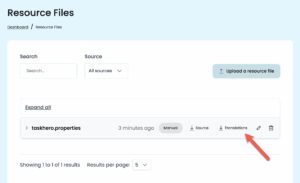
Add these files back into your project’s src/main/resources folder, alongside your original source file. Make sure the file names follow Java’s locale convention (for example: messages_fr.properties, messages_es.properties).
At runtime, ResourceBundle automatically picks the correct file based on the user’s locale. You don’t need to change your code.
Translating Other Text with PTC
Not all the text in your application lives in .properties files. You may also have content such as:
- Emails or onboarding messages
- Documentation or help texts
- Marketing copy (like product descriptions)
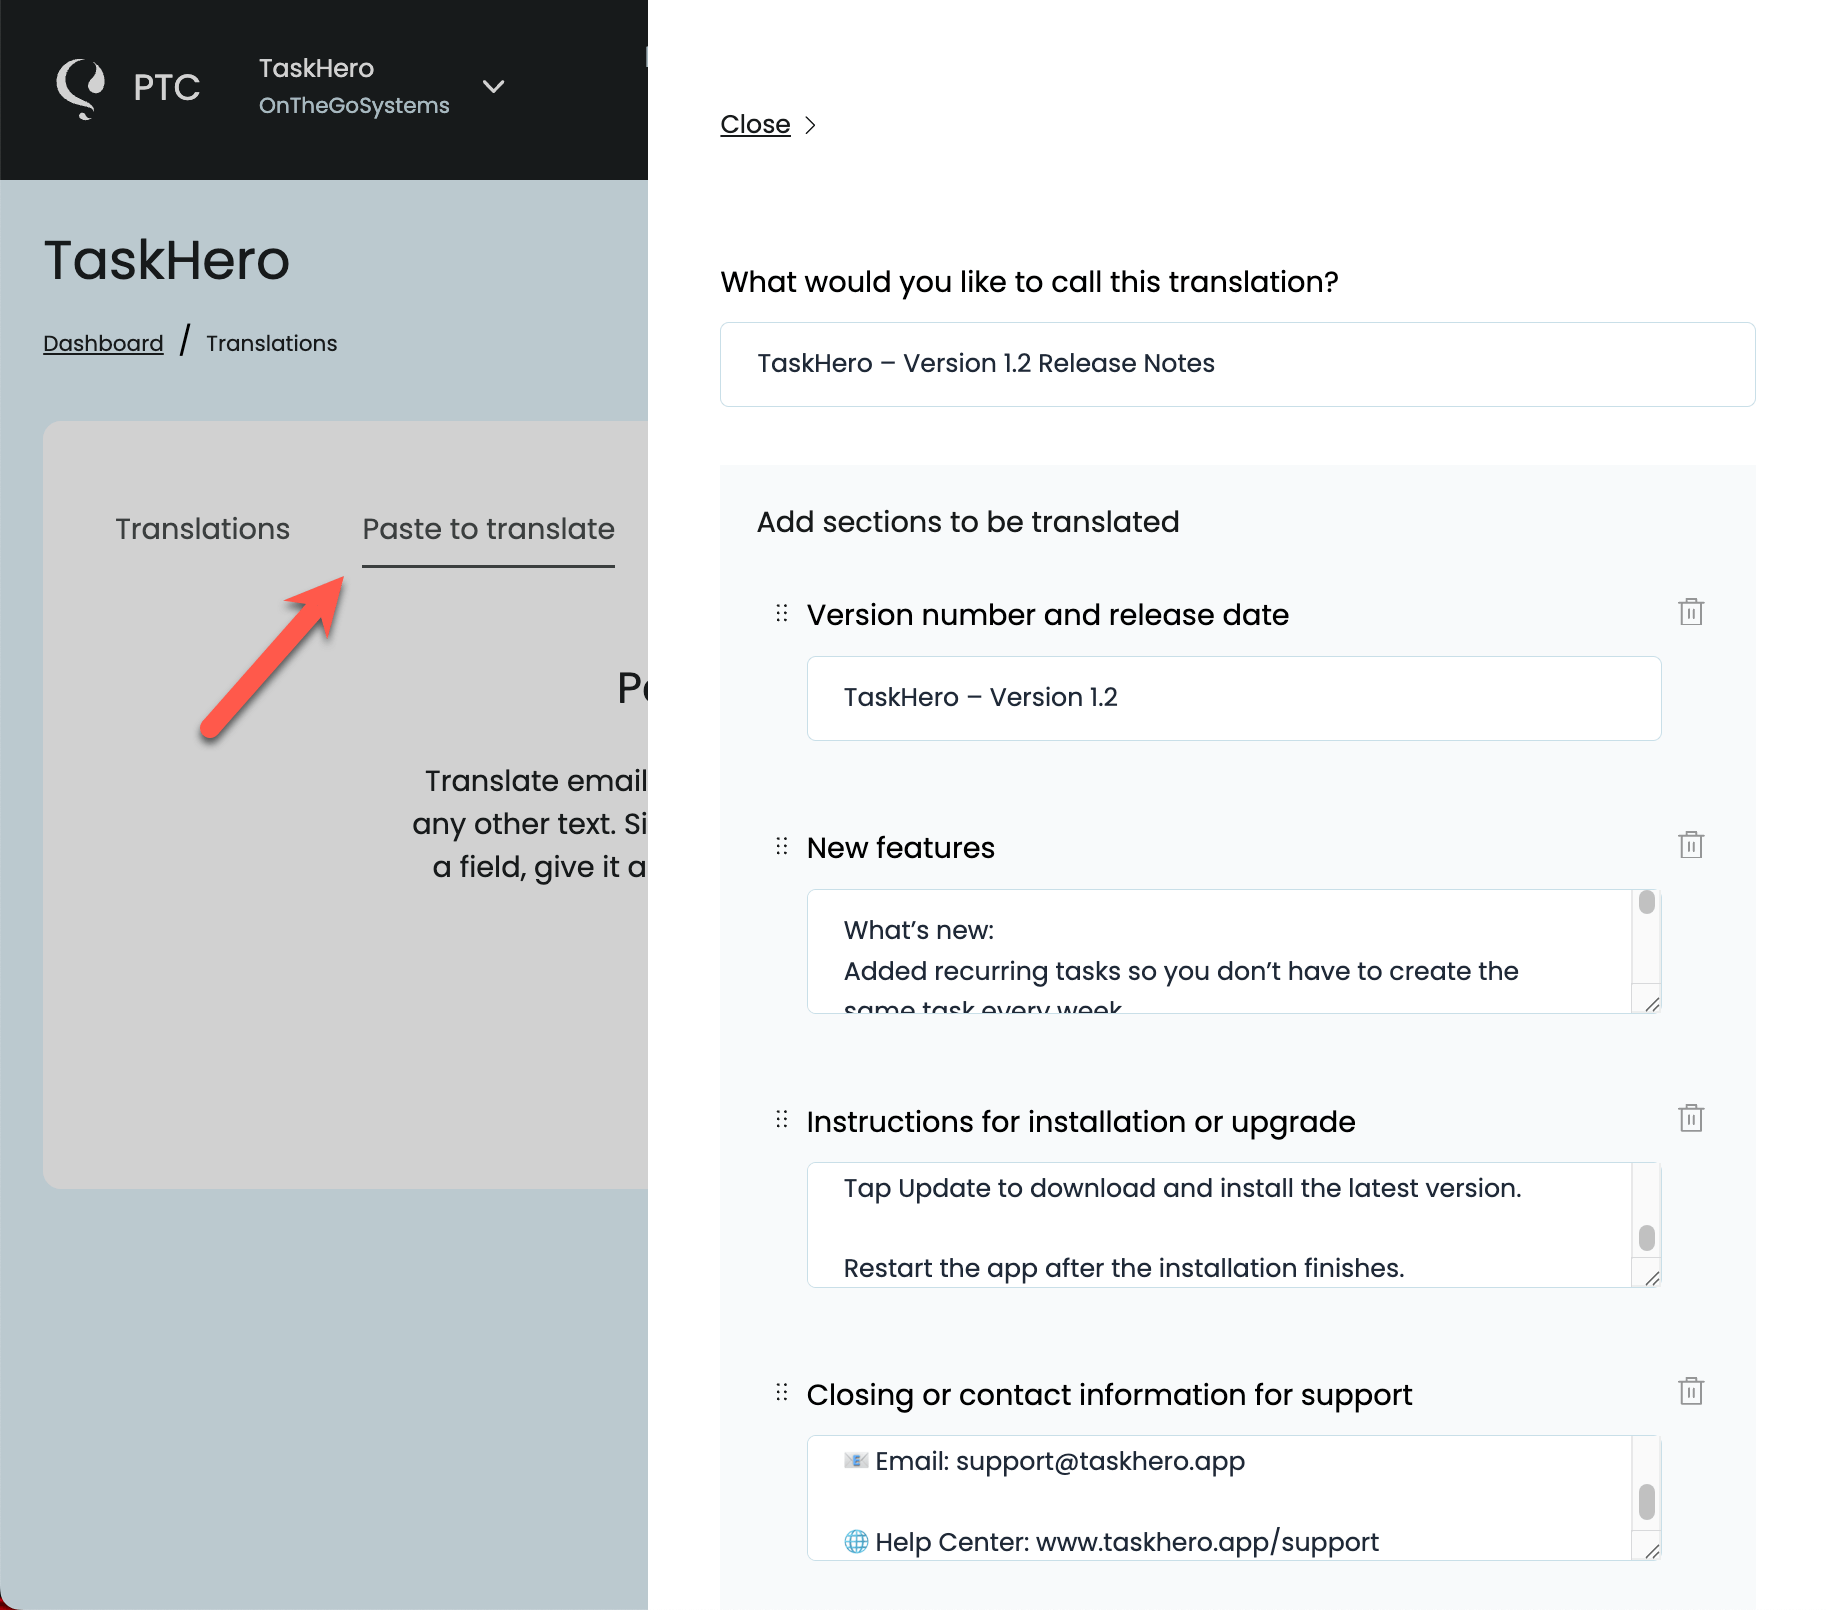
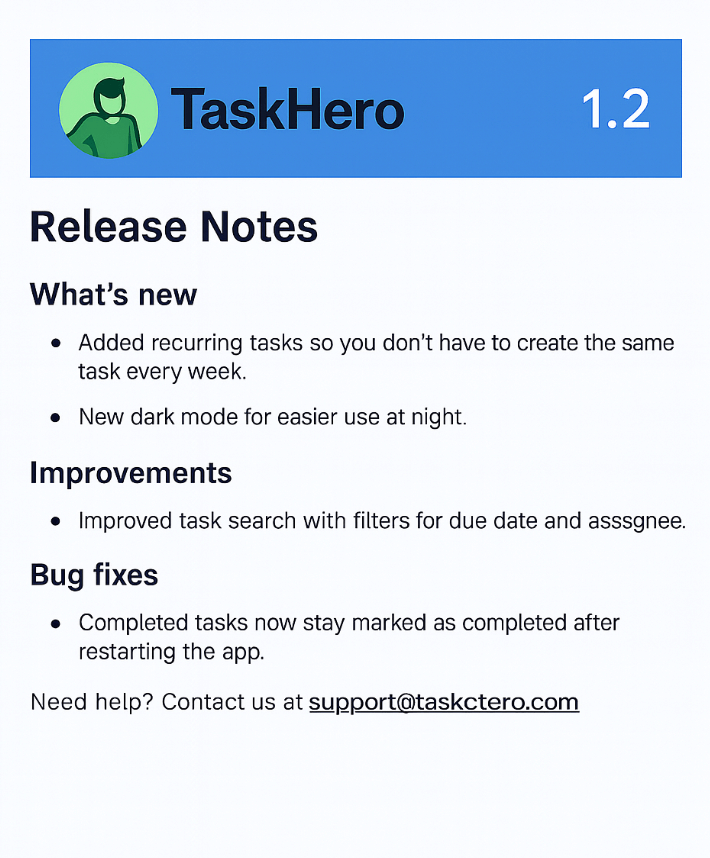
To make your localization complete, you can translate these using PTC’s Paste to translate feature.
- From your PTC dashboard, go to Translations → Paste to translate
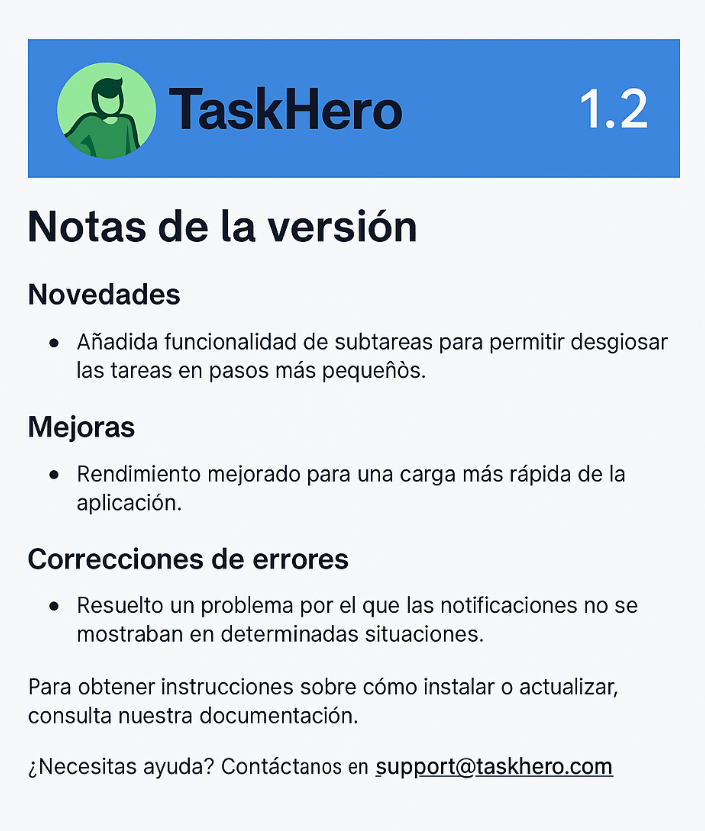
- Choose the type of text you’re translating, paste it in, and click to translate
- Copy the translated text and insert it into your application, documentation, or marketing material
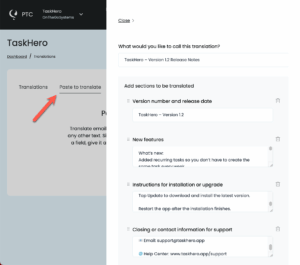
This ensures every piece of user-facing content is consistent and localized with the same high-quality AI translation as your .properties files.


Automating the Translation Process
While the Manual File Upload method is a great way to get a sense of how PTC works, you don’t have to upload .properties files manually every time something changes.
PTC can keep your translations up to date automatically so you can release new product versions in every language without extra work.
Option 1
Integrate PTC with Your Git Repository
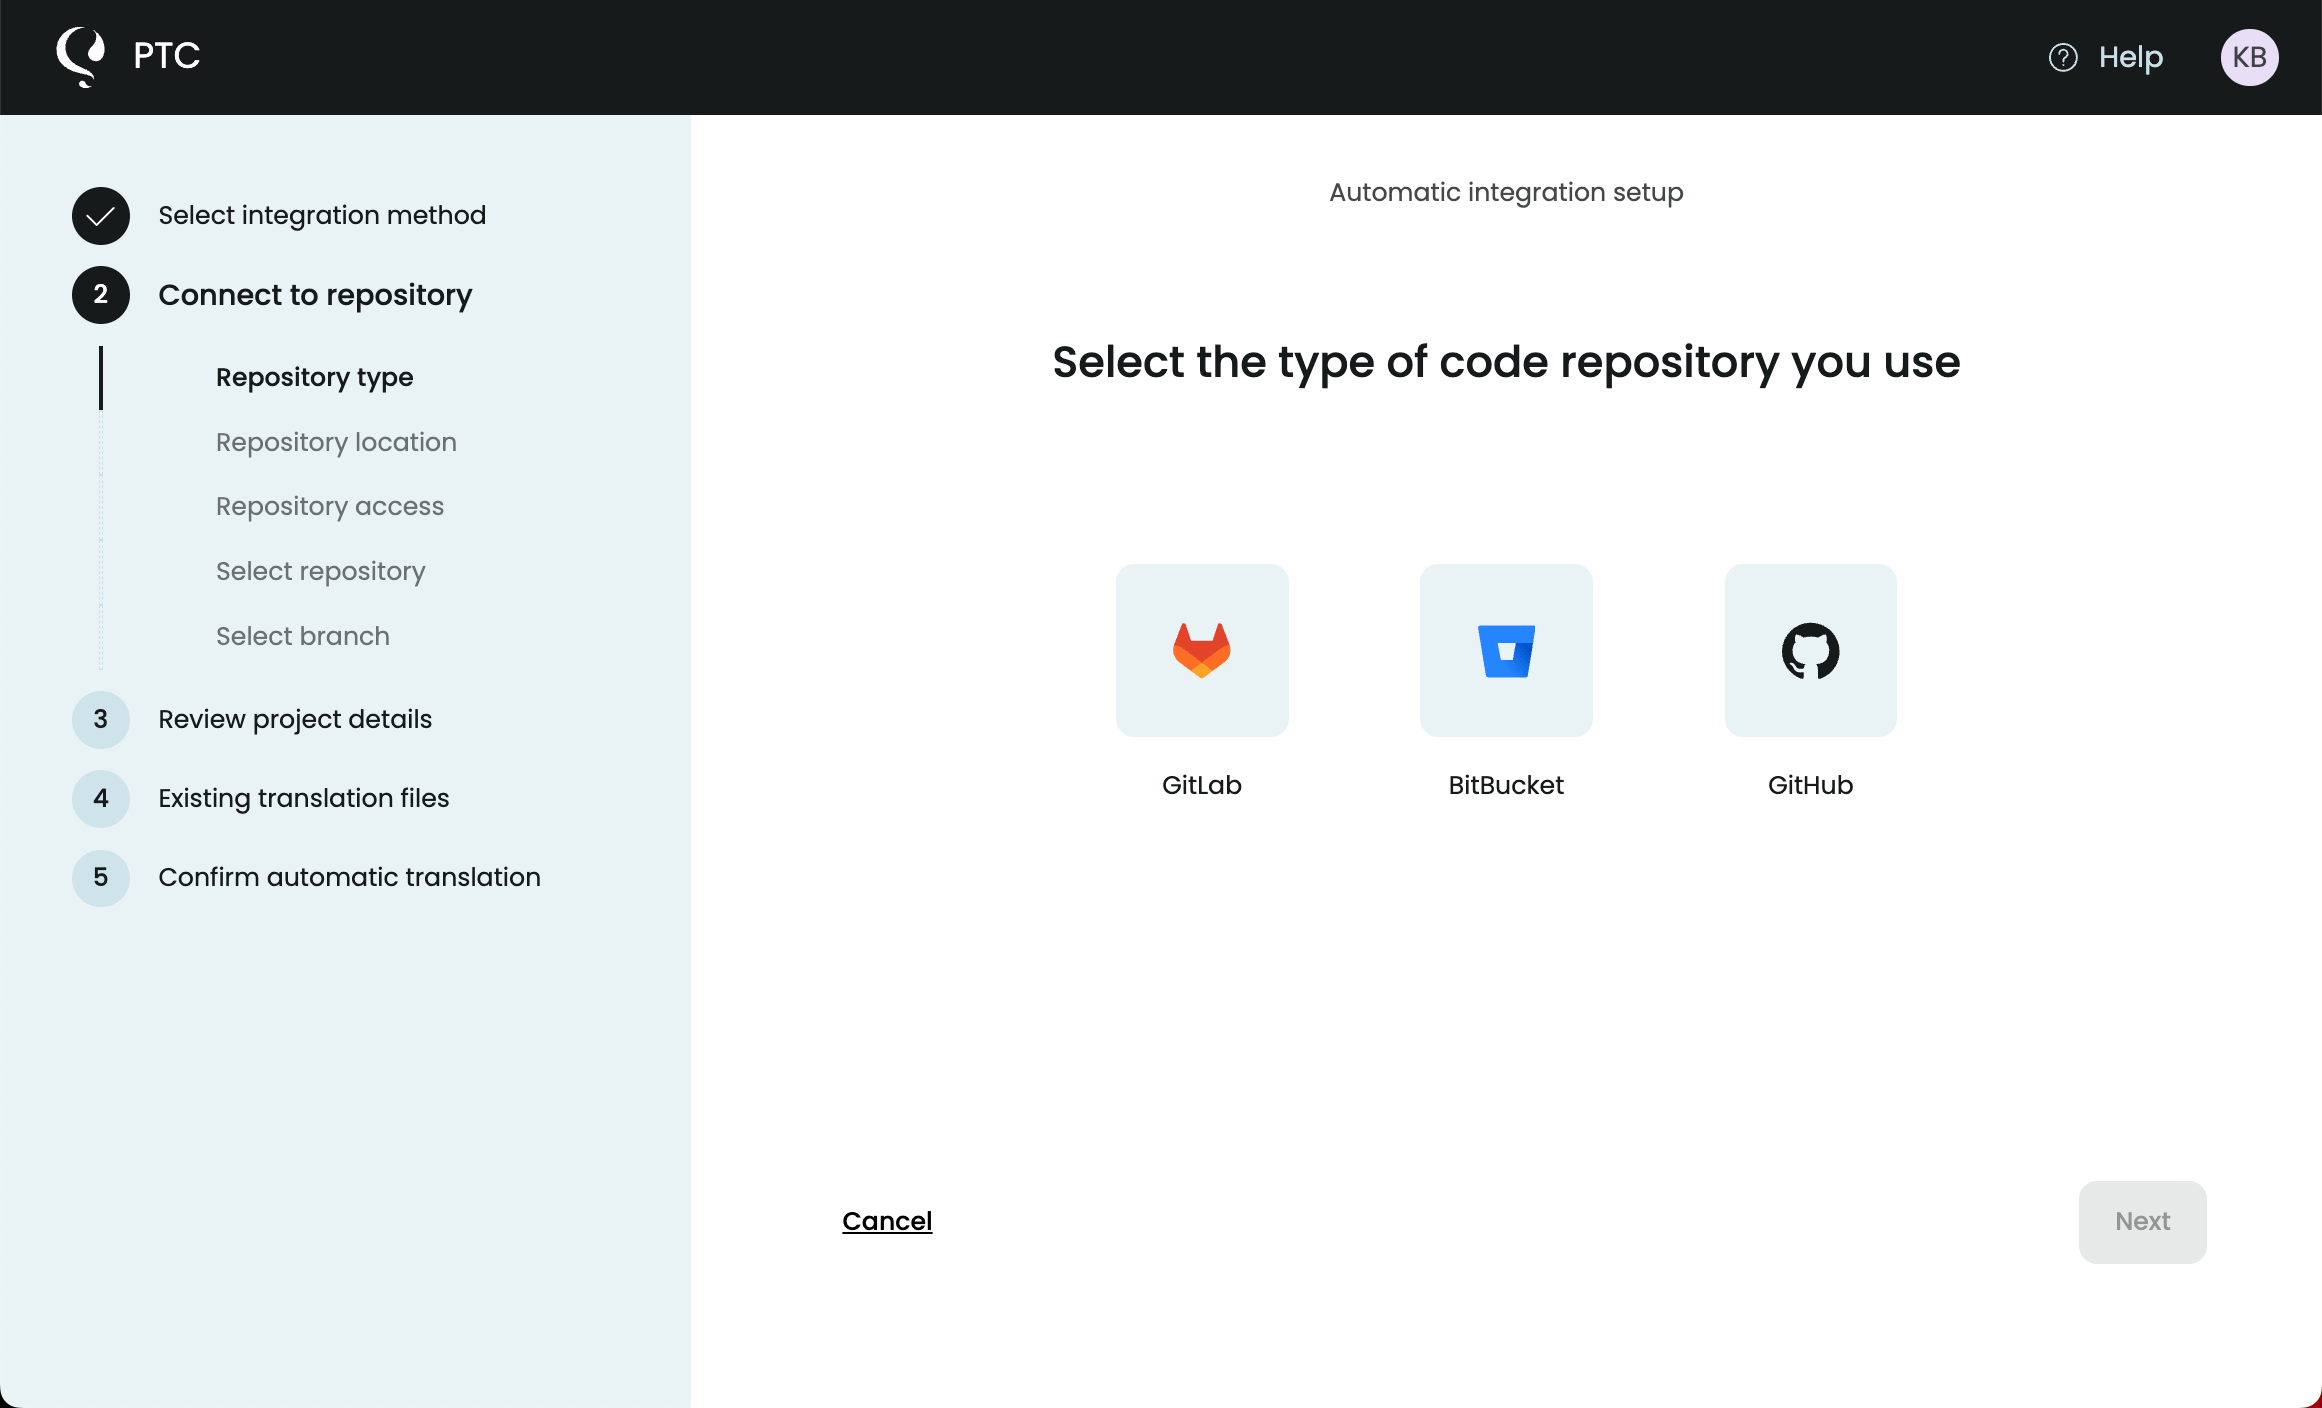
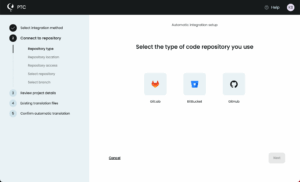
Connect your GitHub, GitLab, or Bitbucket repository to PTC.
- PTC will monitor the branches you choose for changes to
.propertiesfiles - When a file is updated, PTC automatically translates the new or modified strings
- You’ll receive the translations back via a merge request in your repository
This way, your translations update themselves every time you make a change to the source file.
Option 2
Integrate PTC Into Your CI Process
If you prefer not to connect your repository directly, you can use the PTC API in your CI/CD workflow.
- Your CI job uploads the updated
.propertiesfile to PTC via API - PTC processes the translation request
- Your CI job calls the API again to retrieve the translated files once they are ready
This way, translations are always synchronized as part of your build pipeline.
Preparing Properties Files for High-Quality Translations
Now that you know how to translate .properties files with PTC, keep in mind that the quality of your source files directly affects the quality of your translations. These best practices for Java .properties files prevent broken translations, runtime errors, and confusing user experiences.
Use Clear, Descriptive Keys
Your .properties file defines the keys, and your Java code calls those keys. If the keys are cryptic, it becomes hard to tell what string belongs where.
Example
Descriptive key in a .properties file:
button.submit=Submit
error.unauthorized=You are not authorized to access this page.Cryptic keys that give no context:
btn1=Submit
msg2=UnauthorizedUsing descriptive keys makes it obvious what each string is used for. If you only use short codes like btn1 or msg2, it becomes almost impossible to tell which text belongs to which part of your application, especially when you add more strings or bring new developers onto the project.
Keep All User-facing Text in .properties Files
All text your users see should come from .properties files. Don’t leave labels, messages, or instructions hardcoded in Java classes.
Example
Correct – User-facing text in .properties:
In a .properties file:
button.submit=SubmitIn Java:
button.setText(bundle.getString("button.submit"));Incorrect – hardcoded in code:
button.setText("Submit");Hardcoded strings won’t be translated by PTC. Your app will show a mix of translated and untranslated text, which feels unprofessional and confusing to users.
Use Placeholders for Dynamic Content
For variable content, write the full sentence in your .properties file and use numbered placeholders ({0}, {1}) instead of concatenating strings in code.
Example
Correct in .properties file:
In a .properties file:
greeting=Hello, {0}! You have {1} new messages.In Java code, use MessageFormat to insert the values at runtime:
String message = MessageFormat.format(
bundle.getString("greeting"), user, count);Incorrect – concatenating in code:
System.out.println("Hello, " + user + "! You have " + count + " new messages.");Concatenating fragments makes it impossible for PTC to understand the whole sentence. Many languages change word order, plural forms, and agreement rules. A sentence like “Hello, Maria! You have 3 new messages.” can’t be expressed correctly if it’s split into chunks.
By using placeholders, PTC translates the entire sentence naturally, and Java inserts the right values at runtime.
Escape Special Characters Properly
Some characters are reserved in .properties files because they affect how Java parses the file:
=or:→ separates keys from values#or!→ starts a comment\→ introduces escape sequences (like\nfor newline)
If you want these characters to appear as part of the text, escape them with a backslash.
Example
Correct — escaped colon in value:
message=Save using key\: Ctrl+SIncorrect – unescaped colon is treated as a separator:
message=Save using key: Ctrl+SIf special characters aren’t escaped, Java splits the string incorrectly and PTC only sees part of the text. That means your translations will come back incomplete, and at runtime your users may see missing or broken messages.
Save Files in UTF-8
Always save .properties files in UTF-8. Without UTF-8, non-ASCII characters become corrupted (for example, é turns into é). This makes translations unreadable and forces manual re-encoding fixes.

Start Translating Your Java App Today
Translate your Java .properties files with AI that handles context, placeholders, and file structure automatically. Try PTC for free — no credit card required.

